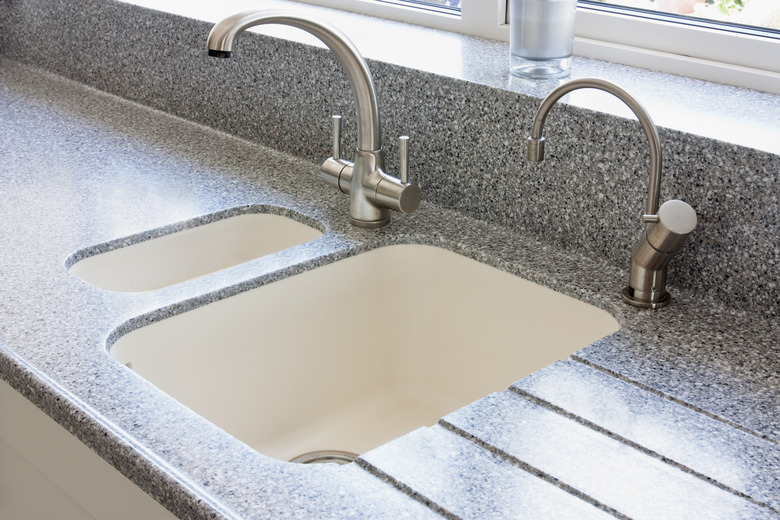
How To Reglaze Kitchen Sinks
We may receive a commission on purchases made from links.
If you want to spruce up your kitchen but don't have the time or money for a full refit, it might be a good idea to tackle one appliance at a time. And one kitchen workhorse that rarely receives the attention it deserves is the kitchen sink. The kitchen sink really goes through it with use over time and can start looking less than perfect. But if you don't want to spring for a whole new sink, there are things you can do to help restore yours to its former glory. One great way to do this is by reglazing your kitchen sink.
When Kitchen Sink Needs Reglazing
When Kitchen Sink Needs Reglazing
The glaze is the finish on any ceramic kitchen sink. It keeps the sink watertight and protects from staining while also providing an attractive, shiny finish. While this glaze is very sturdy and durable, it's not totally invulnerable to damage over time. Glaze can become worn away, cracked or faded with wear. Not only does this make a sink look old, but, according to The Bath Business, it can also make a sink look dirty, even if it's freshly cleaned.
According to St. Charles Refurbishing, reglazing a sink is also a good opportunity to experiment with a new color. If you're changing up your kitchen's aesthetic but don't want to fully replace and refit your sink, reglazing can help you change it up for a cheaper price. Many porcelain sinks in need of a reglazing are on the older side. Dennies Resurfacing claims that by resurfacing rather than replacing an antique kitchen sink, you're helping to keep history alive.
Supplies to Reglaze Kitchen Sink
Supplies to Reglaze Kitchen Sink
One of the most important things you'll need to remember when reglazing a kitchen sink is protection for the rest of your kitchen. Putting down plastic sheeting and sealing with masking tape will help ensure you don't get glaze anywhere you don't want to.
To prep your sink, you'll need to clean it thoroughly with dish soap and then sand it down using a palm sander to remove the old glaze. You'll also need epoxy paint and an acrylic topcoat.
Preparing to Reglaze
Preparing to Reglaze
The prep work is key to achieving a good result when reglazing a kitchen sink. You first need to protect any area you don't want the glaze to get to. Take off the faucet and put it aside. Then, cover the backsplash and surrounding surfaces with plastic and tape down.
Next, clean the sink thoroughly and dry with paper towels. Then use a fine sandpaper and a palm sander to sand down the entire sink. The rougher the surface, the better the new glaze will adhere.
Reglazing the Kitchen Sink
Reglazing the Kitchen Sink
Open your windows to ventilate the area before applying any new glaze. Clean any dust out of the sink using a damp cloth. Use a paint roller or sponge to apply a layer of epoxy paint to the entire sink. Leave it to dry for at least one hour, and longer if possible.
Once your epoxy glaze is dry, seal with an acrylic topcoat. Apply evenly using a small brush and working in the same direction and allow to dry. Repeat the process three times, allowing adequate drying time between each coat. Once you've applied your final coat, leave it to dry overnight.
After the acrylic topcoat layers are fully dried, you can remove your plastic sheeting and masking tape and reattach your faucet. Your newly glazed sink should be ready to use immediately!
