How To Replace A Rotting Bathroom Floor
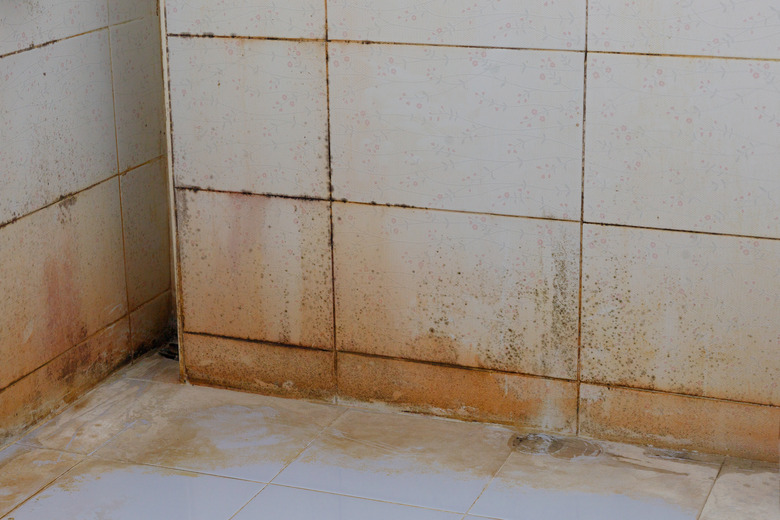
If your bathroom floor is rotting, you may be able to tell in several ways. The floor could move underfoot or be soft to the touch. Your floor could also smell or have discoloration, visible mold or mildew, and warped walls can also be an indicator. No matter how you become aware that your floor is rotting, replacing it is essential for your health and safety.
Important Safety Considerations
If you're going to be producing sawdust or tile dust while working, or if you're pulling up moldy or mildewed flooring, use a respirator. If there's any question as to whether the floor tiles might contain asbestos, consult a professional before doing anything.
Removing a Rotting Floor
The first step in replacing a rotting floor is removing the old one. Before you get started, though, it's not a bad idea to turn off the water to the bathroom, just in case there are pipes running under the floor. If you need to move electrical wires, you should also turn off power to the bathroom circuit breaker to protect yourself from the risk of electric shock.
Use a claw hammer or crowbar to pry up old tiles, hardwood or engineered wood pieces or laminate. Depending on the material you're removing, you may need a carpet cutter or scoring tool for removal. You'll also need to pull up the subfloor since it's most likely damaged as well. This involves moving the sink cabinet and pulling the toilet.
Once the floor is removed, inspect the floor joists beneath. If they're moldy, mildewed or have water damage, you may need to replace them as well. This is a specialized task best suited to a professional.
Tips on Replacing a Rotting Floor
Every great bathroom floor starts at the very bottom — with the subfloor. And premium subflooring types boast the capability of being exposed to weather elements without swelling or delaminating.
The structural panels of the subfloor must be constructed and nailed according to code so it can distribute the weight of the floor evenly. Generally, this means nails should be spaced 6 inches apart on edges paralleled with joists and 12 inches elsewhere, but check with your state's building codes.
If using flooring adhesive — which is optional but only makes your subfloor stronger — apply the adhesive on each joist prior to laying the first subfloor sheet. The first sheet of subflooring should be laid 4 feet from the outside of the rim joist.
To install, start in one corner (no more than 1/2 inch in from the edge of the sheet) and begin nailing 6 inches apart on short edges and 12 inches apart on long edges. Leave a slight space between sheets for expansion, and repeat these steps with the next panel, ensuring the tongue and grooves connect the panels.
Underlayment Prevents Bathroom Floor Rot
Underlayment is a wise choice for the bathroom floor because it acts as another moisture barrier in the bathroom's naturally humid environment. The underlayment sits between the subfloor and your chosen floor material, and it could be the material needed to prevent your bathroom floors from rotting in the future.
If you've chosen tile for your bathroom, as many homeowners do, it's critical that you do not fasten the underlayment to the joists. Down the road, fastening underlayment to the joists could result in pops that break your tile. Layout the underlayment perpendicular to the joists, leaving 2 inches of room between the joists and underlayment. Fasten directly into the subfloor. Some underlayment options do not require fasteners.
Choosing Bathroom Floor Material
Consider your choice of flooring carefully since bathrooms are usually high-traffic, moist environments. Something easy to clean and maintain, like luxury vinyl tile, is a good choice. Traditional tile is also a versatile and waterproof option.
Now that you've fully resolved any rot on the surface, underlayment or subfloor, you can install your new bathroom floor covering with full knowledge that it's clean and sturdy.
