How Do I Wire A Combination Bathroom Vent, Light And Heater?
Combination light, heater and fan units can be incredibly handy in smaller bathrooms and other home areas that lack heating and cooling vents. These three-in-one fixtures work best when wired to a three-function switch box, allowing for individual control of the unit's functions from a single point. As a result, these combo units can be complicated to install. If you aren't familiar with home wiring, it may be easier, safer and cheaper in the long run to call an electrician to help you install it. If you do know what you're doing, however, and you can keep track of all the wires involved, these combo units can be installed and running in an afternoon.
Early Preparations
Early
Preparations
Before you begin any part of the installation process, be sure to carefully read through your combo unit's instruction manual. It will provide detailed information on the wiring environment the unit needs, as well as whether or not the unit will plug into your home's heating system. Regardless of unit specifics, however, you will need to install the combo unit on its own 20-amp circuit, which may require the installation of additional wiring from your breaker box to the room you wish to install the unit in.
Wire Requirements
Wire
Requirements
To install your combination light, fan and heating unit to a three-function switch box, in addition to the new switch box itself, you'll need to ensure that you have the appropriate type of wire to link the box to your combo unit. Your unit's instruction manual may or may not state this information, but you can determine the type of wire required from the installation diagrams and the number of wires coming from the unit. A 14-3 wire is commonly used to ensure that the combo unit and the switch box can be linked safely and legally, in line with building codes.
Safety First
Safety
First
Before you do anything involving the installation itself, make sure that the power to the room you're working in is off. Go to your circuit breaker box and set the switches for the room to the "off" position. When you return to the room, test the light switch and power outlets to ensure that no electricity is running to the area. At the same time, ensure that no power is being supplied to your home's heater if your combination unit plugs into it. Use a circuit tester to double-check before continuing.
Unit Installation
Unit
Installation
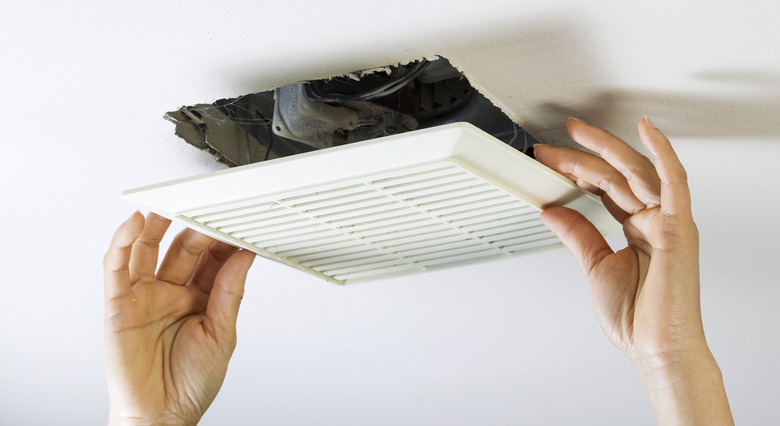
To install your combination unit, first remove the currently installed switch box (if replacing it with a three-function box) and the room's current ceiling light fixture. These units can only be installed on the ceiling. From this point forward, be incredibly careful. Be sure to take reference photos of the wire layouts, and don't be afraid to call a professional electrician if something seems wrong or if you're unsure how to proceed. If you need to run a new wire from the unit's location to the switch box, or connect it to the heating unit, do so now. Identify your wires and follow the instructions in your manual. Generally, you will need to connect the wires of the same color with a wire splice connector, sometimes called wire nuts, before securing the unit to the ceiling. At this point, you may connect the unit to your heater, if necessary. If installing a new switch box, you can do so now.
Final Testing
Final
Testing
When the unit has been connected and secured to the ceiling, and the wall switch is secure and ready, restore power to the room. Return and flip each of your three switches on and off to determine if the installation was successful – and check to see what happens when all three switches are on at once.
References
- Ask the Electrician: How to Install and Wire a Bathroom Exhaust Fan with Light and Heater
- NuTone: Fan/Heater/Light Instruction Guide
- Breez: Ventilation Fan with Light and Heater Instruction Guide
- Ask the Electrician: Bathroom Exhaust Fan and Light Electrical Wiring
- Home Improvement Stack Exchange: Wiring in a Bath Heater,Vent, Fan Combo with Power Source Coming from Ceiling
- Home Improvement Stack Exchange: Wiring Bathroom Exhaust Fan With Heater