How To Change A Light Switch To An Electrical Outlet
If you've got a light fixture that you no longer use, you may want to utilize the real estate occupied by the switch to add an outlet. No problem! However, suppose you want to keep the switch and the light fixture, but add an outlet underneath the switch. Again, that's no problem, but you'll have to purchase a switch outlet combo. It fits in the electrical box occupied by the switch and provides the functionality you want. You can even keep the fixture and have the switch control both that fixture and the outlet underneath it. Finally, you can wire the device in such a way that the switch controls the light fixture but the outlet is always on.
Identify the Live Wire
Identify the Live Wire
Before you start the replacement procedure, be sure to locate the breaker in the main panel that controls the switch so you can turn it off. After you do this, remove the switch cover plate and test the wires with a voltage tester for safety. Turn on the switch, then place one lead of the tester on either of the black wires connected to the switch and the other lead on the green ground screw. If you get a light or a non-zero meter reading, the circuit is live. Keep turning off breakers until you get a zero reading, or the tester light doesn't illuminate.
Once you've located the correct breaker, turn it on again and turn off the switch, then test both terminals on the switch for power, using the same procedure. One will be live and the other dead. Turn off the breaker, mark the live wire with tape and start the replacement procedure.
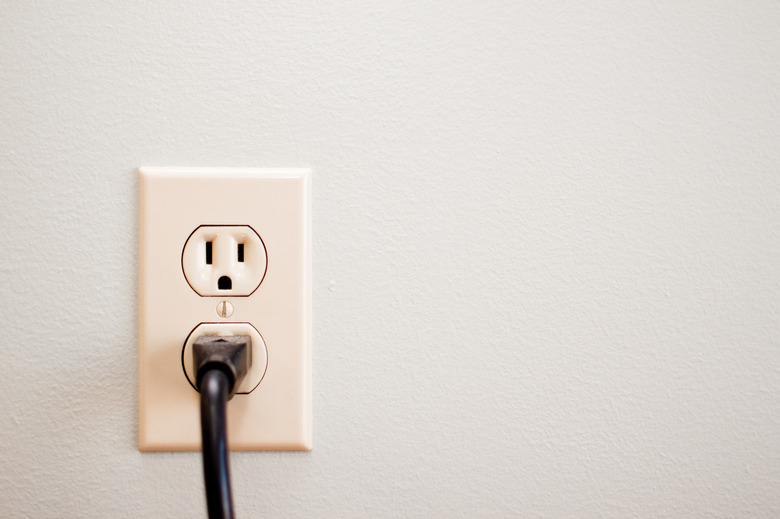
Convert a Light Switch to an Outlet
Convert a Light Switch to an Outlet
Remove the black wires from the switch, screw a wire cap on the dead one and push it back into the box out of the way. Be sure none of the exposed wire is showing under the cap, because if it is, you could contact it with your tools or it could touch another wire.
Unscrew and remove the ground wires, separate them and isolate the one that belongs to the same cable as the live hot wire. Untwist the white neutral wires in the box and cap the one that belongs to the same cable as the hot wire you capped. Now you have one uncapped black wire, a white wire and a bare ground wire. Verify that they all belong to the same cable.
Connect the black wire to one of the brass terminals of the new outlet and the white wire to the corresponding chrome terminal. You can use either the upper or lower set of terminals unless you're installing a GFCI outlet, in which case, they should be connected to the set of terminals marked LINE. Finish up by securing the ground wire to the green ground screw, screwing the outlet to the box and installing an appropriate cover plate.
Installing a Switched Receptacle
Installing a Switched Receptacle
If you want to keep the switch but have it control an outlet underneath it instead of a remote fixture, purchase a switch outlet combo. After you've identified the live circuit cable, capped the unused wires and pushed them out of the way, connect the live black wire to the brass terminal on the switch outlet combo, the live white wire to the chrome terminal and the ground wire to the green terminal. The internal circuitry passes through the switch, so when you turn it off, the outlet goes off.
If you want to keep the light fixture and have the switch power both that fixture and the outlet, you'll need the wires that go to the fixture, so don't cap them. You'll also have to make a pigtail with the white wires. This means to twist them together with a third, short wire that you can attach to the chrome screw on the device. The pigtail creates a return path for both the fixture and the outlet.
After twisting together the three white wires and capping them, you'll be left with a single white wire extending from under the cap. Attach that to the chrome screw on the switch outlet combo and attach the live black wire to the brass terminal. Attach the black wire going to the fixture to either of the black terminals on the other side of the device. Connect the bare wires to the ground screw and the wiring is complete.
Always twist wire together clockwise when making pigtails. That way, the cap will tighten the wires together when you screw it on and make a safer, more secure connection.
Wiring So the Outlet Is Always On
Wiring So the Outlet Is Always On
If you examine the switch outlet combo, you'll see a brass bonding plate between the two black screws. Remove the screws and take out this plate if you want the switch to control a fixture, and you want the outlet to stay on all the time. Don't simply cut the plate, because the two halves may be close enough together to arc and start a fire.
You'll also need to make a pigtail using the live black wire and two 6-inch lengths of identical wire. Connect one of these short wires to the brass terminal and the other to the lower of the two black terminals. The black wire going to the fixture goes on the upper black terminal. Twist the white wires together, make a pigtail with a third short wire, and connect that wire to the chrome terminal. Twist the ground wires together and connect them to the ground terminal, and you're done.