How To Measure For Herringbone Kitchen Tile
We may receive a commission on purchases made from links.
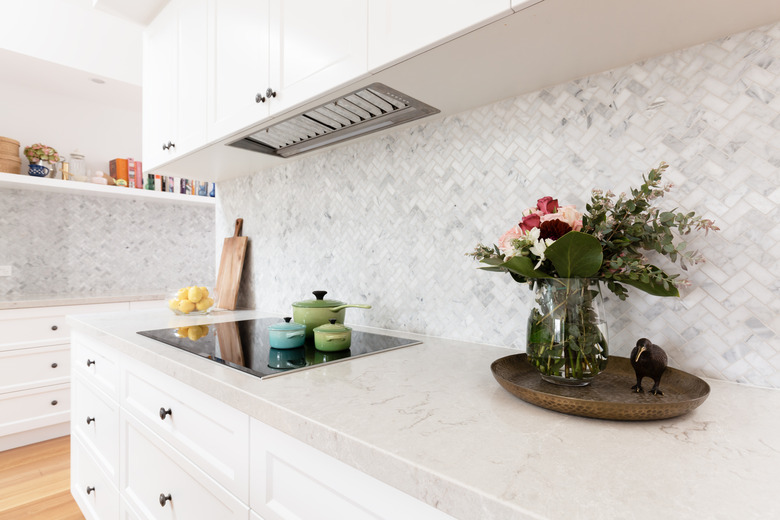
If you're looking to add some personality to your kitchen without breaking the bank on an expensive remodel, laying your floor and/or wall tile in a herringbone pattern can create a subtle yet classy look that will stand out as a real work of art. A herringbone pattern is created by placing rectangular tiles together so that the short end of one tile is against the long end of another tile, forming a zigzag pattern. It's typically laid at a 45-degree angle next to the floor or wall, but it can also be laid horizontally for an eye-catching look.
Herringbone and Chevron Patterns
Herringbone and Chevron Patterns
Before you begin planning your project, it's important to know the difference between a herringbone pattern and a chevron pattern. The tiles used for the herringbone pattern are always a standard rectangle shape. For a chevron pattern, the tiles are a parallelogram shape and are laid end to end to create a zigzag pattern. Typically, a herringbone pattern is viewed as a classic style, while a chevron pattern looks more youthful and modern.
Using a herringbone pattern will offer you more tile choices as parallelogram tiles can be hard to find. Additionally, installing a chevron pattern may require hiring a professional, while creating a herringbone pattern is something most DIYers can do on their own.
How to Determine the Amount of Tile
How to Determine the Amount of Tile
To create a herringbone pattern on your floor or wall, you can use any size rectangular tiles that you'd like. The standard tile size is a 2-by-6-inch subway tile, but selecting a longer tile can make your room appear more elegant. For a more modern look, select various shades of the same color tile or use a contrasting color grout. For a real pop, vary the colors of tiles or add tiles of a contrasting color randomly throughout your pattern.
Regardless of the size or color of your tiles, you only need one formula to determine the number of tiles you need to buy. Tiles are typically purchased by the box, and each box will tell you how many square feet of tile it contains. Your first step is to determine the square footage of your area by multiplying the length times the width. Then, add 10 percent to your number. This will give you the number of boxes you need to purchase. Be aware that most stores require you to purchase the entire box, so round up instead of down. This way, you won't stress over mistakes or broken tiles.
What Else You'll Need
What Else You'll Need
If you plan to lay the tile yourself, you'll need several other items. When you purchase the tile, you should also purchase grout and thinset mortar. Most bags will tell you how much square footage they'll cover, but if you've chosen to use a small tile, purchase extra grout as there will be more space to fill.
To mix your thinset mortar, you'll need a large bucket and a drill with a mixing paddle. You'll need a trowel to spread the thinset mortar on your floor or wall. When you're ready to lay your tiles, you'll need spacers to place between each tile when you set them in the mortar, a rubber grout float to spread the grout and a damp sponge to clean off the excess.
Finally, you'll also need a tile saw, of which there are two types. The less-expensive type is similar to a table saw, where the blade is underneath the table and you move the tile back and forth. However, if you want to make complex cuts in your tile, opt for the more expensive version where the tile remains still while you move the saw blade.