

The No-Mess Way To Easily Upgrade Boring Toilet Hardware With Paint
We may receive a commission on purchases made from links.
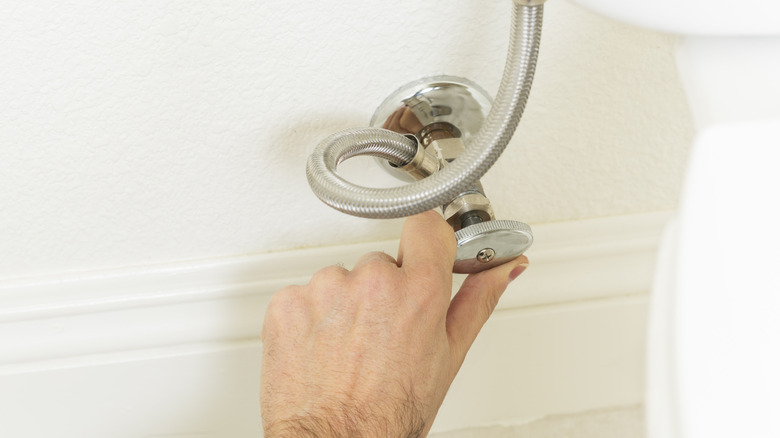
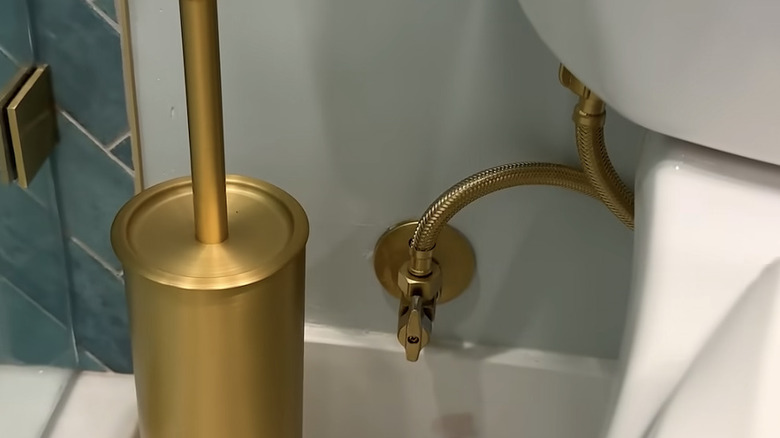
People spend extraordinary amounts of time, energy, and money planning out every last detail of their bathroom designs, from tile and grout to cabinetry, hardware, plumbing, and lighting. But even the most thorough design plan rarely bothers to deviate from the beyond-standard look of default toilet hardware. Sure, some people have the foresight to change out their flush levers or bolt covers to something decorative, but very few bother to give the supply line hose, valve, and wall flange (the decorative trim, also called an escutcheon) any attention. Kits in decorative finishes are available, but you may need to special-order them. Local stores may stock only basic finishes, such as stainless steel or chrome. Check availability in advance so you have your preferred hardware on hand for your plumber's visit. However, one smart Instagram user, jeffandlaurenshow, shared how they upgraded their standard silver toilet water supply hose and connectors with a simple coat of metallic gold spray paint without having to call a plumber at all.
The trick in making this DIY so clever and approachable, allowing them to leave most of the plumbing in place to make the change, was to create a mini paint tent or booth out of a leftover cardboard delivery box to prevent both overspray and the need for large amounts of paint prep. Armed with just a little basic toilet plumbing confidence, this genius paint tent hack, and proper safety precautions (which we'll get into more below), this DIYer was able to spray-paint everything in place in just seconds, with no plumber necessary and no mess to clean up afterward. Win-win! So let's dive into all the beginner-friendly details about how you can easily boost the aesthetics of this bathroom detail for only the price of a can of spray paint.
Prepping your cardboard box spray paint tent
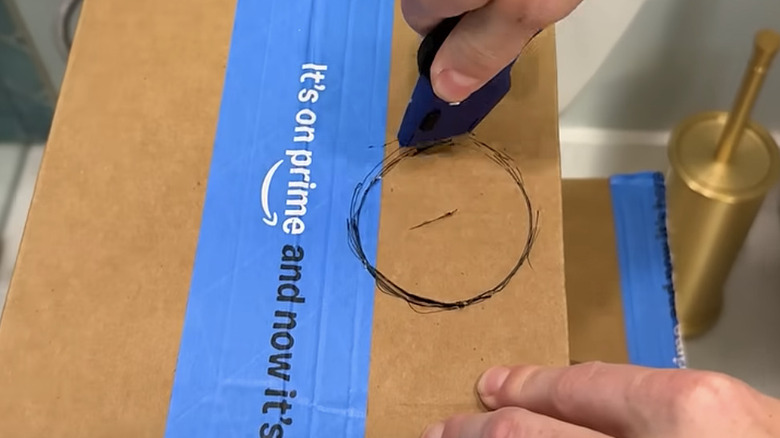
The premise behind this quick spray-paint hack for your toilet supply line, valves, connectors, and flange is super simple, requiring only a box, utility knife, pencil, painter's tape, and a can of Rust-Oleum Bright Coat Metallic Gold Spray Paint for $6.98 on Amazon. Instead of automatically heading for the recycling bin, grab the cardboard box from your latest delivery and repurpose it as a mini spray-paint booth or tent in your bathroom. The only tricky part for small-space bathrooms or those with tight quarters on the supply side of the toilet is that you'll need to find a box narrow enough to fit in the gap but tall enough to provide enough space for a decent coat of spray paint. With an appropriately sized box in hand, place it in front of the toilet water supply area and mark the approximate location of the center of the rounded wall flange. Remove the box and tape the edges of the flange with painter's tape to avoid overspray on the wall.
Using your can of spray paint as a template, trace a circle on the bottom of the box where you marked for the flange, then cut it out with your utility knife or box cutter. Dimensions can certainly vary, but a typical toilet water supply wall flange is about 2 ½ inches in diameter, while most spray paint cans are roughly 2 ⅝ inches in diameter. This means that the hole will be slightly larger than the flange for a close fit and minimal gaps, which can cause issues with overspray and cleanup.
Disconnecting the toilet supply hose and spray painting in place
You'll need to disconnect one end of the water connector hose from the toilet tank. To do so, you must first turn off the water to the toilet from the supply valve. Next, empty the toilet tank (unless you want a flooded bathroom floor) by flushing the toilet and holding down the handle until all water has drained from the tank. Place a bowl under the water line to catch any remaining liquid, and remove the toilet connector water hose on the tank side, leaving it attached on the shutoff-valve end.
Now that your water hose is partially disconnected, thread it through the hole you made in the box, and slide the whole box backward so the bottom sits flush against the wall, with the flange centered in the cutout. This provides a protected area to spray-paint the hose, valve, flange, and connectors without getting overspray on anything else in the bathroom, like a paint tent or booth.
However, another reason it's tricky to spray-paint inside is because the fumes are toxic. So be sure you're working in a well-ventilated area (open windows and bathroom exhaust fans on) and wear a protective respirator mask to avoid inhalation. Before you paint, keep in mind that paint buildup on the shutoff valve's stem or other moving parts can make the valve difficult to turn. Mask those areas before spraying to help keep the valve operable.
Using your metallic gold or other spray paint, give the entire water connection setup a few coats, repositioning the fairly flexible hose within the box for full coverage as needed. Once the paint is dry, remove the box and reconnect the hose to the tank, curving any excess hose behind the toilet to hide it rather than letting it extend outward. Finally, turn the water supply back on to the toilet, and enjoy the simple, low-cost upgrade to your bathroom aesthetic.