

Woman Upcycles Old Paint Cans Into A Must-Have Entertaining Staple
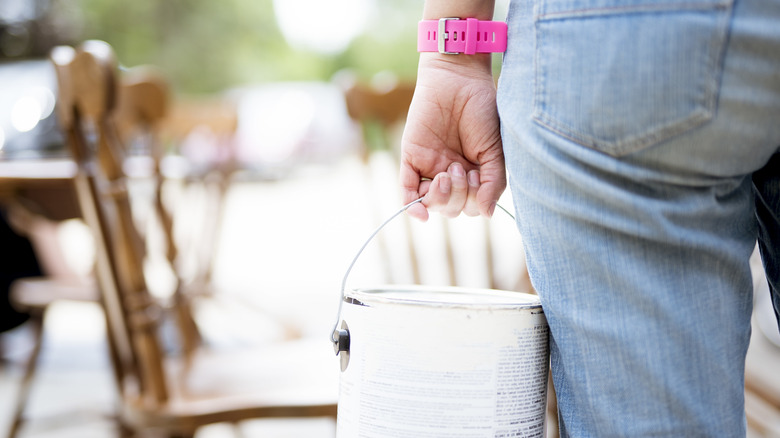
Keeping drinks cold is essential when you're hosting a party, but simple ice buckets can be surprisingly expensive. If you're into recycling everything in your house, and you love to entertain, this project is for you. TikToker Sarah Teresinski turned a leftover paint can into a wine chiller that will wow guests. With a bit of spray paint, peel-and-stick wallpaper, and a sharp knife, she transformed it into a gorgeous beverage cooler.
A gallon-size paint can will be large enough to hold a bottle of wine and lots of ice, but you can also use it to chill water or soda bottles instead. While Teresinski used the flat paint can lid as a candle tray, you could add a knob to it to craft a lid for your ice bucket. When selecting an empty paint can, Teresinski suggested using one from a more recent project, as older cans may be rusty.
While there are many thrift store finds that'll make you the ultimate host without spending a fortune, the old paint cans sitting in your shed are free. To keep this project even lower cost, reuse craft supplies from your stash. Opting for nice, leftover gift wrapping paper instead of real peel-and-stick wallpaper could also save you money and still look adorable.
Tips for crafting an ice bucket with an old paint can
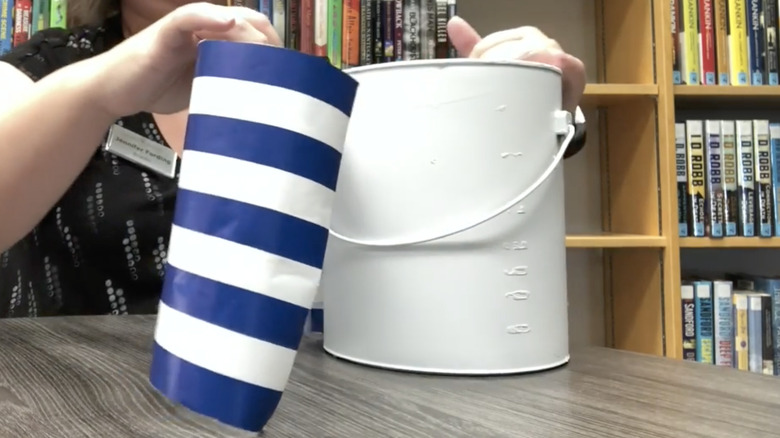
Before decorating the leftover metal can, clean it with soap and hot water. Try to scrub away any dried paint from inside the container, and remove the label. Now, you'll have the perfect metal container to make an elegant ice bucket. For an opulent look, Tarasinski spray painted the handle and both rims with a shiny, gold color. Alternatively, opt for a neutral color like white or tan. Skipping the paint will give your DIY wine chiller a silver rim and simplify this project.
To further disguise the old paint container, the DIYer covered the middle with adhesive wallpaper. After removing the handle from the paint can, she cut a piece of the peel-and-stick paper to fit over the center of the can. Then, she wrapped the paper around the container, smoothing it out as she worked. With a sharp knife, she sliced an opening on each side where the handle connected. Once the paper was in place, she reattached the handle. If you plan to use wrapping paper instead, a spray adhesive will allow you to easily apply the material to your DIY ice bucket.
Finishing touches to transform a paint can into a wine cooler
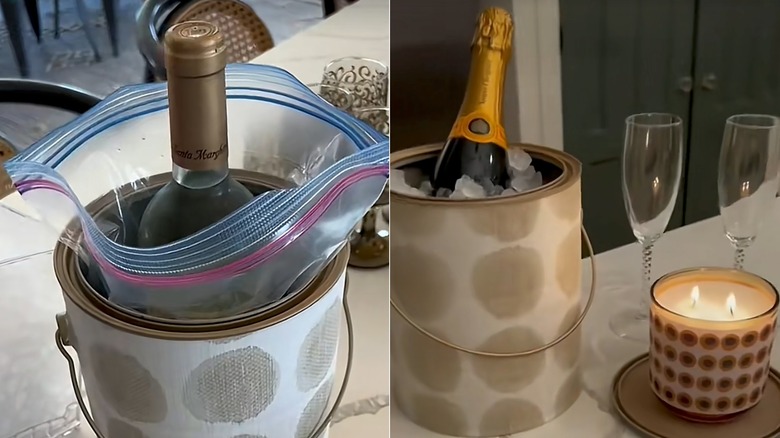
Now that you've decorated the paint can, your homemade ice bucket is almost complete. Even though the paint can was washed, spray paint or adhesive could have ended up on the inside. Because of this, it's a good idea to line the container before pouring ice inside and adding beverages. Though aluminum foil could cover the interior of your ice bucket, the DIYer used a plastic ziploc bag, saying it also helped with insulation. Setting a smaller plastic container inside the paint can would also make for an easy liner.
To create a lid for your ice bucket, paint the top of the paint can lid a matching color. Glue an old drawer knob to it to add a handle. Any small, roundish object, like a wooden bean or a knotted rope ball can be upcycled into a handle for your ice bucket's lid. If you don't like the look of the paint can's thin, metal handle, wrap it in nautical rope or twine.
Finally, add ice inside the liner and nestle your wine bottle or drinks into the homemade cooler. This beverage chiller could be set on a bar cart to create an adorable drink station. Slipping a pair of small tongs over the handle gives your ice bucket a cute touch. If you're in need of a larger chiller, you might try to keep drinks cool with an ice chest made of wood pallets.