

Transform Wood Pallets Into A Backyard Bridge With A Beginner-Friendly DIY
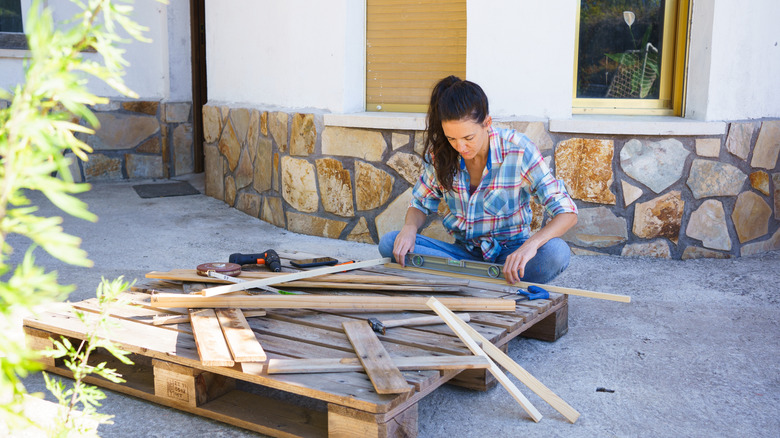
A garden bridge might seem unnecessary without a creek or koi pond, but who says you need water? A bridge over blooming flowers or a rock garden can be just as quaint and functional, especially if you're going for that slightly overgrown cottage garden look. And if you have a couple of old wood pallets lying around, or an easy way to source them, you may already have most of what you need to build one.
YouTube creator Jes came up with the idea of using recycled wooden pallets to build a bridge over what she dubs her "living river," a winding garden bed filled with spring bulbs that she plans to replace with annual flowers later in the season. With help from her husband, Nate, she crafts a wooden bridge using reclaimed pallet boards and a handful of store-bought two-by-fours. While it isn't above any water, the finished bridge still serves as a practical garden feature, connecting two sections of her garden and eventually leading to a planned pathway and seating area.
To recreate this beginner-friendly project, you'll need two wooden pallets, four 2-by-4 boards, metal joining braces, exterior-rated screws, and basic tools, including a saw, drill, and measuring tape. You'll also want a pry bar or pallet dismantling tool if you're removing the boards yourself, along with gloves and eye protection. Along with two pallets and four 2-by-4s, you'll need metal joining braces, fasteners (stainless steel is recommended), a saw, drill, measuring tape, pry bar, work gloves, and safety glasses. It's also worth having some 120-grit sandpaper on hand to smooth out rough boards. And since reclaimed wood can be prone to splitting, pre-drilling your screw holes is a good precaution before fastening everything together. Depending on where you plan to install the bridge, a shovel may come in handy for leveling the ground so it sits securely and flush.
How to build a pallet bridge for your garden
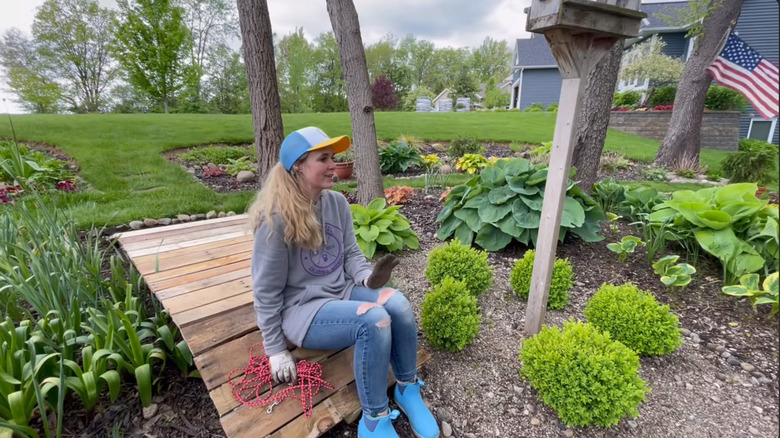
Jes and Nate started by cutting their two-by-fours into sections that would form the bridge's supporting framework, with short inclines at either end and a longer, flatter section across the middle. They reinforced the joints with metal braces before attaching the reclaimed pallet planks across the top, leaving small spaces between the boards to let rainwater drain through. Their project used just under two pallets' worth of planks. Once everything was assembled, they carried the bridge into the garden and adjusted its position so the ends could sit closer to ground level.
Before you start your own bridge build, it's worth planning out the placement. Jes ended up transplanting several plants to clear a path towards a future seating area, but the bridge can also cross a gravel walkway or a dry creek bed filled with river rocks or cascading plants. You could even position one near a gazebo or patio to delineate and connect different areas of your landscape.
Remember to be cautious when sourcing free wooden pallets for your project. Look for a stamp marked "HT," meaning the wood was heat-treated, and avoid pallets marked "MB," which indicates the wood was fumigated with methyl bromide, a toxic pesticide. Also, remember to check for cracks, splintering, and other structural issues, and make sure both ends rest securely on stable ground.