

Gardener Turns Slate Rocks Into Adorable Plant Markers
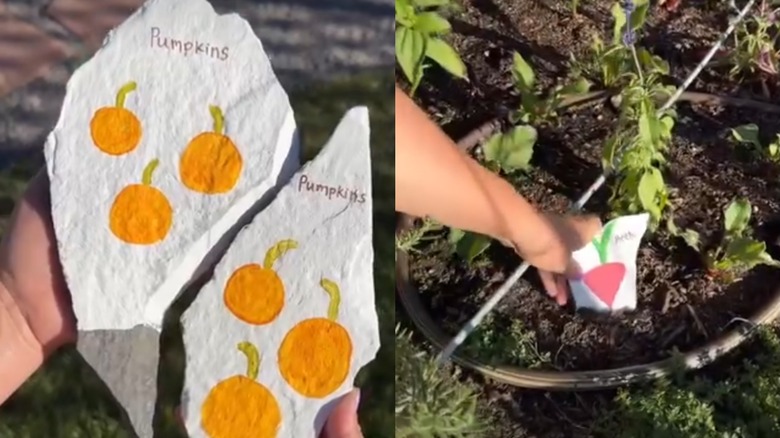
If you've recently planted a row of seedlings to start your vegetable garden or are new to the world of container gardening, it's easy to forget which is which a few weeks later. This, in turn, will make it difficult for you to remember each plant's care requirements. Labeling your plants can help, but sadly, plastic tags tend to fade, snap, or look out of place in your otherwise charming garden. Luckily, a gardener, mamanowwhat, has a better idea: Take flat pieces of slate and turn them into reusable labels by writing down plant names on them. The result? A rustic but sturdy marker that holds up to the elements and costs far less than similarly marketed versions. Plus, they won't be as boring or plain as mass-produced labels, and can reflect your creativity well if you don't mind spending a while to decorate them.
Slate is a smart pick for this job because it's naturally tough against rain and sun and has a smooth, dark surface that will make your writing stand out. Slate's muted gray tone also complements herb gardens, raised beds, and potted plants. And chances are you already have a few spare slate pieces gathering dust in your garage, so you won't have to spend much to turn them into markers. And if you don't have slate pieces left over from a roof repair project, look for them at flea markets, yard sales, or local masonry yards. You might even find cracked pieces at discounted prices. Get a plexiglass scoring knife or heavy-duty utility blade, ruler, hammer, and chisel to prep the rocks. As for the writing part of the equation, white or other colored markers are perfect for the job.
How to transform plain slate rocks into pretty plant markers
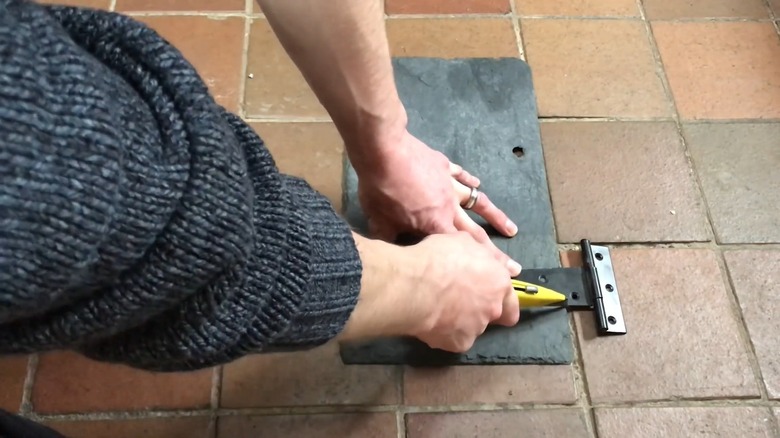
The shape of your slate rocks doesn't matter much, but if you want a uniform set (2.5 by 6 inches is a good starting point) or you're working with bigger pieces, you'll need a plexiglass scoring knife or heavy-duty utility blade with a metal ruler to break the stone. Start by marking how big you want each of your plant labels to be with a marker or chalk. Then, press the knife along the ruler to carve deep grooves between the marks on opposite edges, repeating the process until the line cuts well into the stone. Next, set a chisel on the groove and tap it gently with a hammer until the rock beneath splits into the required pieces. You can also refine the edges with a hammer so the protruding bits don't end up hurting you.
Once you have the slate pieces, wipe them with a damp cloth to make sure no dirt remains. Use a white paint marker to write down plant names directly on the rocks. And if you want to fancy it up, layer the words using colored markers for a brighter finish. You could even draw pictures of the plants (try to use colors your vegetables or flowers will exhibit upon maturing so you don't get confused) for a playful look. To help your labels last, lightly sand the surface and finish with a sealing spray. You can also add small embellishments (miniature versions of your plants will look great) at this stage with a strong adhesive. Once you're happy with the end result, simply push the bottom edge of each marker straight into the garden soil, and wait for your plants to mature.