

Turn A Dollar Tree Pizza Pan Into The Cutest Countertop Storage With An Easy DIY
We may receive a commission on purchases made from links.
If you have perpetually cluttered countertops, you're likely always looking for hacks to increase your storage – even if it's just to have a concentrated place to stash all those bits and bobs that take up so much valuable prep space real estate. Fortunately, this crafty DIY from TikTok creator MelissaJo shows you how to create an adorable tiered tray with just a few Dollar Tree items. It's incredibly easy to recreate, making it an accessible afternoon activity for crafters of any skill level. All you really have to do is glue one pizza pan under a candleholder, add another pan on top, and paint it to give it a vintage effect.
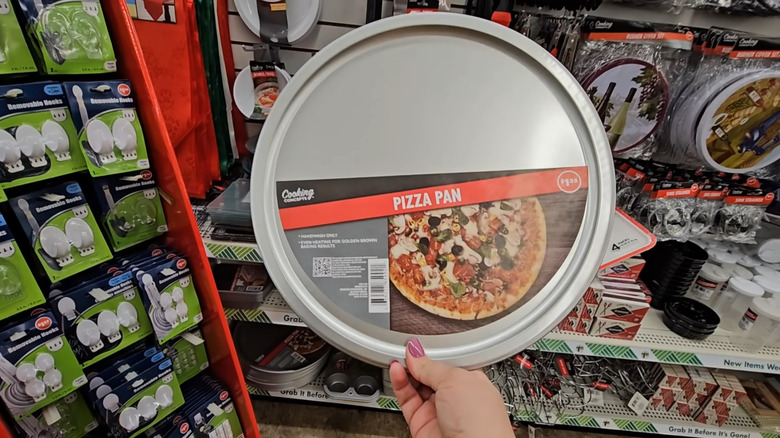
The final product looks so stylish you might mistake it for a luxury brand name, but MelissaJo boasts the whole project only cost her $4 at Dollar Tree! The materials list includes a 16-inch Cooking Concepts Pizza Pan for $1.25, an 8-inch Cooking Concepts Round Tin Cake Pan for $1.25, and two 4-inch Luminessence Glass Taper Candleholders for $1.25 each. While this total adds up to $5 rather than the original DIYer's $4, you must admit it's still a pretty good bargain. You'll also need E6000 glue (or another sturdy adhesive like Gorilla Glue), a 2-in-1 spray paint and primer in the color of your choice, and a wood stain like the Minwax Wood Finish Penetrating Stain. Once you've assembled your necessary materials, you're ready to get gluing.
Building your Dollar Tree tiered tray
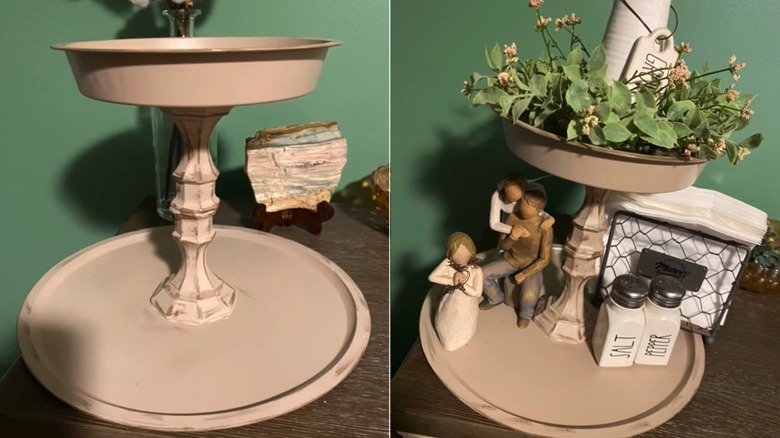
Start by hot-gluing the two candleholders together so that their openings are touching, leaving the wider bases at each end unattached. Place the pizza pan facing up, and then glue the connected candleholders to the center of the pan. Once the glue has had time to set, glue the bottom of the cake pan to the other end of the candleholders.
Now that your stand is complete, you're ready to paint. Apply your spray paint and primer liberally, using multiple coats if necessary to ensure the surface of your new stand is completely covered and the paint is opaque. Once the paint has had time to dry — a process that can take up to an hour if you are using a Krylon COLORMaxx Spray Paint and Primer like MelissaJo — it's time to apply the wood stain. Use a cloth or an old rag to rub it along the edges to create a distressed finish.
There are plenty of ways to customize this design to make it work well in your space. The original creator's version features a neutral color palette, with an almond shade of paint and a darker shade of wood stain. However, you can opt for a bolder hue, like mint green or red, for added visual interest, and distress it with Rub 'n Buff instead for a more affordable alternative. You can also get creative with the items you use to accent your design. The storage stand is a great place to display cute salt and pepper shakers, pretty paper napkins, spices, or other gorgeous kitchen counter decor.