

Keep Your Old Paint Buckets And Turn Them Into Modern Planters With An Easy DIY
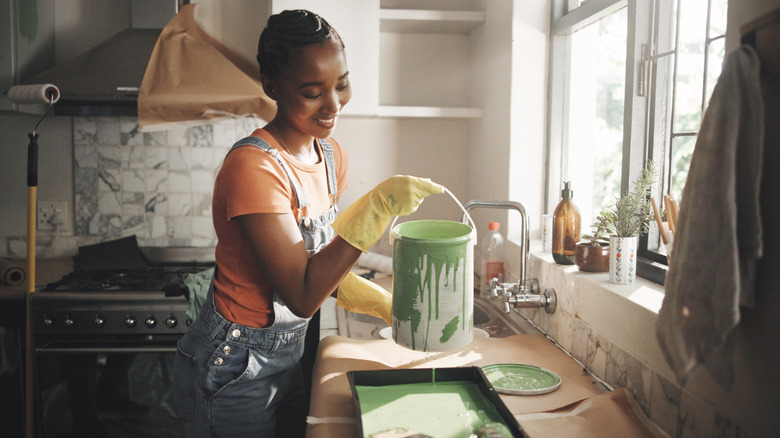
If you've just painted your bathroom trying to recreate the finish that a DIYer on Instagram achieved or hired a professional for an exterior paint job, you probably have a stack of empty buckets lying around. But before you haul them to the curb or pay to recycle them, consider cleaning them out and painting them in a shade of your choosing to turn them into modern planters.
And why not? Store-bought planters in clean, minimalist finishes can easily cost you between $10 to $99. As such, the monetary investment can stack up quickly for a small garden on your patio or porch. It may also be hard to find planters in the exact shade you need to match your deck and patio. On the other hand, reusing a bucket you are ready to throw away costs nothing (you already paid for it when you bought the paint). Plus, it's roomy enough to house a plant and sturdy enough to weather the elements. And aren't we all looking to reuse and recycle (absolutely) everything in our house? So, it's a great way to minimize your household waste. To get started, grab a can of spray paint in your preferred color and an empty paint bucket. You'll also need sandpaper and a hacksaw. Pipes are optional, but you'll need them if you want your planter to have "legs." The old PVC ones lounging in your shed will work.
Preparing your paint buckets to turn them into pretty planters
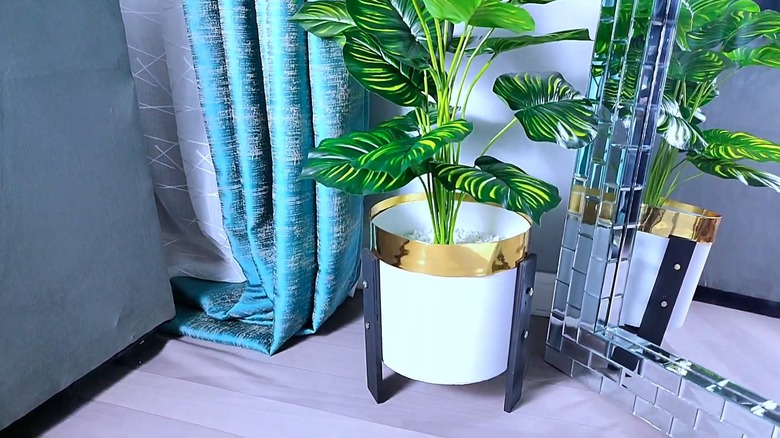
Start by removing the top rim and bucket handle using a hacksaw. Then, smooth out any sharp edges left by the cut with sandpaper. Next, clean the bucket by pulling away big chunks of dried paint by hand. Scrub off the rest with a scouring pad, using hot water to loosen any stubborn residue. You can even use a sturdy scraper to get rid of hardened paint. That being said, keep in mind that you don't need a spotless bucket; a few leftover flecks of dried paint wouldn't hurt your flowers or leafy plants. But since traces can still mix into the soil, avoid growing anything edible in it. Once done, drill drainage holes in the planter to prevent root rot. A regular household drill fitted with a medium-sized bit will do the job. Don't forget to put on your safety goggles to shield your eyes from potential debris fly-off. It's also a good time to add legs using pipes.
When it's ready, grab a can of spray paint or any leftover paint (including chalk) to transform it. Stick with one coat if you plan on embellishing it further. If not, add a second coat. Once the paint dries, decorate the bucket using pressed greenery glued on with Mod Podge. River rocks and other decorative beads will look pretty, too. Or, go for a very simple boho DIY decor by wrapping it with jute ropes. For something fancier, glue some gold or silver reflective paper around the bucket's upper edge. Alternatively, just cover it with some contact paper or a decorative tissue paper. When you're satisfied, seal the bucket with a coat of clear varnish so water doesn't ruin your decorations. Finally, set up your brand-new planter with soil.