

Turn An Old Milk Crate Into Home Storage That Looks Good With A Smart DIY
We may receive a commission on purchases made from links.
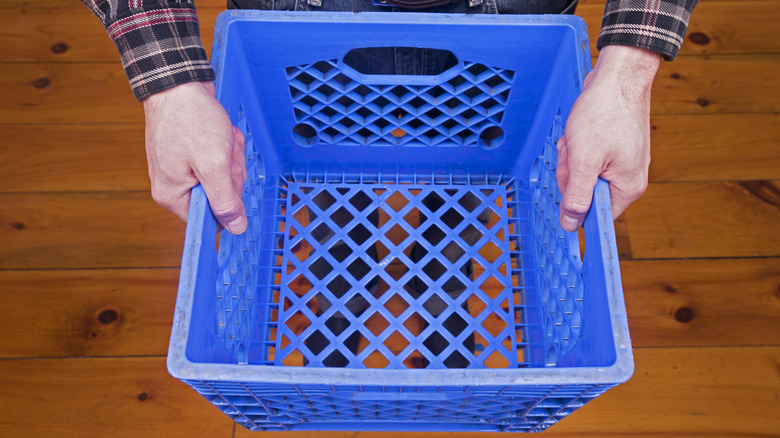
Let's be honest: That old plastic milk crate you have sitting around is kind of an eyesore. Luckily, there are tons of smart ways to use milk crates around the house instead of throwing them out. They are great to hang on to because they can be used for so many things, from extra storage to a funky box spring alternative. Instead of letting a perfectly good container go to waste, you can make it look great with little more than hot glue and fabric. With just a bit of effort, you can transform that ugly old milk crate into a cute and stylish upholstered storage box.
This DIY, by YouTuber marifetliisler5019, looks much more complicated than it is. It requires zero sewing skills, and actually uses a bit of clever hot glue magic to make it look like an expertly seamed piece of furniture. For this project you will need cotton batting, fabric, cardboard, ribbon, rope or cord, hot glue, and a milk crate. Since you will be using hot glue on multiple types of surfaces, you should use a dual-temp hot glue gun so that you can easily switch between the high and low temperature settings. Elmer's Craft Bond Mini Glue Gun Dual Temp is a good low-cost option for $13 at Target.
Because some milk crates have sides that feature a cut out along the top, you may need to cut some pieces of cardboard to fill these gaps before you get started on the main project. After you've cut some cardboard to fill the gaps, you can use hot glue (set to high for stronger bonding) to attach the cardboard pieces to the milk crate. The pieces should be placed into the cutouts so the top edge is smooth and flat. If your milk crate already has a straight rim, you can go ahead and skip this step.
How to turn a milk crate into a beautiful container
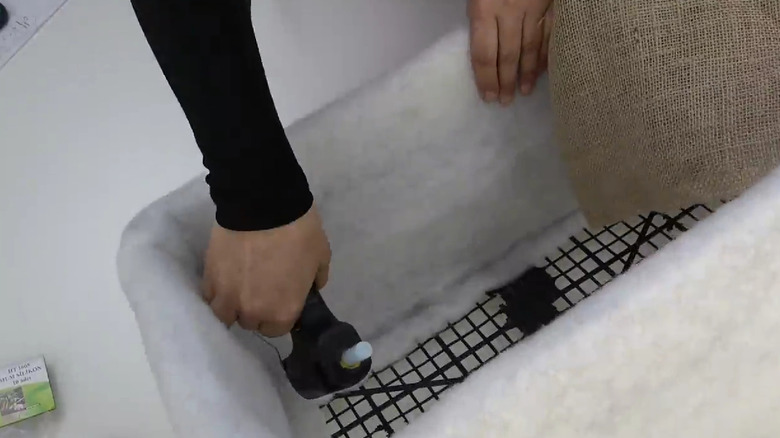
Once your prep work is complete, the first step is to wrap the milk crate with a sheet of cotton batting. Use hot glue (set to low for more delicate materials) to hold the batting in place. Once the walls have been wrapped in batting, take your fabric and wrap it around the walls in the same way, using hot glue (set to low again) to hold the seams together. The original DIY uses burlap for a rustic, farmhouse-chic vibe, though any fabric will do. Upholstery fabric, for example, will make it look like a DIY storage ottoman. Ribbon or cord can be used to cover the seams and hide any visible glue.
Once the sides are finished, it's time to wrap the bottom with batting and fabric. First, cut a piece of cardboard — use a standard box cutter rather than scissors — so that it fits into the floor of the milk crate, then wrap the cardboard with batting and fabric. Put hot glue on the bottom side of your base, pressing it firmly into the crate to secure it. Then cut another piece of cardboard the same size and shape as the bottom of your container and wrap it in fabric. You can skip the batting this time — otherwise your container will be wobbly, like it is sitting atop a fluffy pillow. Glue this to the bottom of your container.
To make a lid, start by cutting two pieces of cardboard to the correct size, and then glue them together to make one sturdy piece. Next, wrap the lid in batting and fabric in the same way as the rest of the project. To attach the lid, use a strip of folded fabric to join the lid and the body of your container together, creating a hinge. The original DIY decorates this hinge with more cord, but doing so may make it harder for the lid to fully close.
Adding a lid and some final touches
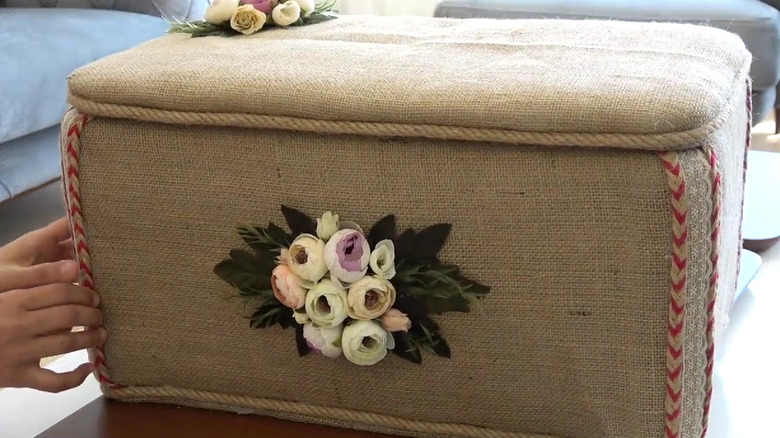
Once you've attached the lid, your storage container is complete! If you want to add a few extra embellishments to make it fancy, you can decorate the outside of the container with whatever you like. You can even sew on a decorative hook and eye clasp to help hold the lid shut. The original DIY used artificial flowers that went well with the rustic, farmhouse-chic look. If flowers aren't your thing (or you just don't love artificial ones), there are plenty of other ways to decorate your new container.
Depending on the type of fabric you chose, fabric paint could be a fun option. Paint on a design freehand, use a stencil, or splatter it with paint. For an addition that is both functional and beautiful, consider adding a felt, rope, or leather handle to the top or sides. You could also screw in some small furniture feet on the bottom to give your container a more upscale look, or try your hand at DIY button tufting and attach buttons to the lid.