

Turn Old Wood Pallets Into A Creative Shoe Storage Cabinet
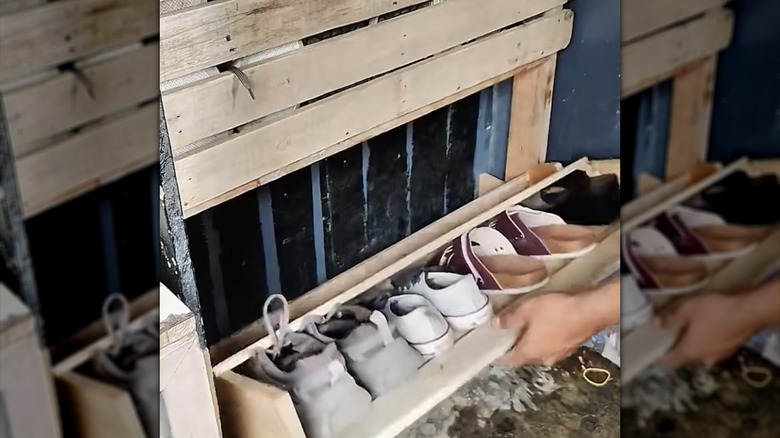
One of the most irritating, perpetual messes in many homes is shoe clutter, with family members constantly leaving trails of footwear from one end of the house to the other. Thankfully, a large, well-placed cabinet that hides your kicks behind closed doors usually calms the shoe chaos pretty well. While custom shoe cabinets sound expensive to implement, TikTok user jickrisquijano shared how he built one out of scrap pallet wood and some hinges for nearly (or actually!) nothing. He disassembled the pallet and used the resulting boards to construct an outer frame and two tilt-out compartments for holding shoes. This created a custom solution to get shoes off the ground by taking advantage of vertical storage space.
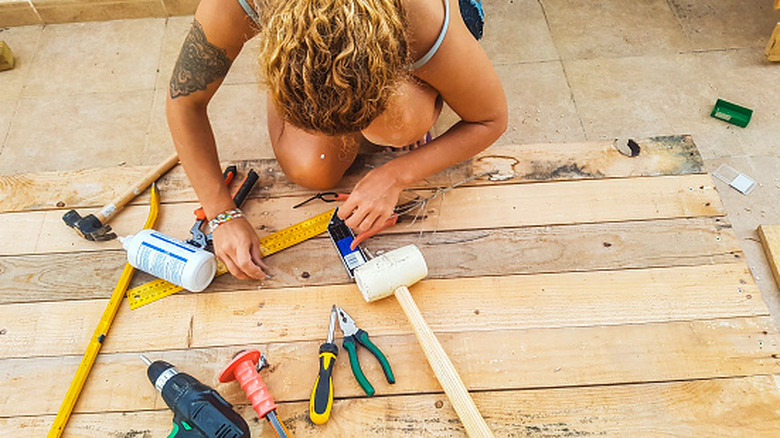
The DIYer is shown pulling this off with mainly the use of a few basic hand tools: a hand saw, hammer, screwdriver, and a power sander. This makes this a doable project for a tool novice, though feel free to sub in power tools for efficiency if you feel comfortable. However, the measurements of this pallet cabinet can get a little tricky for even a seasoned DIYer. So, make it easier on yourself by sketching everything out before you start cutting. That way, you can make sure you have everything lined up where it needs to be.
Prep by carefully disassembling your pallets with a hammer and small crow bar. Remove the nails one board at a time to avoid breaking the slats. Measure the usable width of the boards, subtracting any damaged ends where the nails were removed — this will be your shoe cabinet's maximum width. Once you have pallet boards and a game plan, you're ready to create your own custom tilt-out shoe storage cabinet.
Constructing and attaching your tilt-out shoe storage drawers
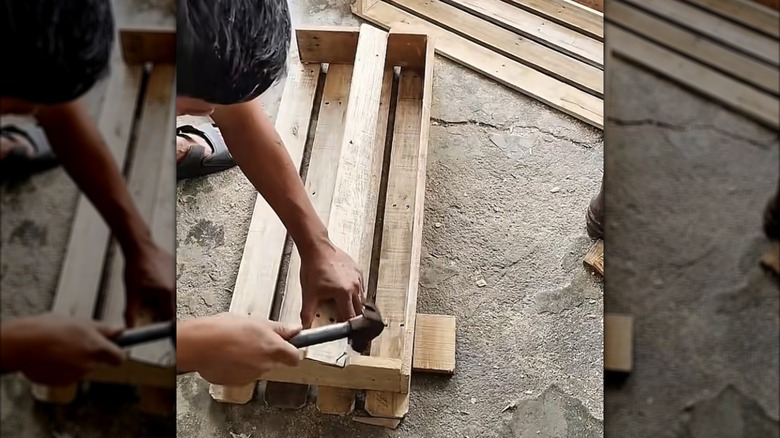
Start your tilt-out shoe cabinet by building the three-sided outer frame using the wider pallet boards, attaching the top and two side pieces using a hammer and nails or drill and screws. For each tilt-out shoe drawer, you'll need a horizontal support that runs between the two side rails at the base of each drawer — this is where you'll attach the hinges. The TikToker installed his shoe cabinet in a niche that helped support the exterior frame. If you plan to install the shoe cabinet freestanding against a flat wall, you'll need to add a bottom rail and bolster the support with additional brackets and/or wall bracing to keep everything square and in place.
@jickrisquijano Diy hidden shoe organizer made of pallet #DIY #shoeorganizer #palletproject #viraltiktok
To build the shoe compartments that nest within the frame, use the wider pallet boards to construct a U-shaped drawer box that's slightly smaller than the inner clearance of the frame. Finish the front of the tilt-out drawer by adding evenly-spaced narrow pallet slats, leaving space between as a finger grip. Alternatively, install your slats flush with each other and add decorative hardware for operating the drawer. To ensure the shoes stay put, notch out a triangle a few inches from the bottom of each side rail to accommodate an angled interior rear support. Once assembled, carefully sand each drawer to avoid splinters, and repeat this whole process for any additional drawers.
Place a pair of butt hinges at the front underside of each shoe compartment. Mimicking the downward tilt-out motion to ensure the position is correct, secure the second half of each hinge to the top of the horizontal center supports on the frame. You now have a fully-functional tilt-out shoe storage cabinet to help wrangle your footwear collection.
Finishing and customizing your wood pallet shoe storage cabinet
Once your handmade shoe cabinet is assembled, there are many ways to customize the look to fit your home's aesthetic. If you like the vibe of the natural wood, simply seal the whole cabinet in a couple coats of polyurethane or similar top coat. This protects the wood and brings the richness in the wood to life. Alternatively, to keep a wood look but change the tone, apply a wood stain in your desired finish followed by a sealer. A medium or dark desaturated stain color will bring a refined drama to the space. It will also help blend in some of the impurities and imperfections of the reclaimed pallet wood without removing the rustic character.
You can also paint the wood cabinet to mesh with your style preferences. Prepare the cabinet by filling nail holes and wood imperfections with wood filler, followed by a coat of heavy-duty primer to smooth out the surfaces as much as possible. Choose a pop of color to make the cabinet a fun, unique statement piece. Or, paint the entire piece the same tone as surrounding cabinetry, woodwork, and/or walls to blend seamlessly with its surroundings, as if it were always an integrated piece within your design.
As mentioned above, you can also add decorative hardware for a little sparkle, such as charming knobs, vintage-inspired cup pulls, or sleek, contemporary edge pulls. This extra dose of attention will help make it look like a proper furniture piece rather than a hidden storage secret (though if that's your goal, certainly omit the hardware). Regardless of how you aesthetically finish the piece, this creative tilt-out shoe storage solution made entirely from a wood pallet is certainly an impressive and functional addition to your home.