

Gardener Transforms Scrap Wood Into The Cutest Pumpkins You'll Want To Recreate
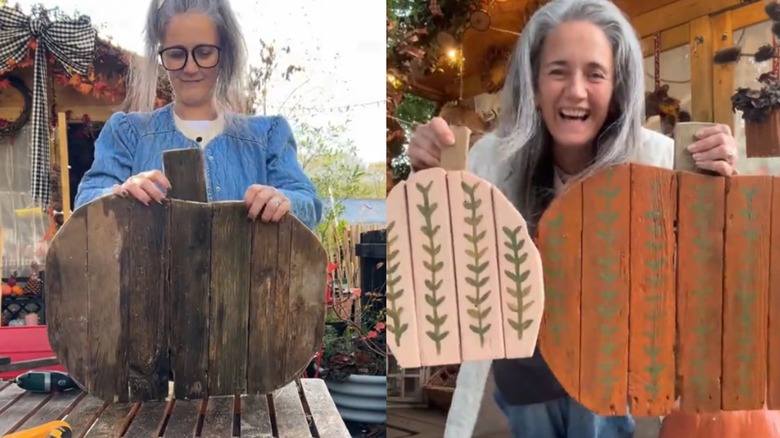
Do you need a cute, easy craft to get into the autumnal spirit? How about one you can whip up in just a few minutes with some spare materials taking up space in your shop or shed? Gardener and creator mrsclarehoops has just the DIY for you to try out, a great project that will use up any scrap wood you have lying around and also pair well with other outdoor fall decorating ideas. Simply connect and cut a set of boards into a simple pumpkin shape, and paint your creation however you like before setting it among your other seasonal ornaments.
For this project, you could use almost any thin wood pieces, including old fence boards, a broken headboard, plywood sheets, or a disassembled wood pallet (you can often find free wood pallets at home improvement stores and other local businesses). Grab a jigsaw to cut the boards and materials to connect the wood pieces. A drill and screws are perhaps the most effective, but a hammer and nails or some strong wood glue will work as well.
To decorate your pumpkins, use combinations of paint, wood stain, artificial flowers, ribbon, or any other assortment of art supplies. While these work perfectly on porch steps, resting on a shelf, or leaned against a wall, you could easily turn these adorable pumpkins into door hangers or garden signs as well. The size can be adjusted to fit any space or amount of scrap wood.
Creating your scrap wood pumpkin decor
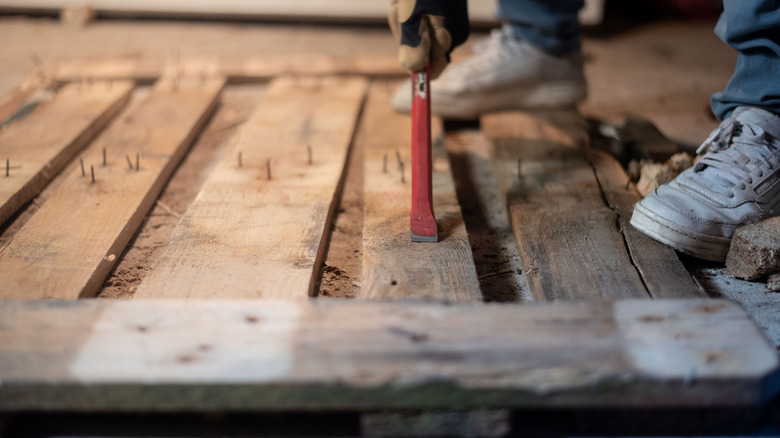
Prepare your scrap wood by removing any nails, disassembling the pallet (if you're using one), and giving the wood a quick inspection. Avoid wood that is heavily damaged or rotted, but don't worry about minor cosmetic damage. If you want to bring the finished pumpkin indoors, clean the wood first. Next, arrange the boards side by side, and lay a longer piece of wood perpendicular to them along the center of the boards. Nail or screw each board to the long piece. If you're making a larger pumpkin, you may need a second long connecting piece, one for the top and the other for the bottom.
@mrsclarehoops Made these scrap wood pumpkins last year but only had time to paint them this year x #AutumnDIY #scrapwodpumpkins
Sketch your pumpkin shape on the boards, and use your jigsaw to carefully cut it out. If you aren't confident in your pumpkin-drawing or cutting abilities, you can leave it rectangular and use the decoration step to make it look like a pumpkin. Attach a stick or smaller rectangle of wood to the top for the stem, and if you want to make it free-standing, glue a block to the backside as a stand.
You could also use rope for the stem if you want to hang it or add a post to the bottom to make it a garden sign. Finish it off with some orange paint, faux pumpkin leaves by the stem, or cute painted designs. If you prefer more rustic or farmhouse fall decor, leave it plain or rough it up a bit to make the wood look aged. After that, it's simply a question of how many wood pumpkins to craft, whether you want a single pumpkin for your door or an adorable scrap wood pumpkin patch to decorate your garden.