

Turn Paper Doilies Into A Dainty Ghost Garland With Vintage Charm
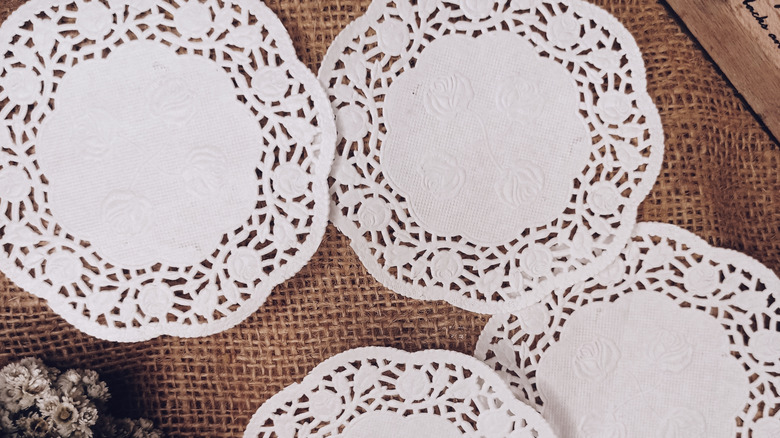
Decorating for the holidays is an easy way to bring a little magic into your home. But while it's fun to deck out your space for every occasion, buying new decorations can add up quickly, not to mention leave you wondering where to store everything when the season is over. Halloween is a tempting holiday to pull out all the stops for, but DIY Halloween decorations can bring plenty of charm without a big shopping spree. A pack of paper doilies, for example, can become a dainty ghost garland.
These unique ghosties make a cute addition to a cottage-inspired space or a home filled with whimsy. Since you draw on their faces, you can give them a little more personality, too. Don't worry, you don't need an art degree for this. Simple expressions are all you need to give each ghost its own look. When the holiday is over, you can throw them away guilt-free or tuck them away for next year without taking up much space.
For affordable Halloween decor that'll put you in the spooky spirit, this garland requires just a few supplies (many of which you probably have in your craft drawer). You'll need some paper doilies, cotton balls, string or thread, ribbon, and a black marker for the eyes and mouths. Grab some scissors and a large sewing needle to secure the ghosts along the string.
How to make and personalize your doily ghost garland
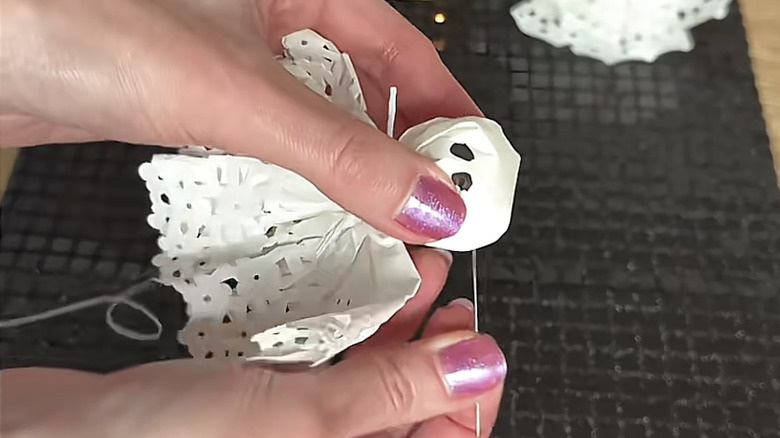
To make your spooky garland, start by measuring the space where you want to hang your garland, then cut your thread with a little extra length at both ends. Lay the doilies flat and decide how many ghosts you want. We know they're ghosts and all, but if they look too transparent, stack two doilies together. Place a cotton ball in the center of a doily, then gently gather the paper around the base to form a rounded head, pinching the paper together and tying a piece of string or narrow ribbon around the "neck." Finish with a little bow to hold the shape without tearing the paper, and repeat with the remaining doilies.
Now comes the fun part: Use a marker to draw eyes and mouths on their heads, just be careful not to puncture the paper. You can also leave their faces blank if you're going for a minimalist look. Thread a sewing needle with your garland thread, then carefully pass it through each cotton-filled head, spacing the ghosts along the thread as you go. Tie a knot after threading each one to keep it securely in place.
For Halloween decor ideas that are anything but cheesy, give these little ghosts a vintage twist with pastel-colored doilies and tiny ribbon bows. You could also glue on lightweight accessories like googly eyes, tiny construction-paper glasses, hats, or bow ties. If you want to take things a step further, add some beads between each ghost for a little extra detail. Hang your finished garland wherever you want to add some playful Halloween charm.