

He Makes An Epic Outdoor Grill Using Concrete Blocks
We may receive a commission on purchases made from links.
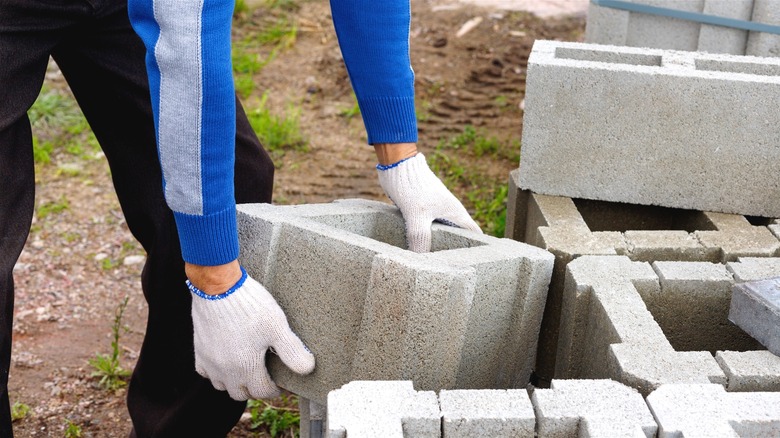
When you love hosting backyard gatherings but hate the idea of spending hundreds of dollars on a new grill, building one yourself with concrete blocks is a tasty alternative. The concept is extremely simple. You'll stack concrete blocks to form a base, leave an opening for wood or charcoal briquettes, and place a cooking grate across the top. DIY concrete grills can be constructed to any size you prefer, from small setups that are great for burgers and hot dogs to larger surfaces that can accommodate rib racks, whole fish, or other meals cooked for a crowd. With the help of a few friends, YouTuber daP.A built an epic outdoor grill using concrete blocks, learning along the way that how and where you position them is important for even heat distribution.
One of the biggest advantages of building your own outdoor grill is the cost. Typical concrete blocks are around $3 each. Although you'll need about 20 of them, along with a few solid stepping stones, the total price of daP.A's design is far less than you'll spend on many conventional grills. You also won't need to figure out how to fit a fully assembled grill into your car to bring it home because blocks can be picked up in manageable quantities and carried into the backyard as you build.
The tradeoff is that a concrete block grill isn't portable like cheap tabletop or expensive rolling options. It also won't come with adjustable burners or precise temperature controls. However, when your ideal budget-friendly backyard barbecue requires just a few friends and a fire instead of a piece of fancy equipment, this DIY may be worth a try.
Dry-stack concrete blocks to create an outdoor grill in any size or layout
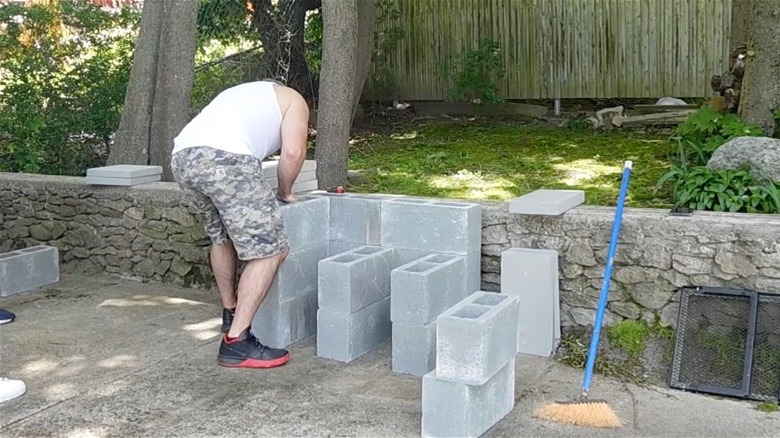
A handy advantage of building an outdoor grill is the flexibility. Concrete blocks can be stacked into practically any dimension or layout. They can also double as a foundation for side shelves or surrounding counter space, depending on how you arrange them. But they are definitely heavy. So before you start stacking, pick your location carefully. Since a concrete block grill relies entirely on a man-made fire instead of a propane tank that's easily controlled by a knob, situate your grill a safe distance from any siding, decking, or other potentially flammable areas.
For daP.A, that meant constructing his epic outdoor grill on the edge of a pre-existing concrete patio. After some experimentation, he landed on a base made from cinder blocks stacked three high. To follow his configuration, position three of these stacks parallel to each other, leaving enough space between to store kindling and wood. Then stack additional cinder blocks perpendicularly to enclose the back.
Next, put large concrete stepping stones on top of the base. Because your fire will burn directly on this surface, choose relatively thick ones to avoid cracking. It might also be a good idea to go one step further and add a layer of fire bricks, as they retain heat better and are less prone to cracks. Placing a grilling surface like the Amazon Basics Heavy-Duty Portable Camping Grill Grate directly above the stepping stones and fire bricks is a quick and easy solution. You can rest it directly on its angled legs. Or, lay it flat on an additional layer of concrete blocks laid along both the sides and back of the stepping stone surface.
Take a few extra steps to improve heat retention and stability
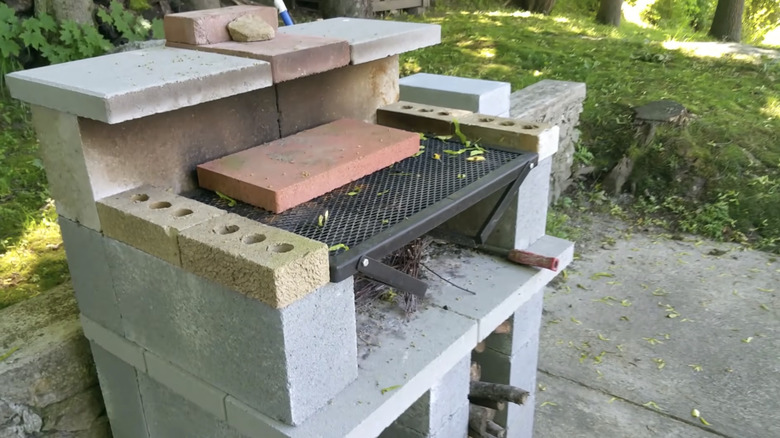
If you want to keep costs and building time to a minimum, you could stop there. However, adding another layer of concrete blocks around the sides of the grill itself can create a convection, oven-like effect that improves heat efficiency. Solid concrete blocks will hold heat better than cinder blocks, but they are heavier to transport and work with. Doing vertical rows of fire bricks against the back and side walls could also help protect the upper concrete blocks from cracks while further maximizing heat retention.
To build a more permanent structure, you can use mortar between the blocks instead of dry stacking them. There are pros and cons to this approach. This can add stability and help keep your new grill from shifting over time. However, it will make the grill way harder to modify or take apart down the road. Plus, you'll need to use a heat-resistant mortar, like the Rutland Refractory Cement from Home Depot.
The beauty of a DIY grill is that you can use inexpensive and easily accessible materials to design the outdoor kitchen of your dreams. But it's important to have a plan in place before just throwing things together. Whether you're building on an existing concrete patio, grass, or dirt, the base needs to be firm and level to avoid settling or shifting over time. That may require excavation, adding a compacted gravel base, or pouring a small concrete pad. However, with a little planning and prep work, it's surprisingly easy to turn a humble stack of concrete blocks into an outdoor grill for your next cookout.