

Forget Pricey Banquettes: This IKEA DIY Is A Cheaper, Better Option

We may receive a commission on purchases made from links.
If you always ask for a booth when you go out to eat, you probably already understand why so many people are bringing banquette seating into their homes. Along with being more comfortable than metal or wooden chairs, they make it way easier to squeeze a few more people around a table. Banquettes can turn an awkward little corner into a functional place to sit. If you're struggling with limited square footage, they create a more open look than a bunch of chairs shoved under a table. Plus, if you never have enough space for everything, the built-in benches can also provide hidden storage. Unfortunately, many banquettes can be extremely pricey. If you don't have hundreds of dollars to spend on a stylish seating choice, consider a customizable DIY option from decor blogger Ashley Wilson, aka @AtHomeWithAshley.
Wilson's banquette seating idea combines two IKEA KALLAX bookshelves, a couple of piano hinges, and some plywood sheets to create a corner banquette with hidden storage. Instead of spending time and money on complicated upholstery, she topped her banquette with a few long cushions to keep them comfortable and inviting. If you want to try the hack yourself, along with finishing caulk, paint, and trim, you'll also need several tools. Wilson used a table saw, miter saw, power drill, and brad nailer she already owned to construct her new dining room seating. She estimated the total materials cost of building the L-shaped banquette at $270. While you could spend almost twice that on a similarly sized option at Target, being able to easily customize the size, color, and look of your banquette makes this IKEA DIY a cheaper, better option.
How to make a banquette with an IKEA KALLAX hack
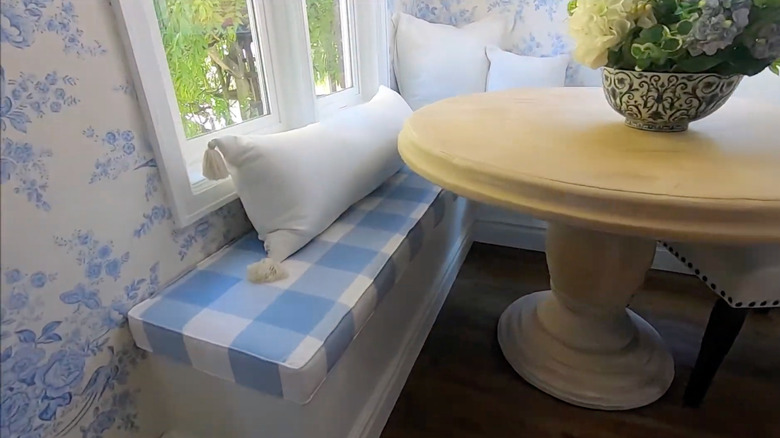
Whether you want to add a banquette to your dining room, increase available seating in your home office, or you're building out a breakfast nook, start by making careful measurements. IKEA's KALLAX shelf units come in several options that allow for custom configurations. You'll want either the $35 two-insert version, which measures 30 inches wide, the $60 four-insert version, which measures just shy of 58 inches wide, or a combination that allows you to create your preferred layout. Once assembled, turn the units on their sides to create the base of your banquette. The individual inserts will serve as little cubby holes for storage.
Before putting the KALLAX units into place, decide whether you want the cubbies left open or hidden. Because the unit measures 16 inches high when laid on its side, if you opt for exposed cubbies, you can simply top it with a thick cushion that adds an inch or two and use it for seating. However, creating a lid by combining a couple of piano hinges and a piece of plywood will add structural support while also hiding items stored inside. Ashley Wilson also strongly recommended using the anti-tip kit that comes with the KALLAX units to hold them in place.
The final steps are optional, but they are some of the easiest ways to make your IKEA hacks look super professional. To make your new banquette appear more built-in, fill any gaps along the wall with a smooth bead of caulk and add decorative baseboard trim along each edge, using a miter saw for any corners. After painting your new banquette in the color of your choice, top it with a long cushion for added comfort and beauty.