

Don't Toss Toilet Paper Tubes: There's A Clever Way To Reuse Them As Seed Storage
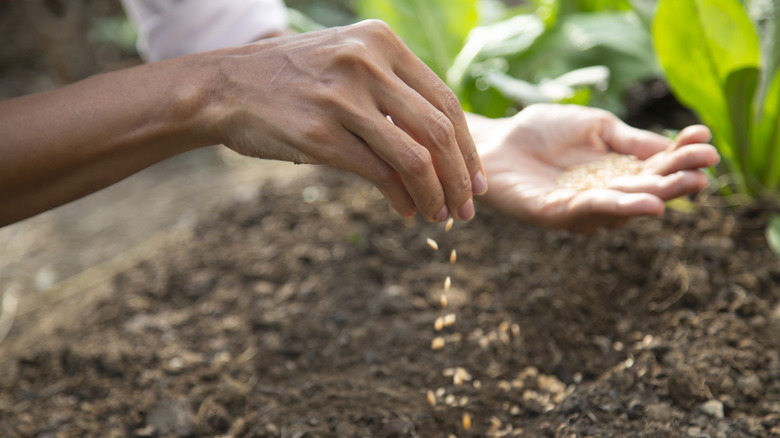
If you're an avid gardener who regularly goes wild in the seed aisle, you've probably lamented lost seeds after the tear-and-fold method for storing open packets fails. Or perhaps you prepare fresh seeds from existing plants and have yet to find a great way to keep them organized. Either way, allow us to plant a seed of inspiration — one you'll find next to your toilet. That cardboard roll left behind when you finish the toilet paper is just the right size to transform into a compact seed-storage envelope, giving those straggler seeds a secure place to stay until planting season rolls around again.
YouTube creator A Pretty Talent originally designed her toilet paper tube DIY as a tiny decorative pocket rather than specifically for seed storage, but its compact envelope-like design makes it perfectly suited for the job. Plus, the project puts scrap paper and other leftover craft supplies to work alongside the cardboard tube. To make one, you'll need an empty toilet paper tube, scrap paper, a ruler, pencil, scissors, glue or double-sided tape, and something sturdy for creating crisp folds, such as a bone folder.
Before filling your finished packets, make sure your saved seeds are completely dry either by snapping them or seeing if they can be dented with your fingernail. And, since the toilet paper tube is still just a paper container, always store your envelopes in a glass container with a tight seal to keep out moisture.
Crafting seed envelopes from an old toilet paper roll
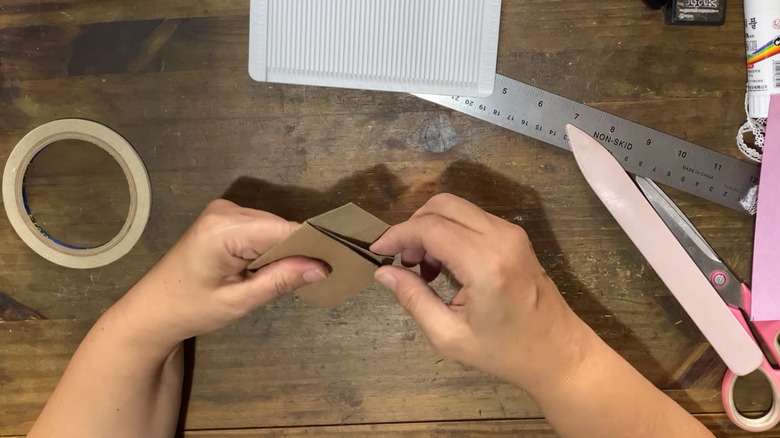
Start by flattening the toilet paper tube, then trim and fold the ends to create a pocket with a secure bottom and an open top flap. Next, cover the cardboard with scrap paper using double-sided tape, which A Pretty Talent finds works better than wet glue since it won't soften the paper. Finally, dress it up with ink, lace, and floral embellishments, though you can leave the envelope as-is if you'd rather keep things simple. The most important thing is to label your envelopes with the plant type and the date, since many seeds are only able to grow for a few years.
If you purchase your seeds, you can also use the empty packet to adorn the outside of your DIY envelope. Once you've secured the seeds, cut out the name of the plant, or a section of the picture if you prefer, and secure it vertically along the longer side of the envelope using tape, glue stick, or contact paper. For the other side of the envelope, you can attach the planting instructions on the back of the packet for next season, whether you're starting your seeds or sowing them directly.
For those who harvest their own seeds or are more artistically inclined, you can color-code your decorative paper by the plant type or planting season. Or, sketch the flower, fruit, or vegetable on the front so you can easily identify your seed stash at a glance.