

What Happens If You Put Dawn Dish Soap In The Freezer?
We may receive a commission on purchases made from links.
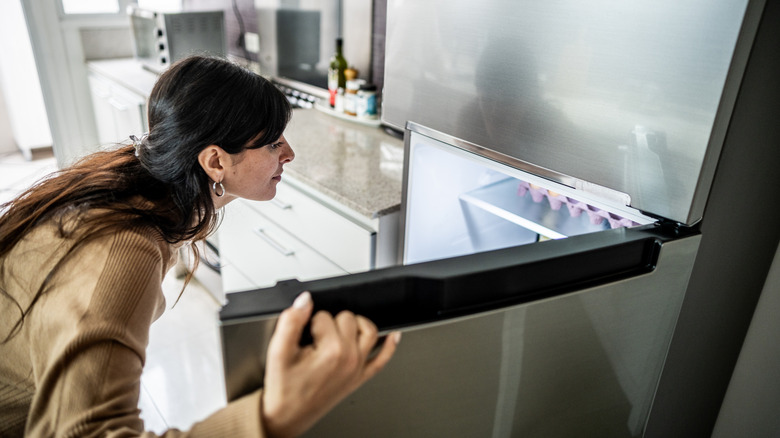
It happens all the time: you just banged your foot on the coffee table, and an angry red bump is already making itself known. An cold pack would definitely be nice in this situation to ease your pain, but a hobbled walk to the freezer turns up only some ice cubes and a bag of freezer-burned veggies. Sure, the peas could do the job, but they may not comfortably wrap around your foot or ankle. Thankfully, freezing some Dawn dish soap (which is one of our editors' favorite dish soaps of all time) can give you the cheap and quick moldable pack you're looking for.
Dawn does freeze, but instead of becoming solid, it generally becomes thick and firm while retaining some flexibility. The exact consistency can vary with the formula and freezer temperature, but the soap's gel-like texture allows the pack to mold perfectly around an injured area. Don't go tossing the original bottle into the freezer, though. Transfer the right amount into a sturdy, sealed freezer bag first to prevent a soapy leak. If you want to be extra cautious, consider double-bagging it. You might also want to grab a dishcloth to serve as a protective layer between your skin and the pack to avoid any skin damage from the intense cold. Turning Dawn into a DIY cold pack is something you can add to the list of surprising uses for dish soap that go beyond cleaning.
How to freeze Dawn into a reusable cold pack
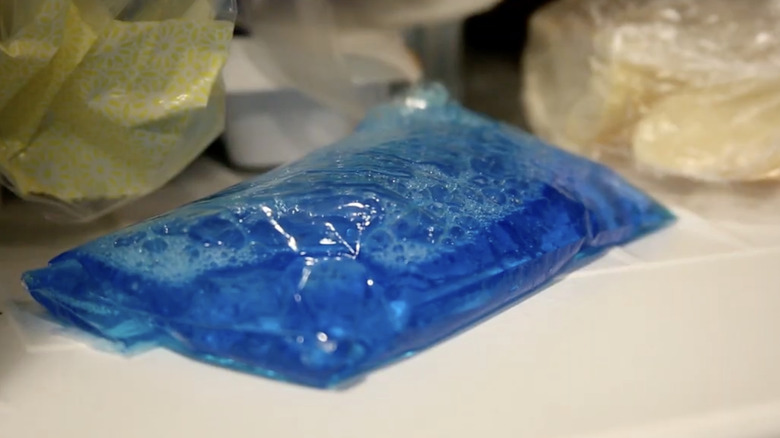
It takes two items and a few hours to create the cold pack. Simply pour the amount of Dawn dish soap you want into a quart-size freezer bag. Make sure the bag is completely sealed so no soap can leak through. Smooth out the soap so it reaches a few centimeters short of the seal, and take care of any air pockets before sealing it tight. For extra leak protection, add a second bag on top. The pack should be ready after about two hours in the freezer.
Do a texture check before using it. The soap should feel cold and firm while remaining pliable enough to wrap around the affected sore area. A thicker pack will take a longer time to chill, while one you leave in the freezer for days will be a lot harder. If yours feels too stiff when you go to use it, let it rest at room temperature for a few minutes first. You could also make a smaller version in a sandwich-size freezer bag for smaller areas like fingers or toes — the size is up to you.
There are plenty of items that make back-to-school time a little easier. As fall sports ramp up and minor bumps and bruises become more likely, one of these self-made ice packs can join that list, too. Don't forget to check the pack for damage before each use, and limit cold-pack sessions to no more than 20 minutes at a time.