

Goodbye Cheap Plastic Edging: There's A Smarter Way To DIY A Durable Remedy
We may receive a commission on purchases made from links.
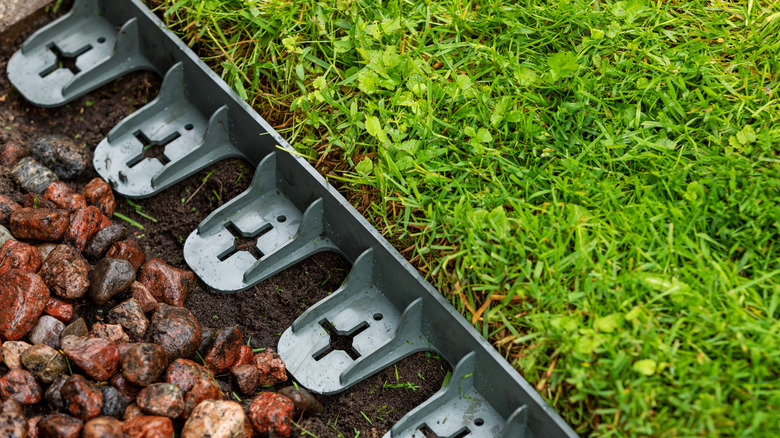
Landscape edging needs to withstand the test of time while keeping the line between your driveway or garden beds and the lawn distinct. If you're looking at the best types of landscape edging, plastic is inexpensive and available in a wide variety of styles. However, between weathering and regular wear and tear, it can break down in only a few years, leaving your garden looking shabby and cheap. The good news is that there's another option. You can DIY stylish, durable garden bed edging. All you need is concrete mix, water, and simple molds. Concrete borders can last 30 or more years if properly maintained, making them a much more durable option than plastic.
Concrete molds come in a wide array of sizes and shapes, and you can personalize them with coloring agents. Choose a simple rectangular brick mold for something subtle or pick a more decorative option that's textured like stone or shaped like traditional garden borders. Concrete borders should last a long time, but if a section cracks or breaks, using molds lets you repair it easily. Just store the molds in your garage, shed, or basement for future use.
Making your DIY concrete edging
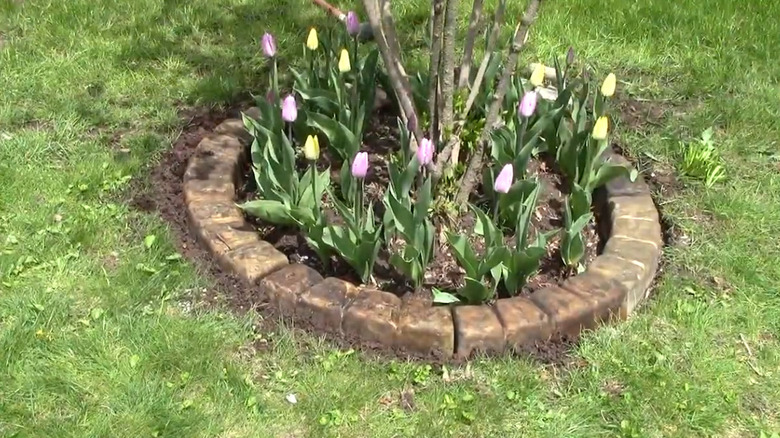
To make your border, start by clearing away any mulch or plants where the edging will sit. Determine how many bags of concrete you need by multiplying the length, width, and height of the area your edging will cover to find the total cubic feet. Divide that by 0.6 to see how many 80-pound bags of concrete you'll need, rounding up to account for potential spills. One of the nice things about using molds is that you can make your edging in stages and buy more bags of concrete mix if you need them.
The bag should include instructions for preparing the specific mix you purchased, but you can also refer to this guide on mixing concrete for extra tips. The basic idea is to add water until the concrete forms a thick paste. If plain gray concrete doesn't appeal to you, you can mix in concrete powders or dyes to change the color. Coat the inside of the mold with oil first, which makes it easier to remove the finished edging later. Scoop the wet concrete into the mold a little at a time, thumping the mold slightly to help it settle evenly in the form. Scrape the excess concrete off the top and place it on a level surface. It can take days for the concrete to set, but it's important not to rush. Allowing it to dry fully can make unmolding it easier. Once it's fully hardened, peel or pry the mold off. You should have the first part of your garden edging ready. If you didn't add dye, check out this guide to painting concrete with latex paint to dress up your new edging. Repeat the process until your garden or driveway is fully lined with your durable, custom edging.