Make Your Fridge Look Built-In On A Budget With A Brilliant Trim Trick
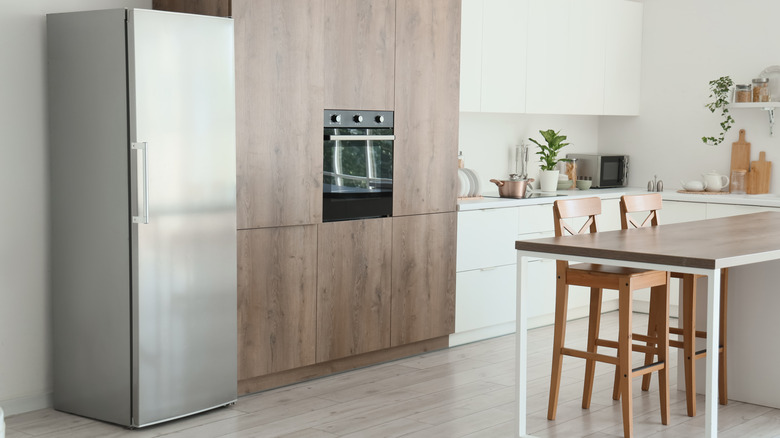
We've all seen and admired those big, beautiful integrated fridges seamlessly blending with the aesthetic of the kitchen. Few of us are fortunate enough to actually have one of these grand built-ins, though, so our best option is to try to make the kitchen look high-end with a freestanding model within non-custom cabinetry. But having the entire side of the fridge exposed in a prominent location can be an eyesore and challenging to disguise when the finish isn't even the same as the doors. Such was the case for Instagram user averagebutinspired, who struggled with the exposed black sides of her stainless steel fridge that stuck out like a sore thumb, contrasting with her light kitchen and remaining completely visible from the dining room.
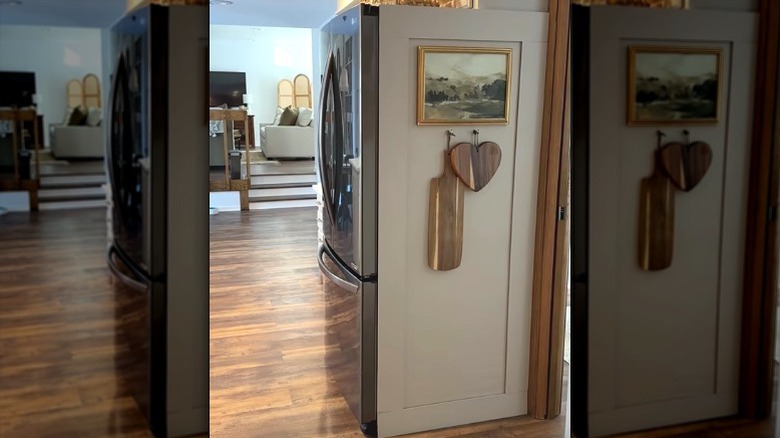
Lucky for anyone in the same scenario, she shared how she faked the look of a built-in fridge with some basic wallet-friendly supplies. Instead of managing the cost or complication of building custom kitchen cabinetry cover panels, she came up with the clever idea to paint the fridge side panels to match her cabinetry and add magnetic trim pieces, achieving the built-in look for a lot less money, time, and effort. This could be done on an entire exposed fridge side or even a partial section that's visible above the countertop. Be warned that, while this method is inexpensive (it may cost under $100 for materials) and relatively simple, it involves sanding and painting the fridge's side panel(s). If you don't feel confident taking a sander and paintbrush to your appliance or are a renter who simply can't, there's an alternative method that leaves the fridge untouched.
Paint your fridge and add magnetic trim for a built-in look
To begin making her fridge look built in, the DIYer followed a few simple rules to paint the appliance. She cleaned the surfaces before using 120-grit sandpaper to sand the refrigerator's exposed sides, avoiding the stainless steel doors. After cleaning again to remove dust, she applied a primer and then painted the sides of the fridge to completely blend with the surrounding cabinetry.
Once your fridge is painted, trim it out with a toe kick, such as this Hampton Bay Shaker Kitchen Cabinet Toe Kick from Home Depot. Measure the side panel's width, excluding the doors (where you may see a material change), and get the top-to-bottom measurement all the way to the floor to get that built-in look. You may also want to extend the top fridge trim slightly to cover small gaps between the appliance and the upper cabinets, though this will only work for a short distance so it doesn't look funny sticking significantly higher than the fridge. Test this with a buddy holding the trim in place to ensure you're happy with the look.
Once you have your measurements, use a circular saw to trim the toe kick pieces to size for a simple Shaker frame. Sand, prime, and paint the trim to match the side of the refrigerator and cabinets. Hot glue small magnets to the back side of the trim, and then simply stick them in place on the painted side of the fridge when dry. To inset the magnets to make this frame more flush with the fridge panel, you could also drill holes wide enough and just deep enough in the trim to fit the magnets. And voila! — a fridge that looks built-in without the cost or hassle of building one.
Alternate method for a damage-free built-in fridge look
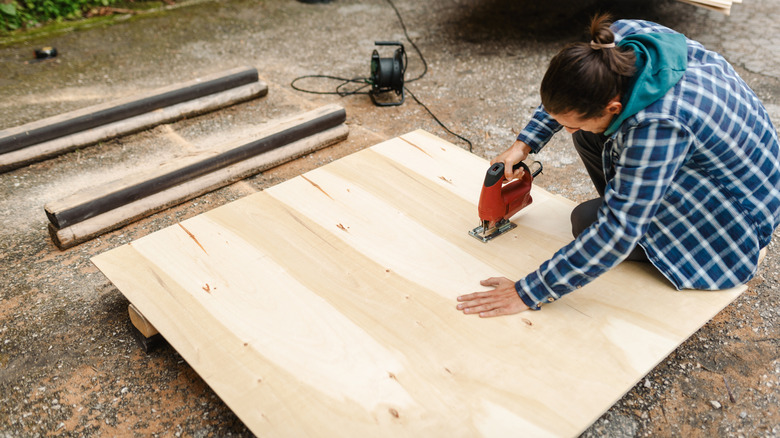
If you're wary of sanding and painting your appliance, there's another way to go about this built-in refrigerator hack. Measure your side panel(s) in the same way as above, and purchase an extremely lightweight (⅛ or 1/16 inch thick) paintable 4-by-8 plywood panel, similar to this 4-by-8 Utility Panel from Home Depot. Have the store cut it to size, or do so yourself with a circular saw. If possible, cut four framing trim strips about 4 inches wide, similar to the technique above, from any leftover panel scraps to layer on top of the panel. Adhere the trim strips to the main panel with wood glue or construction adhesive. Caulk, prime, and paint the assembled panel to match your cabinets. The result is a freestanding side panel that can be attached without modifying your fridge.
Of course, this means the panel weight is higher than in the original DIY, so plan ahead for magnet strength. If your fridge side panel is 30 by 72 inches, for example, you're looking at 15 square feet of material. If the entire sheet is about 10 pounds, like the Home Depot option, your fridge panel will weigh just under five pounds once it's cut to size. With added trim pieces, it could be five or six pounds all in, so be sure to select heavy-duty flat magnets (or removable Command strips) with an appropriate weight limit well above the panel weight. Use construction adhesive to attach the magnets to the back of the panel, letting it cure as instructed. Then, simply stick the magnetized panel to the side of your fridge for a similar built-in look without altering your appliance.