Everyone Will Be Buying Dollar Tree Garden Fences When They See This Front Door DIY!
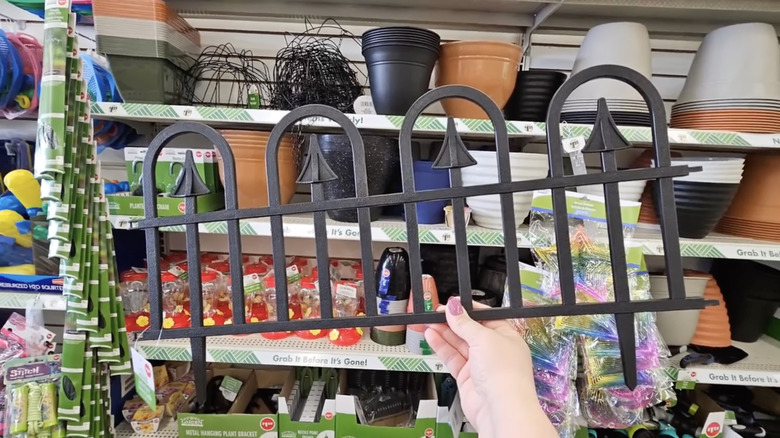
Dollar Tree garden fences may not be the sturdiest option if you need to contain a rambunctious puppy or your area experiences frequent bouts of windy weather. However, the decorative panels are a surprisingly great find if you love to craft. No matter what front door colors you're working with, they're a stunning centerpiece in a simple project that elevates a basic wreath to add major curb appeal to your home. YouTuber @diybeautyonpurpose heads straight to the seasonal aisle every spring to pick up a few of the $1.50 finds before turning them into an adorable front door DIY. To make the unique display, she secures two Dollar Tree garden fence panel pieces together using hot glue and zip-ties, paints them to create a distressed effect, and attaches a faux floral wreath and bow as the finishing touch.
There's nothing wrong with using a simple over-the-door wreath hanger, but this project requires buying one of the slightly cottagecore Garden Collection Black Garden Fence panels instead. The polypropylene pieces are available online as a bulk buy as of April 2026, and they are expected in certain stores the following month.
You'll also need a few additional materials to complete this cute DIY. Along with a handful of zip-ties, a sharp pair of scissors or flush cutters to trim them, and a sandpaper block for smoothing rough edges, you'll need a wreath measuring at least 12 inches in diameter. Paint and decorative ribbon are optional supplies depending on how you want to customize your new front door DIY.
Customize your garden fence with seasonal wreaths and floral accents
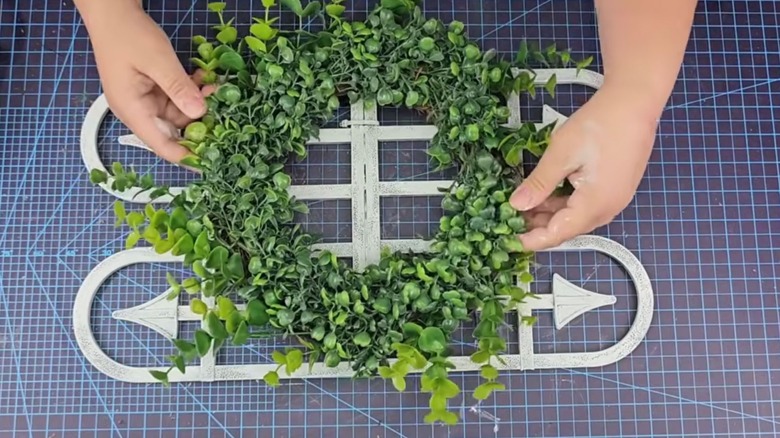
There are only a few steps to transforming Dollar Tree garden fencing into major curb appeal for your front door. First, use a sharp utility blade to cut a panel in half so you're left with two equal pieces. According to reviewers, they break easily, so you shouldn't have much trouble trimming off any excess bits or the spikes, both of which you can discard. Before moving on to the next step, rub any rough areas with a silicon carbide sandpaper until smooth. Next, apply a thin bead of hot glue or heavy-duty adhesive to the long side of both fence pieces before firmly pressing them together. As they dry, tighten zip-ties around the entire length of the joint for an extra secure hold.
Painting your garden fence base is entirely optional. If you have a front door color that makes a bright impression, leaving it black will provide plenty of contrast. However, you may want to add a stippled white effect if your door is already dark wood or black. Don't be afraid to paint right over the zip-ties to hide them, and make sure your fence glue and paint have both fully dried before moving on to the next step.
You'll use more zip-ties to attach your wreath directly to the center of your fence base. The wreath's color and style are also entirely customizable. Since zip-ties are easy to snip, you could even swap out your wreath as the seasons change. Finally, add your choice of decorative bows, floral accents, or even a small strand of battery-powered fairy lights to enhance the final look.