Skip A Full Remodel: This Affordable DIY Upgrade Makes Dated Cabinets Look Chic Again
As the hardworking hub of the home, it's essential to optimize the efficiency and practicality of the kitchen. However, since many of us spend copious amounts of time in there — cooking meals, gathering with family and guests, enjoying a cup of joe while catching up with a friend, and many other day-to-day activities — it comes as no surprise that we also want the kitchen to look as great as it functions. But when the kitchen is aesthetically outdated and there's no room in the budget for any big ticket items on the renovation wish list, try a creative solution to refresh and update your space: adding beadboard to cabinets.
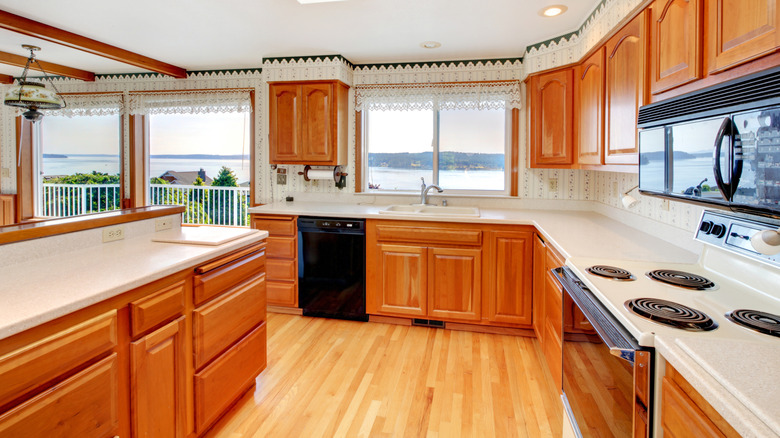
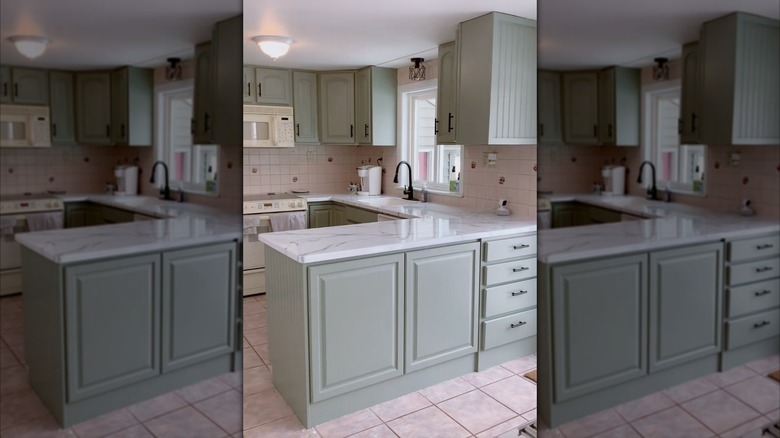
Kitchen cabinets cost a pretty penny, and it's a massively inconvenient disruption in daily life to rip out the old ones and start over. So if your cabinets are in decently good shape but are majorly lacking in timely style, oftentimes a small, affordable facelift can really help to elevate the space and bring it into the design present. User alyssarita_ shared on TikTok how she gave her outdated wood cabinets a chic and affordable upgrade by adding beadboard panels to the side and rear panels for texture and visual interest before painting the cabinets a fresh hue. This beadboard detailing gives the once blah cabinets a new look, full of character and charm. Perfect for popular cottagecore and farmhouse styles, as well as right at home in historic properties, beadboard adds that perfect finishing touch that toes the line between modern and traditional aesthetics. So instead of the cost and hassle of replacing your cabinets, this TikTok DIY is here to save your budget and sanity with an easy, affordable, and downright quaint kitchen cabinet update.
Add beadboard to the exposed side and rear cabinet panels as an elevated detail
To begin this beginner-friendly beadboard cabinet refresh, measure all exposed end and rear panels on your existing cabinetry. This includes the sides and back of an island or peninsula, end points of perimeter cabinets (lowers, uppers, and full-height) that don't terminate into a wall, and the back and sides of any floating upper cabinets. Depending on the structure of your cabinets, the beadboard may cover the whole panel or could nest only within a recessed interior section as an attractive detail. Once you have your dimensions, head to the hardware store for the beadboard. Have them cut the panels for you in store or use a circular saw to cut them yourself, as well as a jigsaw for any specialty cuts.
Adhere the beadboard to your end and rear panels by applying heavy duty wood glue or construction adhesive to both the cabinet panel and rear side of the beadboard. If you're planning to just use adhesive, clamp the panel to the cabinet while it cures and dries for a strong bond. Alternatively, use a power nailer to keep the panels tightly in place. Caulk any seams and nail holes prior to painting for a professional-looking finish. Give the cabinets and beadboard detailing a fresh coat of paint to blend everything together seamlessly for a lovely, updated look.
There are other wonderful locations to add beadboard detailing to your kitchen to bolster the historic, charming vibes. These include using it as a backsplash, in the back of open cabinets or shelving units, and even in the middle recess of standard shaker cabinet doors. No matter how you incorporate it, thoughtful beadboard detailing will elevate your dated kitchen with texture and charm without breaking the bank.