Keep Drawer Clutter Tidy With A Cute Vintage Thrift Store Find
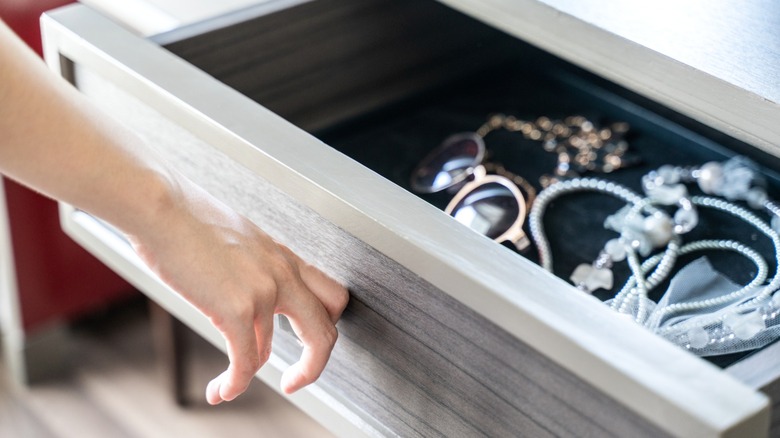
Whether it's tiny paperclips, earring backings, or twist-ties, small bits and bobs often make their way into drawers only to never be seen again. While you can always find great drawer organizers to buy online or at the store, a more budget-friendly and customizable option is to transform cookie cutters into clever practical storage compartments. The next time you're out thrifting, keep your eyes peeled for cookie cutters in fun forms, whether they be stars, hearts, or dinosaurs. You might even find bagged bundles of different shapes for just a few bucks. Gather up as many as possible, and attach them to a flat rigid sheet once you get home. By cutting a piece of poster board or a large cardboard box to fit the bottom of your drawer and then arranging the cutters on it, you'll create a cute custom drawer organizer tray.
Using cookie cutters as drawer organizers works best for smaller items, such as office supplies, small toys, screws and hardware, or junk drawer essentials like rubber bands and push pins. When looking for cookie cutters, don't worry if you can't find ones that are all the same style. You could choose one shape for each different item, such as a star for push pins or a gingerbread person for earrings. Since you're thrifting, you may find a few cookie cutters that are a little worse for wear. Don't worry — you can remove rust spots by soaking the cookie cutters in distilled white vinegar overnight and cleaning the spots with an abrasive scrubber or stiff brush. From there, you just have to style your DIY organizer as desired and begin conquering your junk drawer, sorting your kids' craft materials, or untangling your messy jewelry collection.
How to use cookie cutters from the thrift store to conquer clutter
To turn your cookie cutters into a handy drawer organizer, first measure the length and width of the bottom of the drawer you want to organize. Cut a piece of poster board or rigid cardboard to fit it. An X-Acto knife and a ruler will ensure you end up with completely straight edges. Jazz up the board by painting it, covering it with an adhesive-backed drawer liner, or laying contact paper on it. If you'd like, spray paint each cookie cutter, or give them a makeover by covering them in washi tape. Spray-painted cookie cutters should dry for at least one hour before you continue with the DIY.
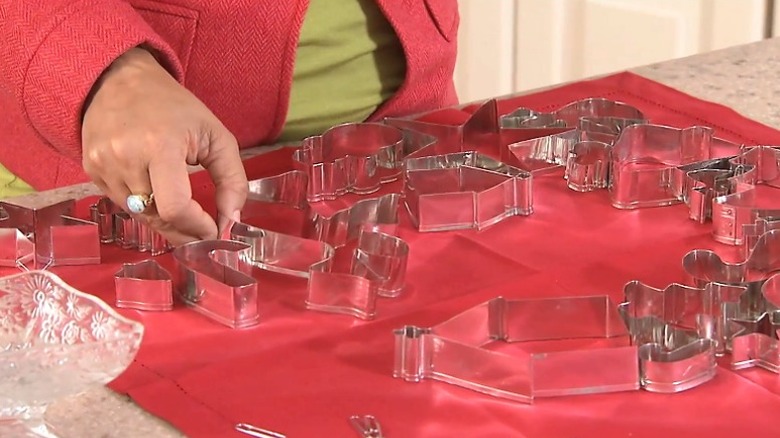
Plan the placement of your cookie cutters to optimize the use of the space on the board. You can mix and match cutter shapes or try to use all of the same kind to keep things uniform. Once you have them arranged in the ideal layout, start gluing the cookie cutters in place one at a time. Put a thin line of hot glue along the bottom edge of the cutter, and press it back into its place on the board. Let the glue dry for about 5 to 10 minutes, and then slip the organizer into the drawer so you can start sorting.