How To Turn A Basic Thrifted Tray Into A Cute Rustic Countertop Organizer

We may receive a commission on purchases made from links.
One of the top kitchen complaints is a lack of effective storage. There is arguably nothing worse than trying to maneuver around your kitchen during the busy dinner hour when the space isn't organized sensibly. Things will be out of reach or missing entirely, food items will get spilled, and clutter and chaos will ensue, making the entire dinner hour incredibly frustrating. But, since even a simple project like a pantry addition can cost a few thousand dollars, finding unique ways to add kitchen storage and organization is typically your best bet for finding relief. Oftentimes, this comes in the form of repurposing other items in a simple and effective way, which is exactly what this DIY project does. It takes one commonly thrifted item — wood trays — and with just a few simple moves, transforms them into attractive solutions for countertop organization problems.
This common thrift store find will give your kitchen countertops a storage boost in just a few easy steps, giving you a stylish place to arrange cooking oils, coffee supplies, snacks, and more. All it takes is a little bit of elbow grease to clean and sand your thrift tray, a polished finish, and some added feet, and you'll have an adorable rustic countertop organizer. Head to your thrift store for your trays, grab your favorite paint or wood stain, and order some cute feet like these simple Woodpeckers Wood Finials for around $8.00 (or any style feet). Then, get crafting!
Follow a few easy steps to make a cute countertop organizer
Search your local thrift stores for wood trays (go ahead and pick up two while you're at it — don't worry, we'll explain). Once you've got your thrifted item, clean it up by lightly sanding it down. To keep a basic rustic look, simply stain it with something like DecoArts Walnut Wood Stain and add a protective polycrylic finish. You can keep your aesthetic simple and stop here, or add some unique decoration by laying contact paper or decoupaging the interior. If your kitchen has a theme like sunflowers or roosters, this may be the perfect way to incorporate it using patterned napkins and Mod Podge.
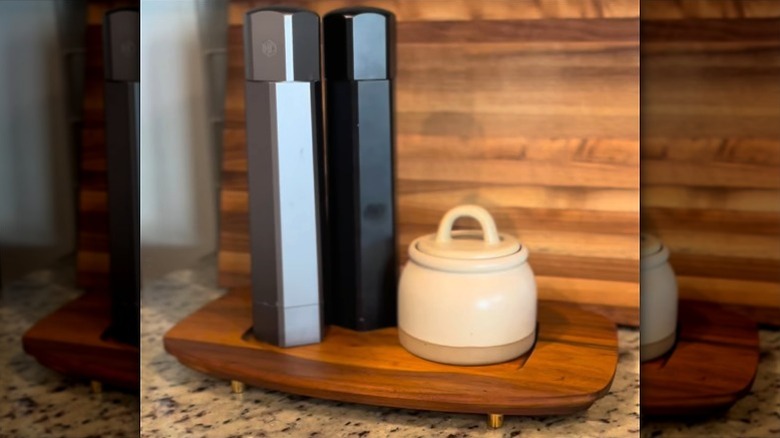
Now, this is where your second tray can come in. If you have the vertical space, use the second tray to create tiered storage. Follow the same prep steps, and use a thick wood dowel, such as this Woodgrain Millwork 1 ¼-Inch Pine Round Molding at Home Depot, to attach the second tray on top of the first. For the best support, cut a dowel to your preferred length in four equal cuts. Add one to each corner of your tray. Use a drill to screw up from the bottom tray into the dowel and down from the top tray into the dowel. Lastly, add on your feet with wood glue. Once your organizer is assembled, use it to store your most-used kitchen items. Things like coffee pods, flour, or sugar can fit great on the tray, or you could use it as a spice organizer that will make your counters look just right.