Not Paint Or New Hardware — This Clever DIY Completely Transforms Dated Cabinets
We may receive a commission on purchases made from links.
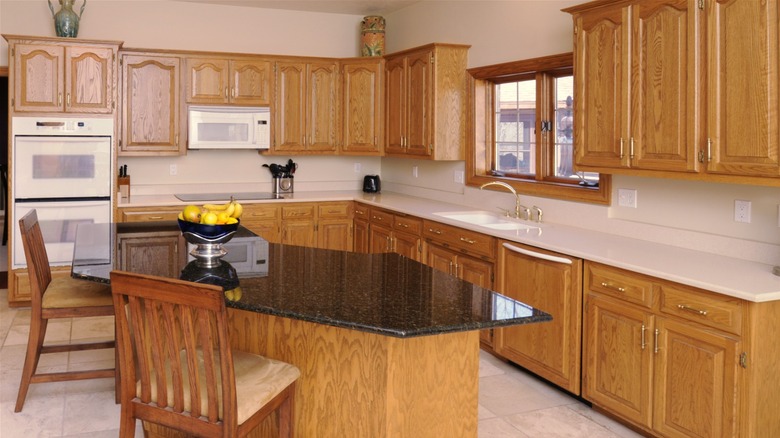
When you live in the same home long enough, you often watch it go through several updates. Fashions and routines evolve over time, with fixtures like cabinets needing occasional alterations to stay current. While it might be fun at first, experience can make you lose your excitement for that next big DIY makeover. Sure, you could pick a new cabinet paint color to stay on trend, but you know it's only a matter of time before it chips, scratches, and needs repair. Meanwhile, new hardware only does so much to overcome unfashionable styles. If you're tired of the typical go-to solutions and yearn for more unique ways to update your kitchen cabinets, it may be time to try a sleek, practical alternative that's made to last — vinyl.
Vinyl isn't often the first option people think of for kitchen cabinets, but the idea isn't new. Cabinet manufacturers have offered vinyl options like Thermofoil for decades, and DIYers can find all sorts of architectural films specifically for household surfaces. There are elegant wraps in different colors to make your kitchen stand out, as well as various sheens or textures to mimic materials like wood, metal, leather, or stone. As TikToker @paige.sechrist found, vinyl wraps for cars also work here, giving you even more options to transform your cabinets.
Beyond the aesthetics, vinyl wraps are a benefit because they resist moisture and everyday wear and are easy to clean — they may end up looking dated long before they start looking dingy! And while the material is hardwearing, the application can be easy-going. With the right tools and a helping hand, you might be able to completely update your kitchen cabinets in a single weekend.
What it takes to transform kitchen cabinets with vinyl wrap
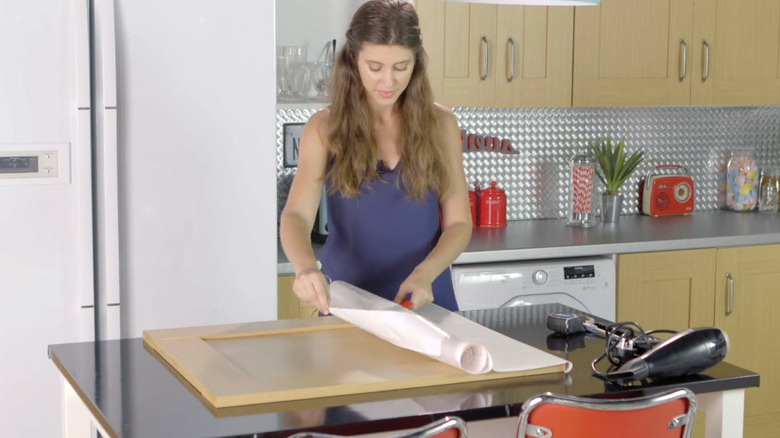
After measuring your cabinets and ordering your vinyl wrap, you'll just need a few hand tools to apply it. Grab a sharp X-acto knife, scissors, and a squeegee like this TECKWRAP Plastic Felt Edge Squeegee. A heat gun or hair dryer will help you stretch and shape the flexible vinyl into grooves and contours.
Remove your cabinet doors, take off any hardware, and clean the surfaces to ensure the vinyl sticks properly. Measure and cut a piece of vinyl a few inches wider than the door face on all sides. The extra overhanging the sides will fold around to the back of the door. Starting at a corner, remove some of the vinyl's backing so you can stick the vinyl in place. Use your squeegee to smooth the vinyl against the surface, pushing out any wrinkles or air bubbles. Keep applying the vinyl down the door, alternating between pulling away the backing and smoothing the vinyl section by section.
If you have raised panel doors or any dimensional designs to work the vinyl into, use your heat gun to soften and flex the vinyl into the recesses as you encounter them. Use your finger or your squeegee to press the vinyl into any creases. You'll have to cut the vinyl and possibly apply some heat at the corners where it overhangs the door panel so the edges can fold over the side. After completing your doors, apply your wrap to the cabinet carcass. With that complete, you just have to reinstall your handles and hinges to rehang your door, or you could try new kitchen cabinet hardware ideas to match your freshly wrapped and up-to-date installation.