Nate Berkus Turns An Old Vase Into A Stunning Light Feature With A Vintage Twist

We may receive a commission on purchases made from links.
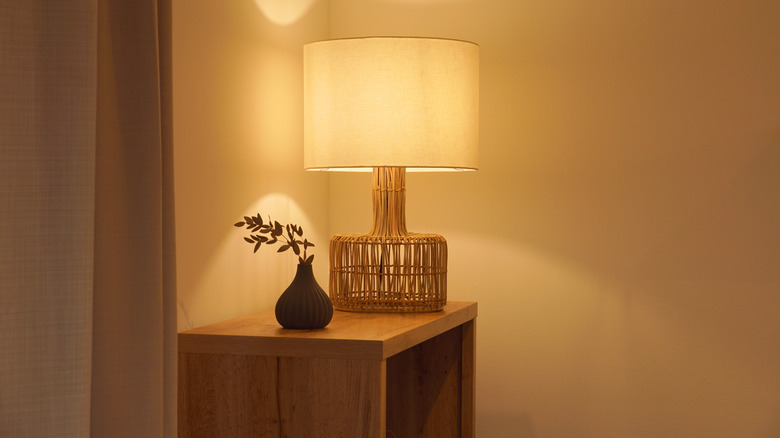
An old vase is fairly easy to come by in thrift stores and at yard sales. Perhaps you already have some in your own collection, just waiting for the right floral arrangement to display in them. Forget the flowers for this project and turn one of your fave vases into a lamp instead. A vase that looks stunning or that has some visually interesting features can be easily turned into a lamp with a lamp wiring kit, a vase cap, and a lampshade. You could even use one of the bargain vases sold at IKEA, if you like. In an Instagram reel, Nate Berkus shows off a vase-turned lamp that has a unique look. The shape of the vase almost looks as though it was designed to be a lamp. You could whip up a similar vase to be a table lamp or use it to add some unique bedroom lighting to your cozy book-reading nook.
If you've never wired a lamp before, it's not a difficult process. You don't need to be an electrician to do it either; the directions are typically included with the kit. Look for a lamp making kit that comes with the lamp harp, as the harp is the thing that holds the shade off of the lightbulb in some lamp designs.
You'll also need a drill and a bit that can go through the vase material, such as ceramic. The electrical wiring has to go through the drilled hole and up through the top opening of the vase, so you'll want a vase with a wide enough top to stick your hand inside.
Turning a vase into a table lamp
Once you've found a suitable vase, measure the top part and purchase a vase cap that matches its size. This cap covers the hole and makes it less obvious that the DIY lamp you make started out as a vase. Vase caps come in various materials such as brass or wood, so you can pick one that suits the style and color of the vase.
Decide which side of the lamp will be the back. Perhaps there's a small chip or flaw that makes it easier to choose a side. Drill a hole near the bottom, up half an inch or so from the base. The hole should be a little wider than the electrical cord, as recommended on the light-wiring kit's instructions. Run a length of electrical cord through the small hole and then out the top, leaving extra wire at each end. Leave as much wire beyond the small hole as you'd like for the length of electrical cord so it's easier to reach the nearest outlet. Run the top side of the wire through the vase cap so the cap can sit atop the vase. Finish wiring the lamp as directed in the kit, then test it to ensure it works. If it works, adhere the vase cap to the top of the vase using construction adhesive or silicone. Add a shade the suits the style of the lamp, as well as the decor in the room. If you like, you can even make your own lampshade.