DIYer Reveals How She Transforms Dollar Tree Gems Into Breathtaking Wall Art
We may receive a commission on purchases made from links.
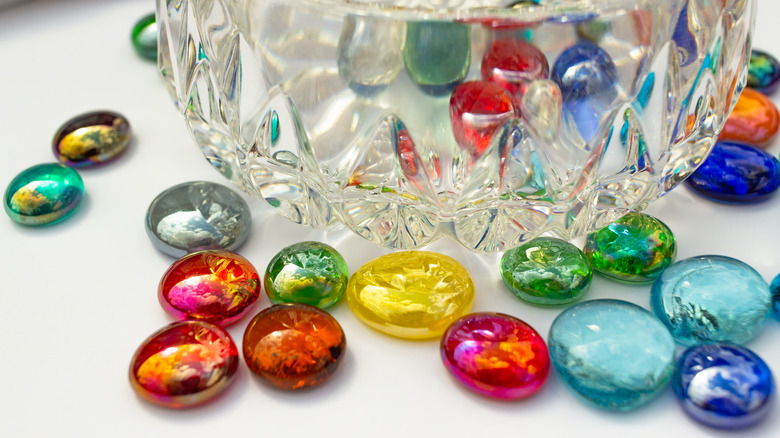
Are you obsessed with geodes and all things metaphysical? If you've got crystals in every room in your house, you probably already know that, no matter what kind of luck or protection they might promise, amassing a collection of large agates, quartz, and other sparkly gemstones can cost a fortune. Luckily, you can craft your way to a beautiful bohemian vibe with a few inexpensive Clear Glass Accent Gems from Dollar Tree. Hometalk recently shared a simple yet stunning project on YouTube that's equal parts functional and free-spirited. A crafty DIYer heated small opalescent glass gems until they crackled, attached them to a piece of brown craft paper with resin, then used carefully applied paint to replicate the look of agate bands.
A fantastic boho wall decor idea to jazz up your space, it's possible to complete this geode project in a single afternoon — although it does require a general familiarity with gemstones. You don't have to be an expert, but doing a little research into the slightly irregular shape and banded appearance of agates will improve your end result. It's also important to gather the right supplies. Along with the gems themselves, you should grab a parchment-lined baking sheet and a pot of ice water to crackle your gems, as well as some sharp scissors and simple brown craft paper to cut out your geode-shaped template. You'll also need some resin and powders: Hometalk's DIYer used Mixed Media Girl Artist Resin, a clear, non-toxic formula that's available on Amazon, plus two packets of mica powder, one opaque white and one shimmery diamond dust, which are also available from Mixed Media Girl.
How to make resin geode art
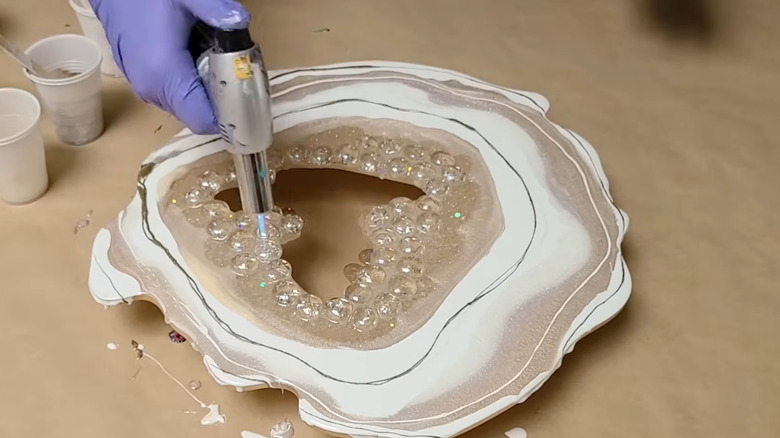
To begin making your geode wall art project, start by cutting a geode shape out of craft paper in your desired size. To achieve a crackled effect on your gems, bake them on a parchment-lined sheet at 425 degrees Fahrenheit for 20 minutes before immediately transferring them into a bowl of ice water. Once they're dry, arrange the gems around the center of your paper template. Then, pour rings of prepared resin to secure them in place. Try varying the color of gems and resin to customize the final look. The resin is self-leveling, but a small kitchen torch like the Sondiko Butane Lighter from Amazon will help you get rid of any bubbles. After the resin has fully cured, remove the paper backing.
Finally, it's time to display your creation. Originally conceived as a piece of hanging wall art, you may need a few tools to properly hang it. You could also attach small wooden dowels with more resin to create an elevated cupcake stand, or use a freestanding plate holder to maximize the amount of light that shines through.