Step Aside Subway Tile: David Bromstad's Backsplash Idea Has Way More Character
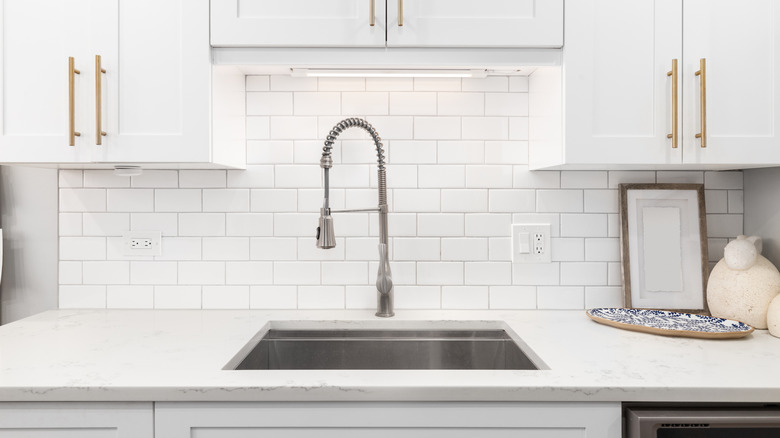
If you're looking for kitchen backsplash ideas and inspiration, you may have noticed that subway tile isn't as popular as it used to be. It still has its uses, of course. For example, using subway tiles in small bathrooms can be a good way to add some rustic charm or make the room seem larger. When it comes to backsplashes, though, designer and TV personality David Bromstad has a better idea: Consider using penny tiles for your backsplash instead!
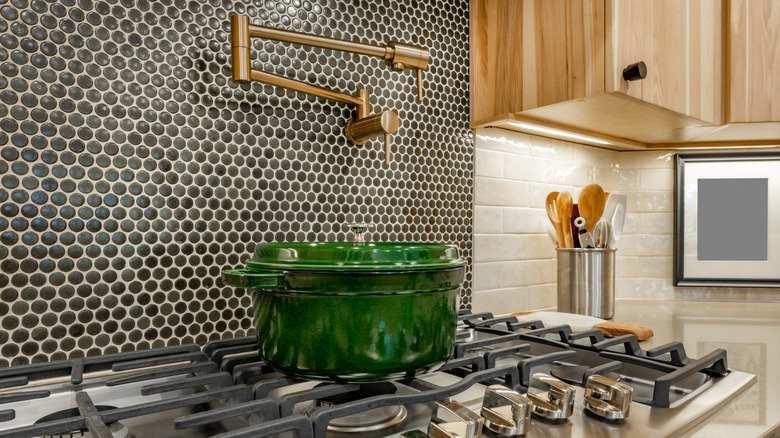
In an interview with HGTV, Bromstad suggested homeowners mix and match different colors of penny tiles to create "a totally one-of-a-kind creation." Mesh-backed penny tiles come in sheets of one or more colors that can be cut apart and rearranged. Bromstad used both a solid green and multicolored sheet to create his striped backsplash, but the wide variety of colors and materials available means you should be able to match your existing decor — alternatively, you could use penny tiles as the basis for an entirely new aesthetic in your kitchen or bathroom. Penny tiles are smaller than most standard tiles, and they're a great way to add texture to an otherwise empty wall. However, due to their smaller size and the gaps between the tiles, they can be harder to keep clean than slab or subway tile backsplashes.
How to install a penny tile backsplash
Start by planning your design and gathering your tiles and grout. Consider what color grout you'll want to use: Dark gray is a solid choice, as it won't distract from the pattern, but it's also possible to use colored grout to up your tile game. Measure the area you want to tile carefully, so that you know how many sheets of penny tiles you'll need. Next, do a dry run of your design by arranging the tiles without mortar. This ensures you have enough penny tiles and that your idea looks as good as you thought it would! It can also be helpful for practicing getting the tiles into alignment, lessening the chance that the gaps between different sheets will be noticeable. If you want your design to have flat edges, you'll need either a wet saw or a tile nipper to cut the tiles on the ends. You'll also need a trowel and mortar, as well as sponges to clean up afterwards.
Start by applying the mortar in a thin layer over the backsplash. If the area is small, you may be able to do it all at once, but in general it's better to apply the mortar and tiles a little at a time, so that the mortar doesn't dry before the tiles are put into position. Once the tiles are placed, add your grout. Filling in the gaps is a tedious job, but it's important not to miss any. Clean up excess grout after it has dried, apply a sealant to help it last longer, and you're done!