Say Goodbye To Tangled Garden Hose Eyesores With A Stylish IKEA Hack
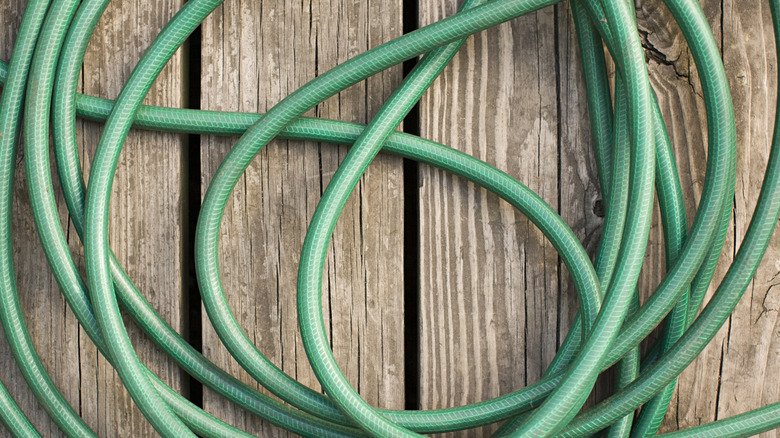
One of the biggest eyesores on the exterior of a home is the mess of disheveled garden hose loops piled haphazardly near the spigot. When you go to use it, the tangles and kinks make it nearly impossible to operate, and when you go to put it away, despite your best efforts to coil it neatly, it somehow forms the same tangled mass on the ground for next time — truly a never-ending battle. Even the best garden hoses are notoriously challenging to wrangle without a proper storage method. Some inexpensive, exposed wall-mounted garden hose holders aren't much more attractive than the hose pile, while those vessels that keep the coils out of sight can cost a pretty penny.
Thankfully, Yulema González (@yule_home_deco) shared on Instagram how she hacked the affordable IKEA TRONES plastic tilt-out storage box to transform it into a discreet, minimalist hose holder. González simply cut a hole in the back to accommodate the spigot and modified the interior to allow for extra room inside the TRONES cabinets, which are sold in a two-pack for only $39.99.
It's worth noting that the dimensions of the TRONES will likely only work for a fairly small or short hose, as anything with too many large coils will not fit inside the box. To test if this DIY will work for you, tightly coil your hose and measure the approximate dimensions to see if it is compact enough to fit within the approximately 18 ½ inch-wide by 6 ¼ inch-deep and 15 3/8 inch-high internal compartment. If your hose is compatible (or if you decide to trade your unruly hose for a compact alternative after seeing the results of this clever project), simply grab a jigsaw (and a hole saw if desired), and you're ready to tackle this easy hack.
Transform the IKEA TRONES into an attractive hose holder by cutting a hole for the spigot
To create your own streamlined IKEA TRONES garden hose holder, begin by separating the wall-mounted portion of the box from the tip-out front. Next, either attach a hole saw to your drill or grab a jigsaw to create the opening near the top of the back side of the box for the spigot to go through. The DIYer made two circular holes and connected them with straight cuts to create an oval-shaped opening for the spigot, but you can create whatever shape and size hole your spigot requires. Be sure you have it high enough on the box to accommodate the hose connection and bend below the spigot, but also low enough to be able to operate the spigot. Slide the back half of the box with the hole over the spigot, ensure it's level, and secure it to the wall per the instructions with heavy-duty fasteners appropriate for the wall type and hose weight.
Next, flip over the front half of the TRONES so the internal box is facing upwards, like in the Instagram video, and cut out the short back panel using a jigsaw, leaving only the front and side panels. This will give you more room internally to fit the coiled hose, though you could skip this step if you have a compact hose that doesn't require the extra space. Reattach the front tilt-out portion of the TRONES to the back side that's mounted on the wall to complete the hose storage vessel.
All that's left is to attach the hose to the spigot, coil it up, and stash it away inside your handy, inexpensive IKEA TRONES storage box, perfect for keeping the exterior of your home looking neat and tidy.