Upgrade Ugly Closet Doors Without Replacing Them With A Sleek & Affordable DIY
Unless you're building a new custom home or have an old house with ornate detailing, odds are that your closet doors are pretty boring. These kinds of doors are typically afterthoughts chosen to save money in a less public part of the home. Makes sense, right? Except that you have to look at these ho-hum eyesores every day in your bedrooms, hallways, and bathrooms. Installing new interior doors can cost a pretty penny, too, so upgrading the look of your ugly closets may seem cost prohibitive.
However, @cb_loves_interiors_20 shared on Instagram how she transformed some standard closet doors into a gorgeous focal point in the room, using only some half round D-shape molding, paint, and hardware. By running strips of the arched molding vertically across the door, she created a luxe textural fluted aesthetic, a welcome alternative to boring traditional closet doors. She used this technique on a swing door, but you can also work this DIY trick on bi-fold and sliding doors as long as you check the doors' clearances before proceeding. Prep for the project by removing any hardware on the doors so that you have a flat surface to work with, other than any recessed panels. Now you're ready to grab your materials, as well as some adhesive, caulking, and a couple of basic tools.
How to upgrade your closet doors
To begin this lovely closet door upgrade, you'll need to measure the dimensions of the door to determine how many strips of molding the project will require. The door height will tell you the minimum length of molding to buy, as you don't want seams to appear. Measure the door in a couple of spots to be sure it was cut square when installed. Alternatively, if your door has recessed panels, you could opt to install the molding within the panels for simplicity and cost effectiveness.
Divide the width of each door panel by the width of the molding material to get a count of how many strips you'll need. Assuming you have a full-height door, you'll likely only get one strip per piece that you buy, but this may not be the case for shorter closet doors, or if you're installing in recessed panels. Once you've calculated materials and purchased some half-round moldings, cut each strip to the necessary length with a hand or electrical saw.
Following the instructions on the packaging for best results, use a construction adhesive to apply the strips to the surface of the door, beginning at one end and working your way to the other. Though @cb_loves_interiors_20 used Gorilla Glue, an adhesive specifically designed for construction projects like applied moldings will likely hold up better in the long run. Alternatively, you could use a brad or pin nailer to apply the strips to a wooden door. Rip down the width of the final molding piece as needed to fit the measurements of the door, then repeat the application process on any additional door panels.
Final touches for your closet door makeover
Once dry, sand the applied moldings for a smooth surface, including the back and sides of the existing door if you plan to paint both sides. Use a paintable caulking to fill in the gaps between each strip and around the door perimeter. When the caulking has cured, prime all the surfaces you're planning to paint, then give the doors two finish coats in the color of your choice.
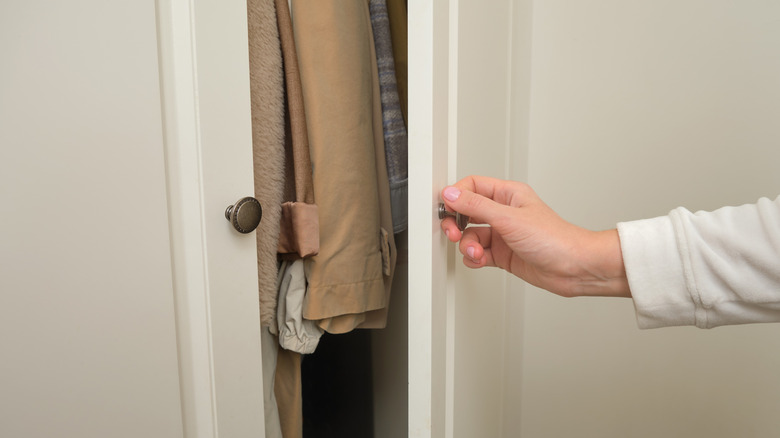
The last detail is hardware. Since you've added material to the front of the door panel, the standard interior door hardware for swing doors may no longer work properly. However, you may be able to work with exterior door hardware made for a thicker, 1 ¾-inch exterior door, depending on the dimensions. When in doubt, stick with non-operational dummy knobs or cabinet door-type decorative hardware that attaches with simple screws. Keep in mind that this means swing doors will close but no longer latch. Drill holes for the hardware, making sure that the screws are long enough to go through the thickness of your original interior door — the standard is usually 1 ⅜ inches – plus the added molding material on top. You can typically find longer screws at the hardware store if those that come with your door pulls aren't long enough.
And voila: Your builder-grade closet doors now have a high-end custom look, and all for the cost of some molding strips, paint, and hardware. Of course, now that you've transformed one set of closet doors, you'll want to do them all!