Instantly Transform Dated Popcorn Ceilings With This Simple DIY—no Removal Needed
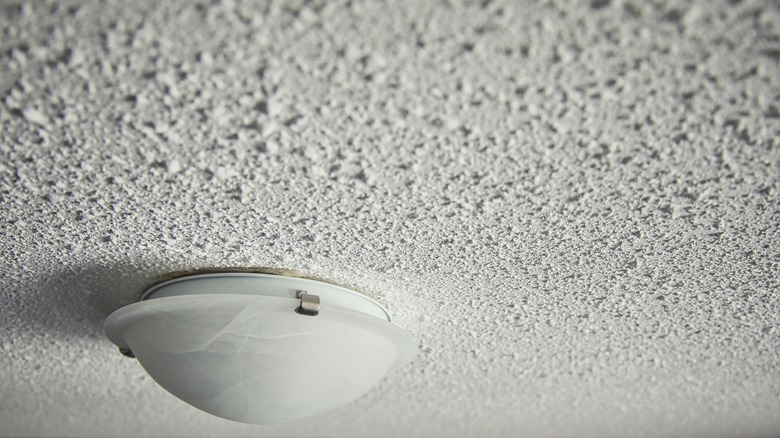
When you grow tired of your ugly popcorn ceilings, you may think that your only option is to remove them. These ceilings are difficult to clean, outdated, and susceptible to damage. However, instead of tearing them off entirely, you might find it much easier to refresh your popcorn ceiling with a new coat of paint and give it new life. Additionally, if there is asbestos in your ceiling, which, if your house was constructed or ceiling installed before 1978, there is a strong likelihood, painting over it could be a safer and more affordable alternative to hiring an expert to remove it.
Before you try this idea to cover your popcorn ceiling, you should test the ceiling for asbestos and assess the condition of your popcorn ceiling. If there is asbestos in your ceiling, it should only be an issue if your ceiling has tears or cuts that release the asbestos into the air. If the asbestos is present, but the ceiling is in good condition, you should be able to carefully paint over it.
To complete this project, you will need safety masks and glasses, painter's tape, and plastic sheets to protect yourself and your home. You will need a roller and an extension pole to reach the ceiling, and the roller nap should be either ⅜-inch or ½-inch. For smoother popcorn ceilings, you can use the smaller roller nap; however, you should use the larger size if your ceiling is more textured. You'll also need a paint tray, angled brush, and, ideally, a flat interior ceiling paint that already has primer in it.
Painting your popcorn ceiling
Before you paint your ceiling, you should start by cleaning the ceiling thoroughly, but gently, with a soft brush attachment of a vacuum to remove all dust. You don't want to damage the ceiling by causing pieces to flake off. Once the ceiling is cleaned, you should prepare your room for painting by covering the walls and floors with plastic sheets and removing any furniture. If you can't remove the furniture, ensure you cover it thoroughly with the plastic sheets. To properly secure the sheets, use painter's tape. Also, cover any ceiling fixtures, such as lights, with either plastic sheets or bags.
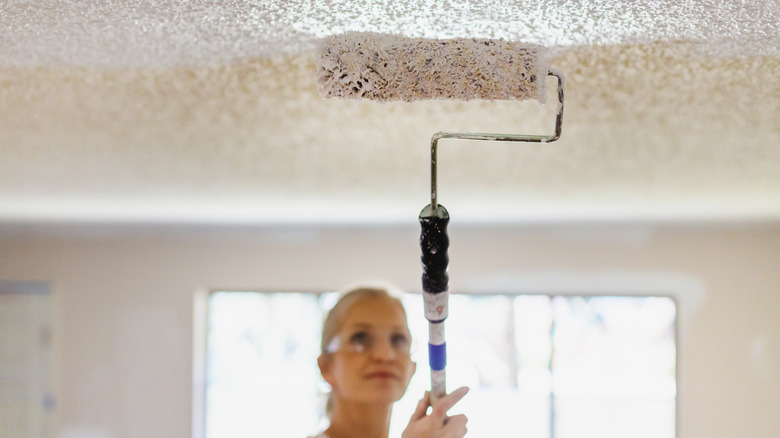
With the room prepared, you can begin painting your ceiling. By using a flat or matte finish, you diminish the visual effect of the popcorn ceiling. To make sure you have enough paint for the project, buy about 20% more than you would need for a flat ceiling, as the popcorn texture will require more. Start by painting the edges with an angled brush, and then move to the center using a roller. Using a generously coated roller, apply the paint all in the same direction with slight pressure to make sure you thoroughly and evenly coat the ceiling's texture. Once the first coat dries, apply the next coat in the same manner, but in the opposite direction. This will provide you with even coverage all across the ceiling.