DIY Holiday Village Using Air-Dry Clay (Free Templates Included)

For a magical Christmas village in your home, make these little air-dry clay houses. Air-dry clay is such an easy material to use, and to simplify this project, we've designed a free printable template that includes four different houses.
After you make the houses and set them up, add little votive candles or mini LED lights behind them to let the light shine through the windows. Then sprinkle in some additional faux snow and bottle brush trees. It creates such sweet holiday decor for any mantel or shelf.
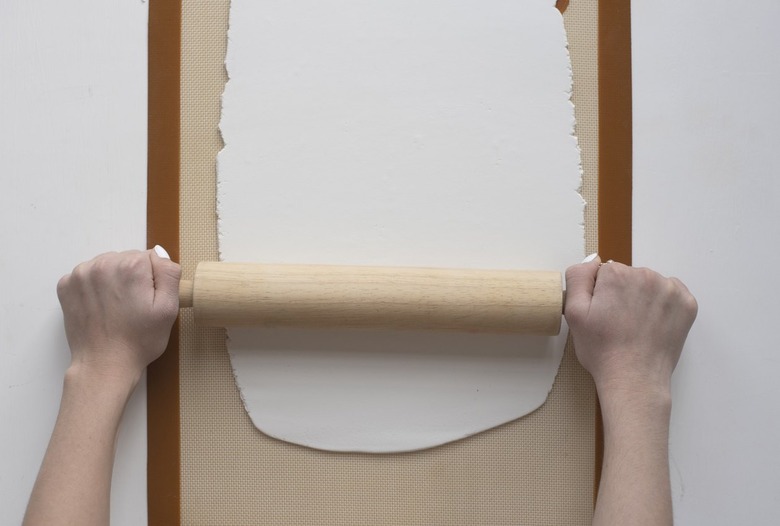
Step 1
Roll out a half package of white air-dry clay. We like to use an old silicone baking mat for our working surface. Roll to 1/4 inch in thickness.
 Melissa Fenlon
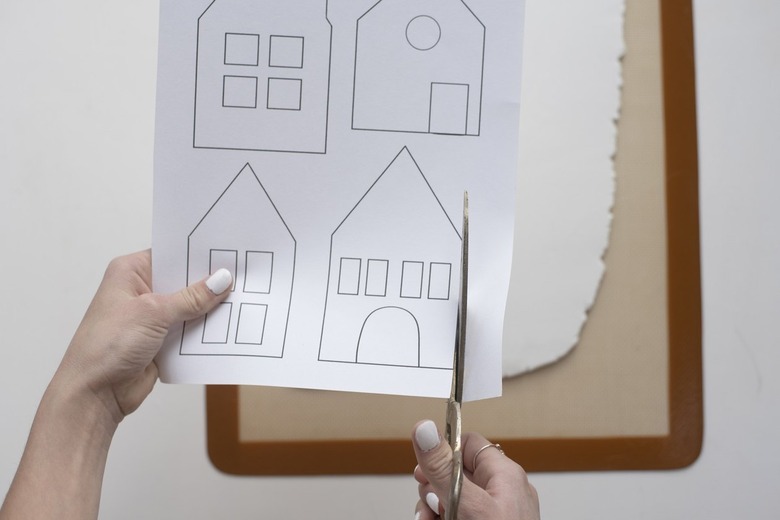
Step 2
Cut out the houses from the free printable template. Lay each house on top of the clay, and then cut out along the exterior lines off each house on the clay. We like to use an X-Acto knife.
 Melissa Fenlon
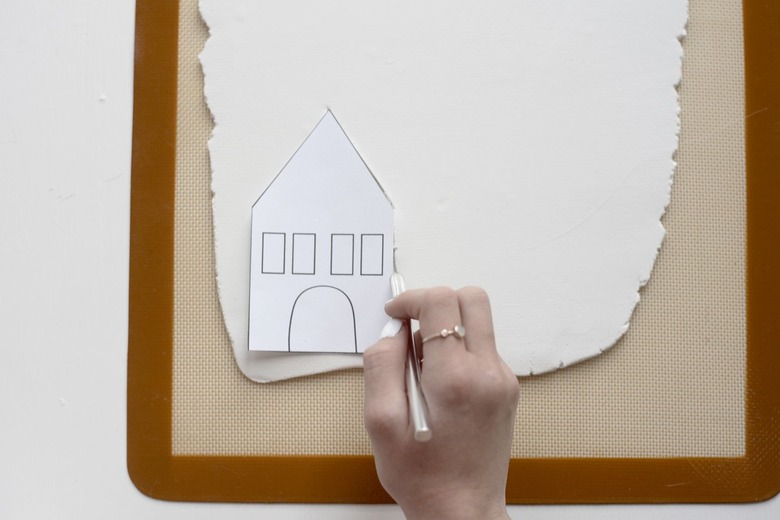
Step 3
Use a pencil to trace the windows and doors. Press lightly as you "draw" out windows. Then gently remove the template houses using an X-Acto knife, and cut out the windows and doors. Dip your finger in water and rub out any lines on the houses to create soft lines. Let the clay dry.
 Melissa Fenlon
Tip
We like to place our clay houses on a cookie sheet and then put a flat cookie sheet on top of it to ensure that the clay dries flat.
Step 4
It can take 24 hours for the clay to completely dry (depending on which climate you are in). Once dry, feel free to sand the edges with fine sandpaper. We recommend sanding outside.
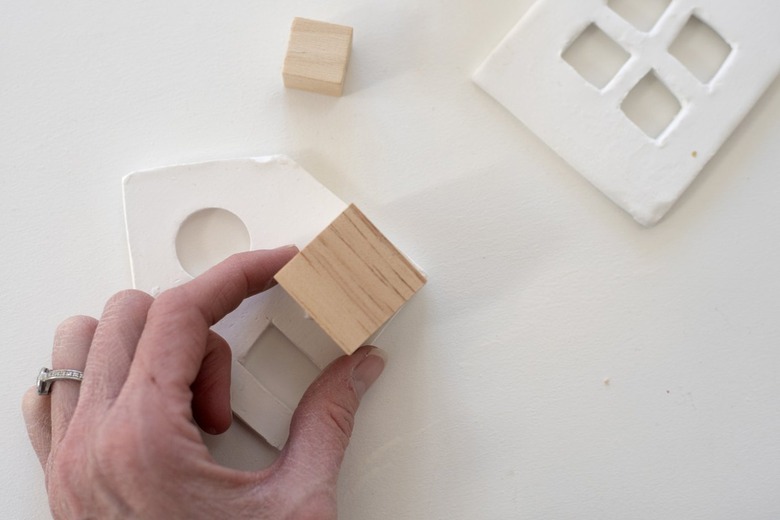
Step 5
Use small wood blocks and quick dry craft glue to stand the houses upright. Just add glue to one side of the wood block and adhere to back of house.
 Melissa Fenlon
Your village is ready to be put out on display!
 Melissa Fenlon