How To Clean And Maintain An Evaporative Cooler
We may receive a commission on purchases made from links.
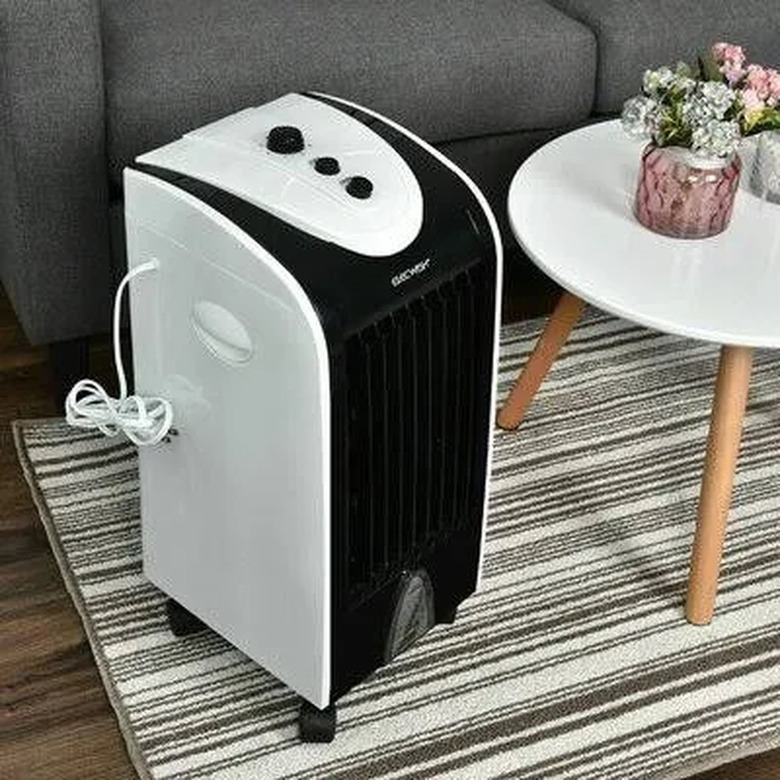
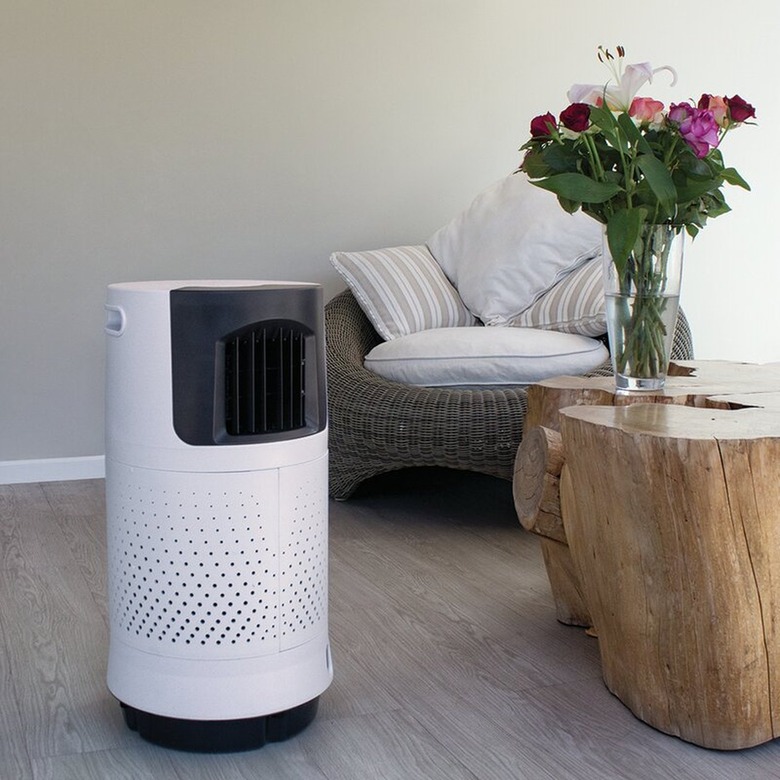
An evaporative cooler — a cool, energy-efficient alternative to an air conditioner for people who live in dry climates (sometimes known as a swamp cooler) — works on the same principle: evaporation. Instead of cycling a refrigerant through a closed system of tubing, however, an evaporative cooler drips water through a fibrous pad, and as the water evaporates, it cools the air around the pad, and the cooled air is circulated into the living space by a blower. Evaporative coolers come in many sizes, ranging from small portable and window units to wall-mount and rooftop systems that can cool a whole house.
Because it circulates water, which is the number-one ingredient for mold and mildew growth, an evaporative cooler needs more maintenance than an air conditioning system. Continuously pumping fresh water into the cooler and draining it away would be a colossal waste of water, so most units have drain pans fitted with recirculating pumps that recycle the water that collects in the pan. One of the most common complaints about evaporative coolers is that they circulate musty air, and this is invariably due to microbes getting a foothold in the drain pan, which is pretty much to be expected when you leave a pan of water standing in hot temperatures.
Once bacteria and mold get established in the drain pan, the pump circulates them through the cooling pads, and the blower then circulates them into the living area. The main goal of maintenance and cleaning is to keep these microbes under control, but an evaporative cooler has moving parts that also need TLC.
What's Inside Your Evaporative Cooler?
What's Inside Your Evaporative Cooler?
Evaporative cooling systems are less complex than air conditioning systems. Instead of a compressor and a system of coils, all you'll find is a blower, a drain pan, a recirculating pump, and the evaporator pads, which is where cooling happens. When the system is working, the recirculating pump — often in conjunction with an external water source — sprays water onto the top of the cooler pads, which are arranged vertically like the grille on an air conditioner. The water evaporates as it makes its way through the pad media. The blower either sucks fresh air through the pads and circulates cool air through a ductwork system or it blows air through the pads directly into the room.
Portable swamp coolers have a removable water reservoir that has to be refilled manually, whereas whole-house and window units have tubing that connects them to the home's water supply, so they don't need refilling. Units with an auxiliary water source have a float in the drain pan that calls for water when the level in the pan is low, and most have a drain with a bleeder valve or drain plug to let water out when the level is too high. Checking, servicing, and cleaning all these parts, including the blower, constitutes a thorough evaporative cooler maintenance program.
Things Needed
 Wayfair
How to Clean and Maintain Portable Units
1. Clean the Water Tank
Turn off the evaporative cooler and unplug it. Open the front panel and remove the water tank. Empty the water tank, fill it with a 50-50 solution of vinegar and water, and let it sit for an hour or two. Then, empty the tank, rinse it with clean water, and wipe it down with a damp sponge. You should do this every three days when the cooler is in operation.
2. Clean the Cooler Pad
Remove the cooler pads (there may be more than one) and immerse them in a solution of water and lemon juice for about a minute. This dissolves mineral deposits left on the pads by hard water. You can also use a 50-50 solution of vinegar and water but the vinegar may leave an odor. Let the pads air dry completely before replacing them. Do this once a month.
3. Wipe Down the Outside of the Unit
Every few weeks, wipe down the outside of the unit with a damp sponge. If the cooler has nonremovable air filters on the side, wash them with water and mild soap, such as dish soap, and rinse with clean water.
4. Clean and Lubricate the Blower
Once a month, wipe down the fan blades with a damp, clean rag to remove dust buildup. Lubricate the fan motor with a few drops of lubricating oil. Rotate the blower blades to make sure they turn freely and look for signs of corrosion or mineral deposits from hard water. If you see any rust or scale, you can wipe it off with a rag dampened with vinegar. Keep an eye on the blades; if they have corrosion that gets worse, you may need to replace them.
5. Deodorize the Cooler
Prevent musty smells by deodorizing the cooler with a commercial swamp cooler deodorizer. Use the product you purchase according to directions.
6. Put Everything Back Together
Let the water tank and cooling pads dry completely, which will probably take several hours. Then, put everything back in place, fill the tank with fresh water, and turn on the cooler.
Summer and Fall Maintenance
Spring Maintenance
How to Clean and Maintain Fixed Units
Fixed evaporative coolers are those permanently connected to a water supply. They may be mounted in a window, on the side of the house, or on the roof, and because they are exposed to the elements, they need seasonal maintenance. Most of the swamp cooler maintenance tasks are the same as those for portable units, but they have drain pans, drain hoses, and water supply lines that aren't removable and have to be cleaned in place. The cooling pads are removable, though, so you can clean those the same way you clean the pads for portable units.
References
Spring Maintenance
1. Clean Debris
Remove winter debris from the housing, open the unit, and clean out any debris inside. This helps ensure good airflow through the unit.
2. Clean or Replace Cooler Pads
Generally, clean the cooler pads twice a year depending on the type of pad. Cellulose honeycomb pads can last as long as five years, but Aspen fiber cooling pads, which are more common, need to be replaced with new pads often.
3. Check the Fan Belt
Check the tension on the fan belt and adjust it if necessary. It shouldn't flex more than 1 inch when you press on it.
4. Turn on the Water and Do a Test
Reconnect the water hose if you disconnected it during winterizing. Turn on the water, which you definitely should have turned off prior to the winter freeze. Turn on the unit and test the float in the drainage pan. Lubricate the float if necessary.
1. Check the Drain Pan and Pads During Hot Weather
Mold grows when the weather is hottest, so check the drain pan and pads and replace them if you find signs of mold. If the pan is overfull, it's probably because the bleeder drain is blocked by calcium deposits from hard water. Clean the pan and the hoses with vinegar. The pads may also be partially blocked by hard water deposits, which impedes airflow. If so, immerse them in a lemon juice solution to dissolve the deposits.
2. Get Ready for Winter
When shutting down the cooler for the season, empty and clean the drain pan and turn off the water. It's a good idea to disconnect the water supply hose and drain out the water.
3. Cover the Unit
You'll have one less spring task if you cover the housing for winter. Wrap it with a tarp and secure the tarp with bungee cords. Hook the bungees to the bottom of the unit, not to the side louvers, which could be damaged.