DIY Cloud Headboard That's Totally Dreamy
We may receive a commission on purchases made from links.
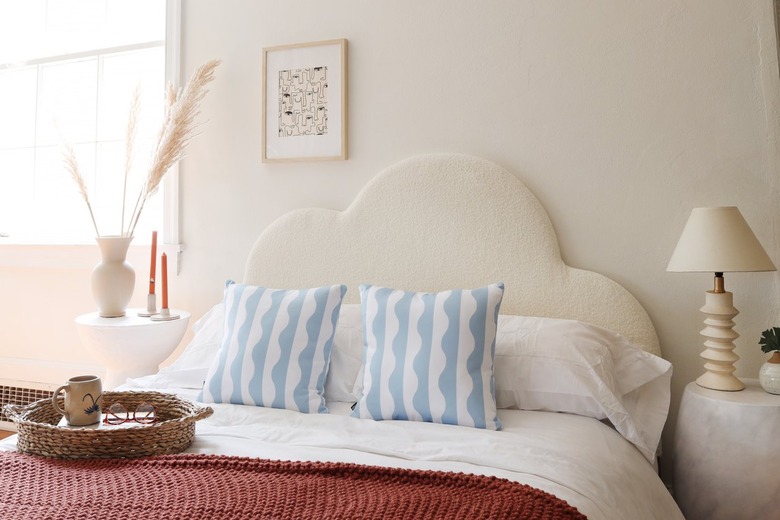
Bring a bit of fun and whimsy to bedtime with a cloud-shaped headboard. We took a full-sized kids' bed and gave it a luxe makeover by reupholstering it with bouclé fabric. With its signature nubby texture and plush feel, bouclé is an excellent (and super on-trend) choice for a headboard. Not only does it instantly transform a child's bed from cute to ultra-chic, it also offers a super cozy place to rest your head. Whether you're decorating your own room, a guest room, or updating a growing kid's room, this cloud headboard will guarantee they drift off to dreamland in style.
Things Needed
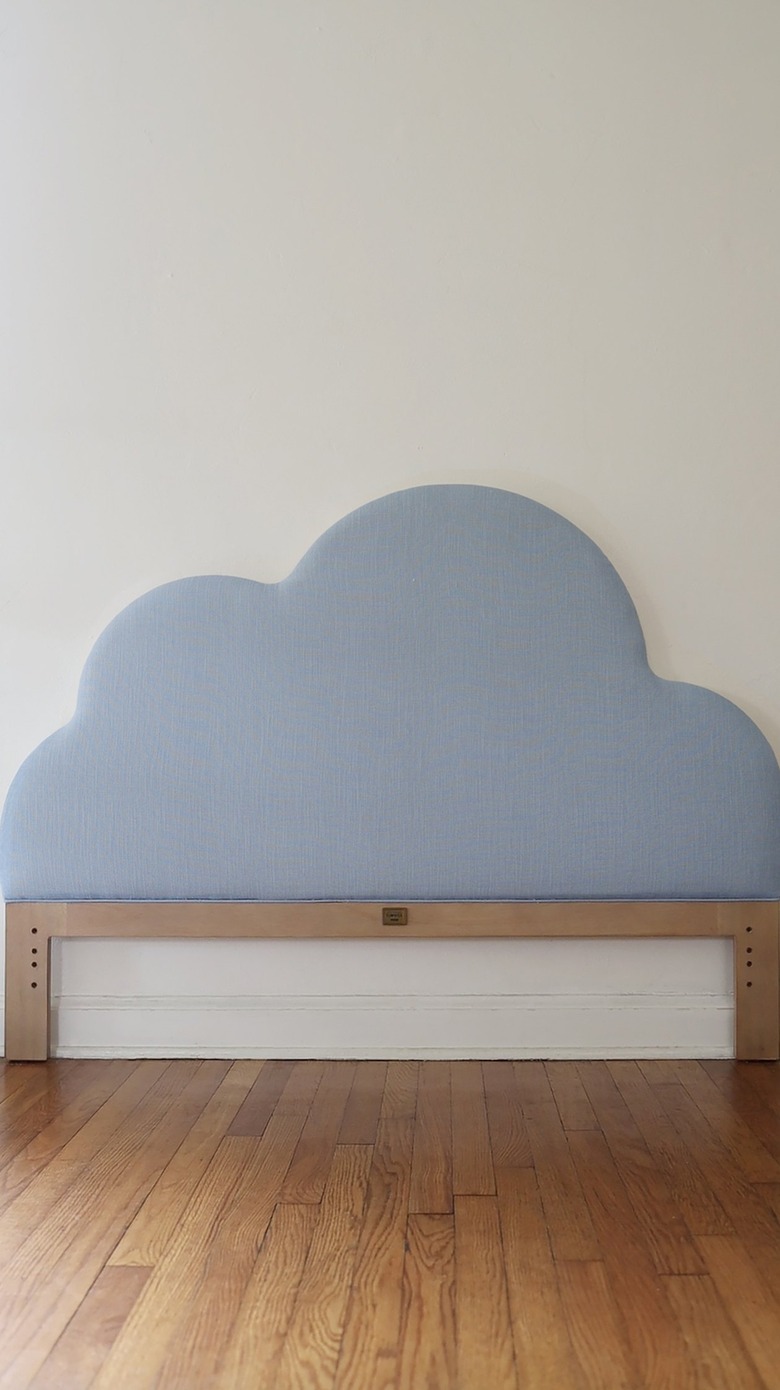
Here's how the headboard looked originally:
 Trisha Sprouse
Step 1
Cut off the existing fabric from the headboard using a utility knife or seam ripper, but be careful to leave the foam padding intact.
 Trisha Sprouse
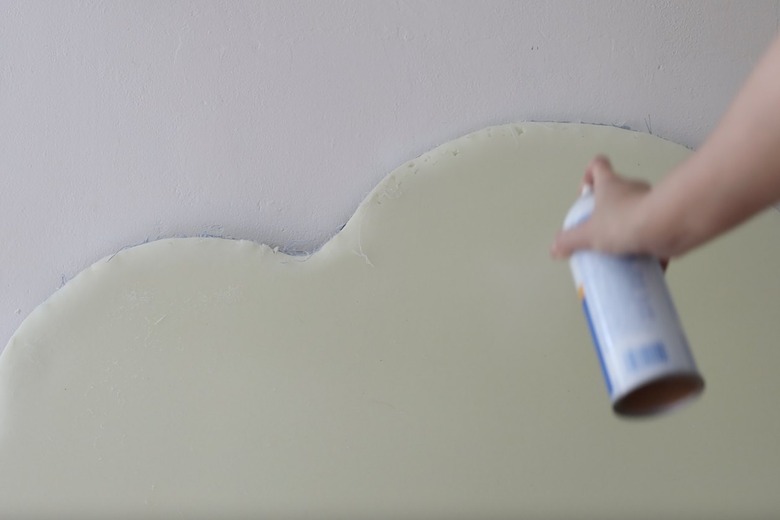
Step 2
Spray the entire surface of the foam with spray adhesive.
 Trisha Sprouse
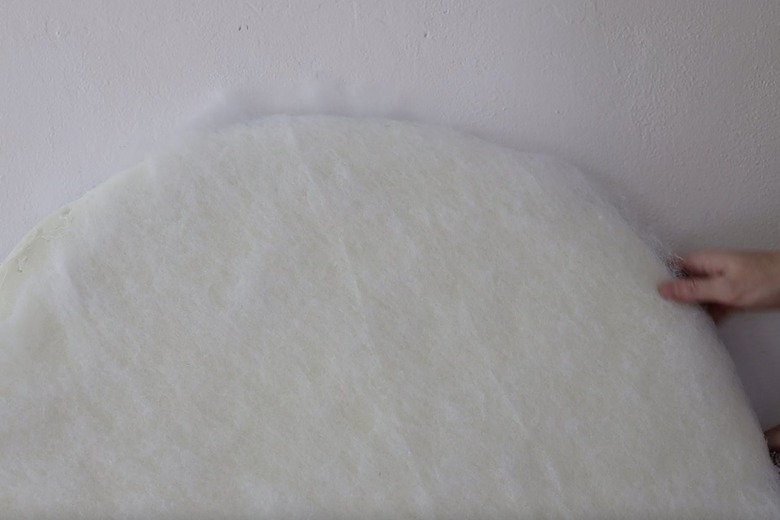
Step 3
Cover the foam with a layer of batting, pulling it taut and wrapping it around the edges. Trim off any excess batting.
 Trisha Sprouse
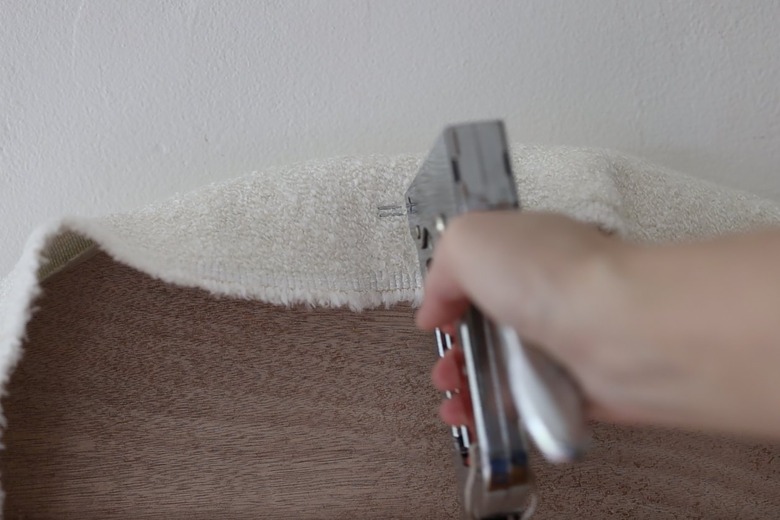
Step 4
Drape a piece of bouclé fabric over the headboard (make sure it's large enough to cover the entire headboard), and staple it to the center back of the headboard.
 Trisha Sprouse
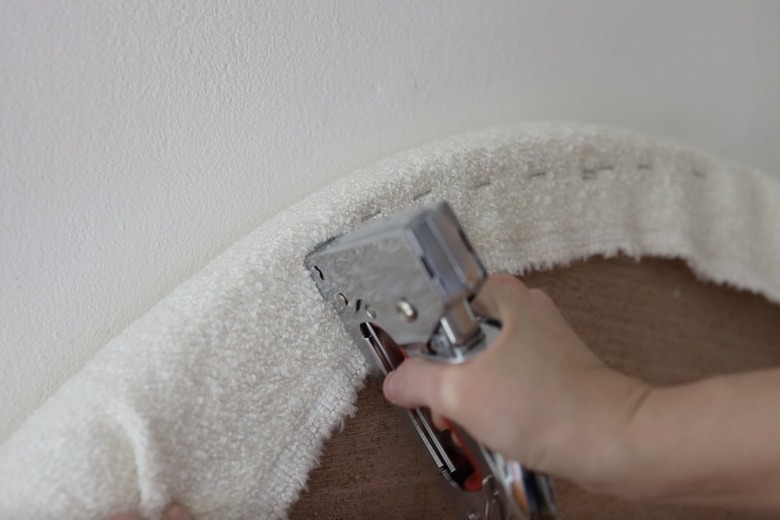
Step 5
Continue pulling the fabric taut, and stapling it along the edges on the backside of the headboard.
 Trisha Sprouse
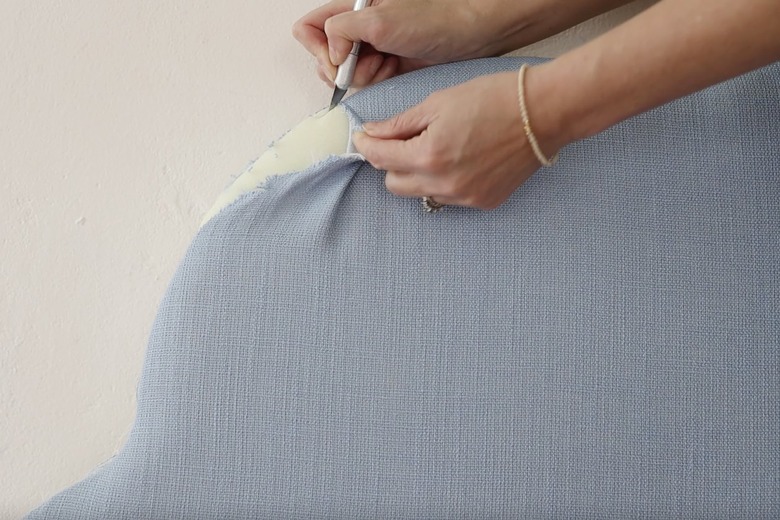
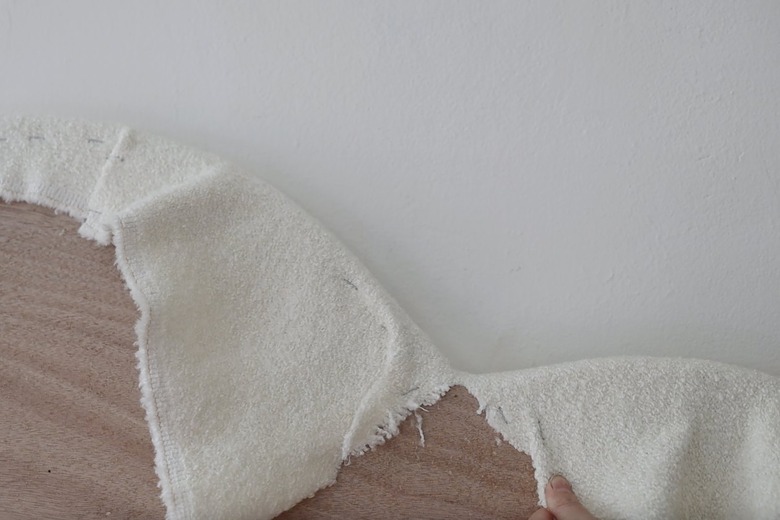
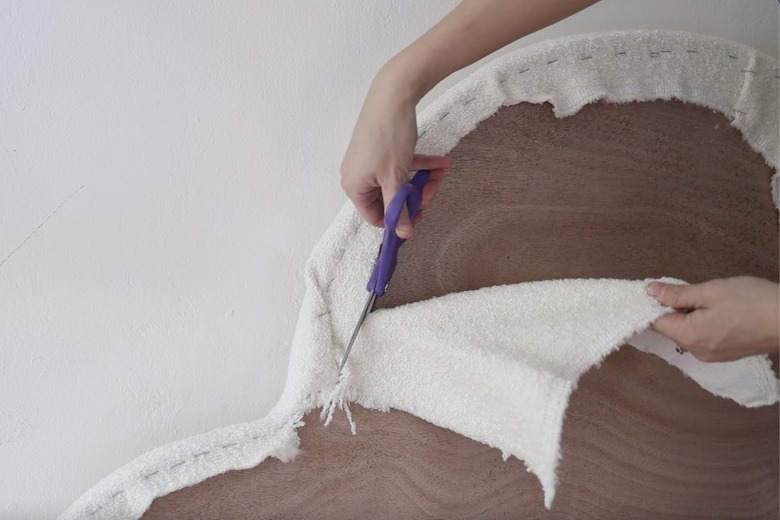
Step 6
Whenever you get to any deep curves, cut a slit in the fabric and pull the sides apart for a tighter fit.
 Trisha Sprouse
Step 7
Once you've stapled around all the edges of the headboard, trim off any excess fabric.
 Trisha Sprouse
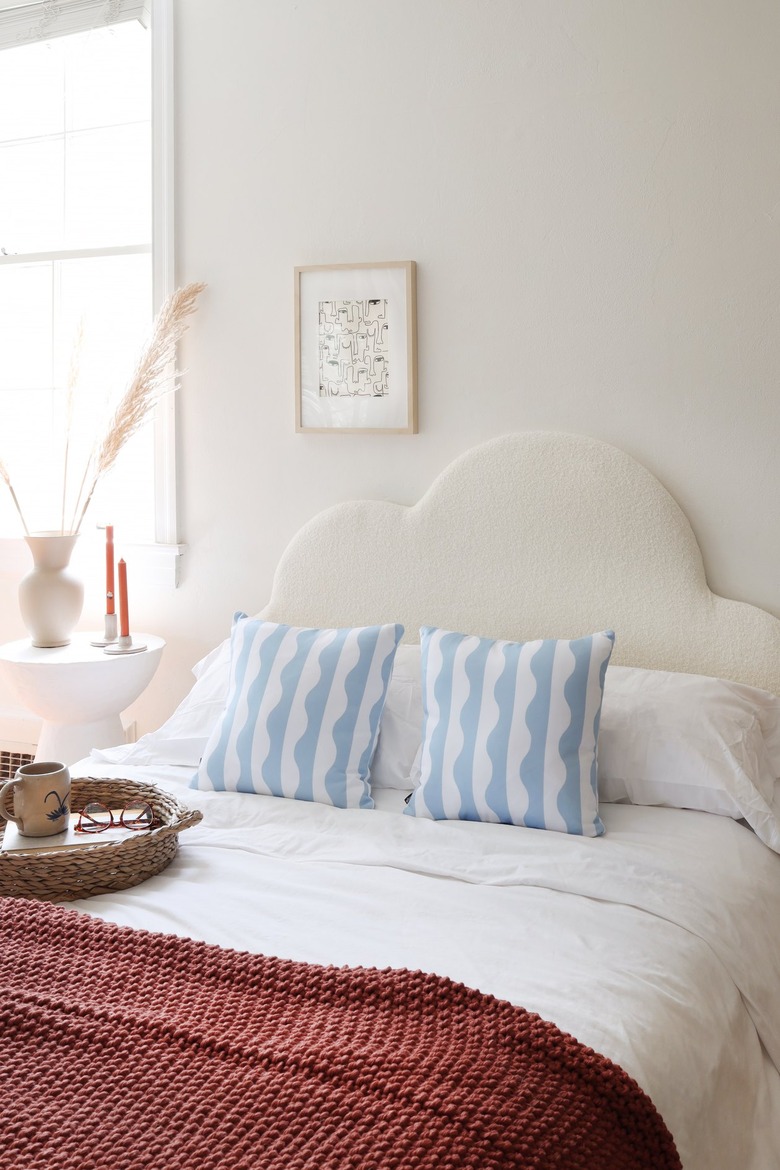
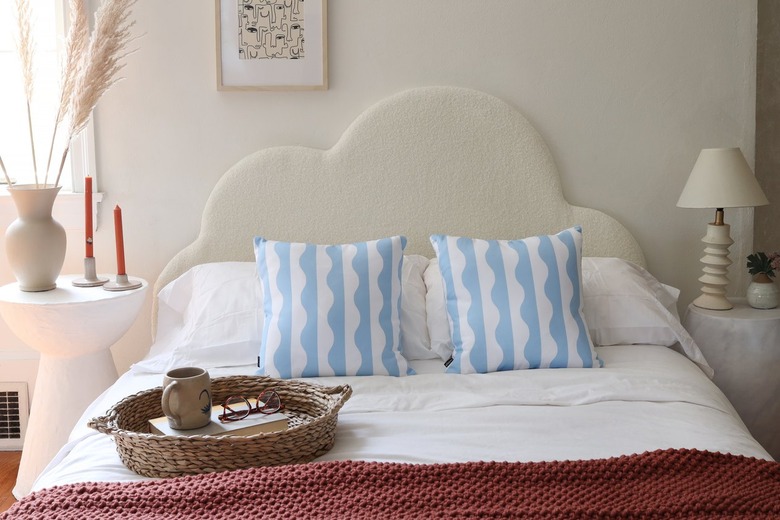
Now you're all set to attach your headboard to your bed and style it with dreamy accessories!
 Trisha Sprouse
 Trisha Sprouse