

Design Textured Wall Art Using This Secret Ingredient
We may receive a commission on purchases made from links.
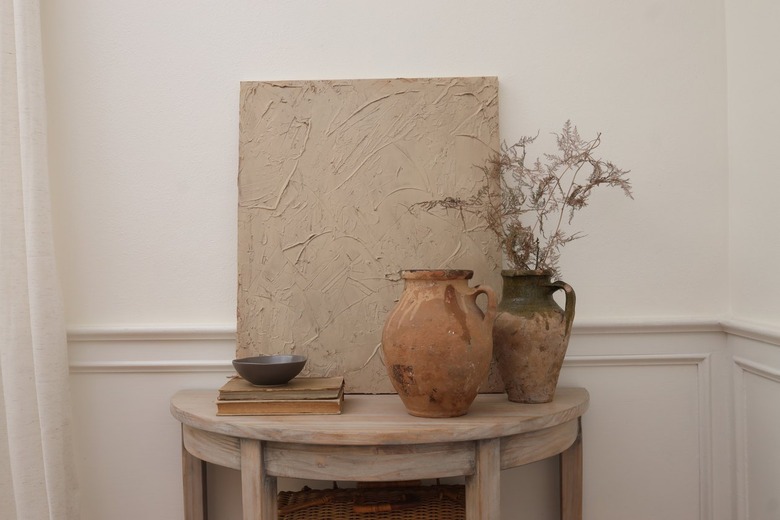
Textured art is a trend we've had our eye on for a while. A scroll through Instagram or Pinterest will reveal that many top designers are incorporating it into their clients' homes. If you love the look, but not the high-end price tag associated with many of these pieces, we're sharing how you can easily make your own instead. The secret ingredient? Spackling. That's right — using this humble construction material, you can create a gorgeously bespoke piece of textured art for your home.
Things Needed
-
Canvas (or upcycle an old canvas)
Step 1
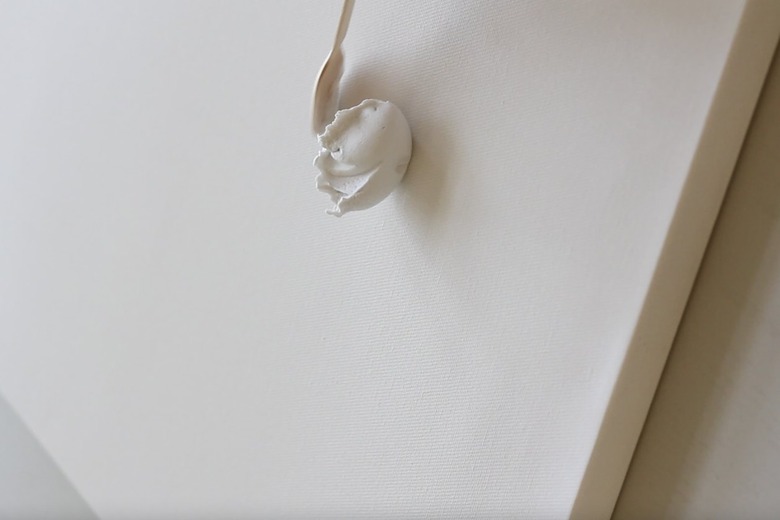
Scoop about a tablespoon of spackling onto the canvas.
 Trisha Sprouse
Step 2
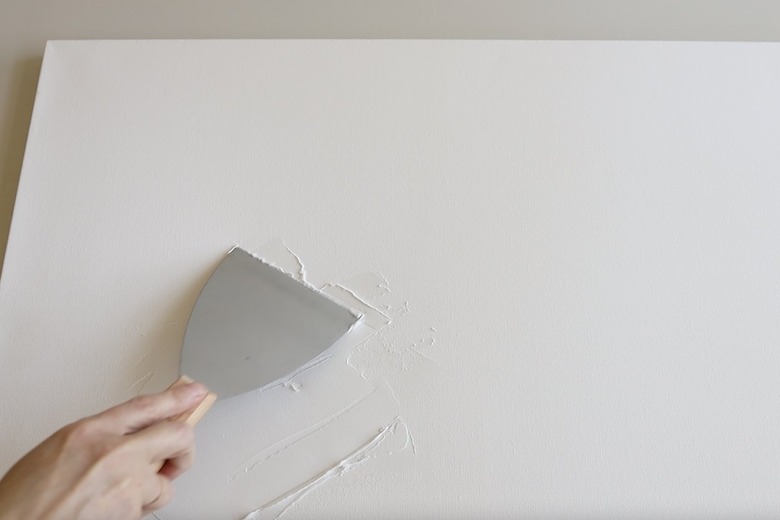
Use a putty knife to spread the spackling into a thin layer. You don't want it to be too thick; otherwise, it could crack and break off when it dries.
 Trisha Sprouse
Step 3
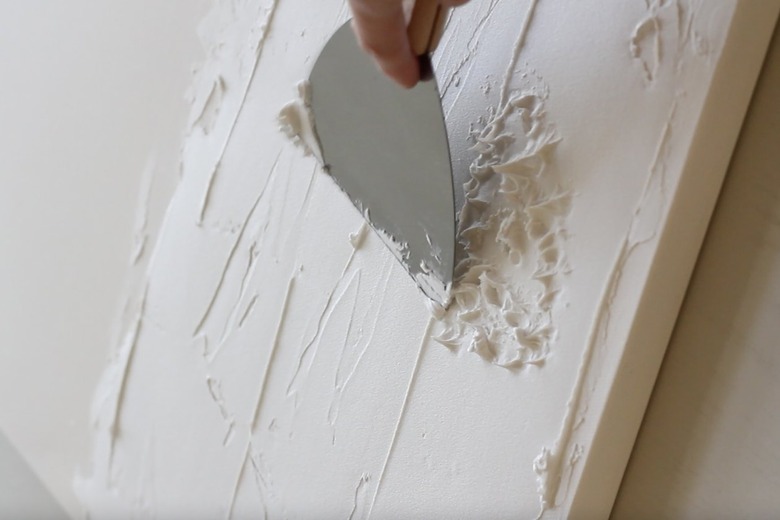
To create raised texture, stipple the spackling with the tip of the putty knife.
 Trisha Sprouse
Step 4
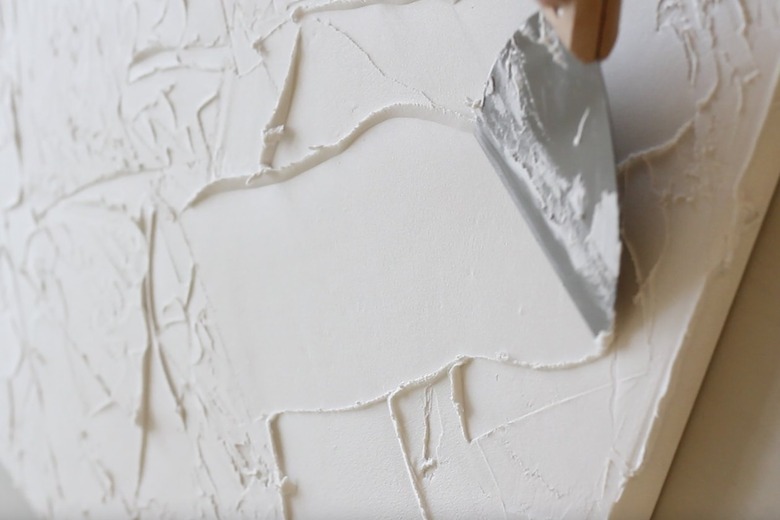
To create ridges and lines with movement, press and drag the putty knife through the spackling.
 Trisha Sprouse
Step 5
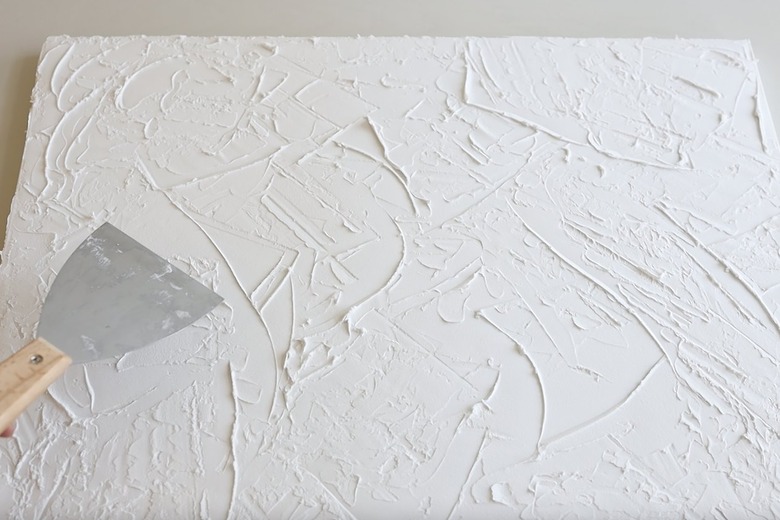
Continue scooping, smoothing, and texturing the spackling until the entire canvas is covered. If you don't like a particular area of the design, simply smooth it out and re-texture it. Once you're happy with the design, allow the spackling to dry overnight.
 Trisha Sprouse
Step 6
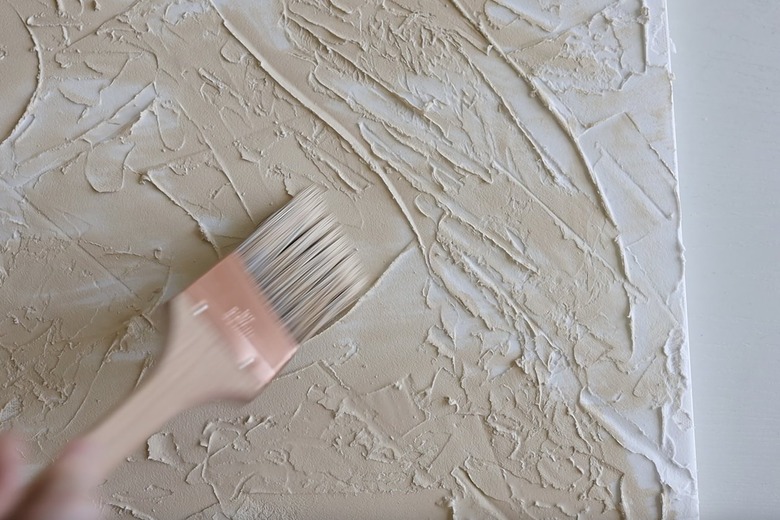
Once the spackling is dry, you can leave it as-is, or you can paint it. We opted to paint ours with an earthy taupe color. Allow the paint to dry.
 Trisha Sprouse
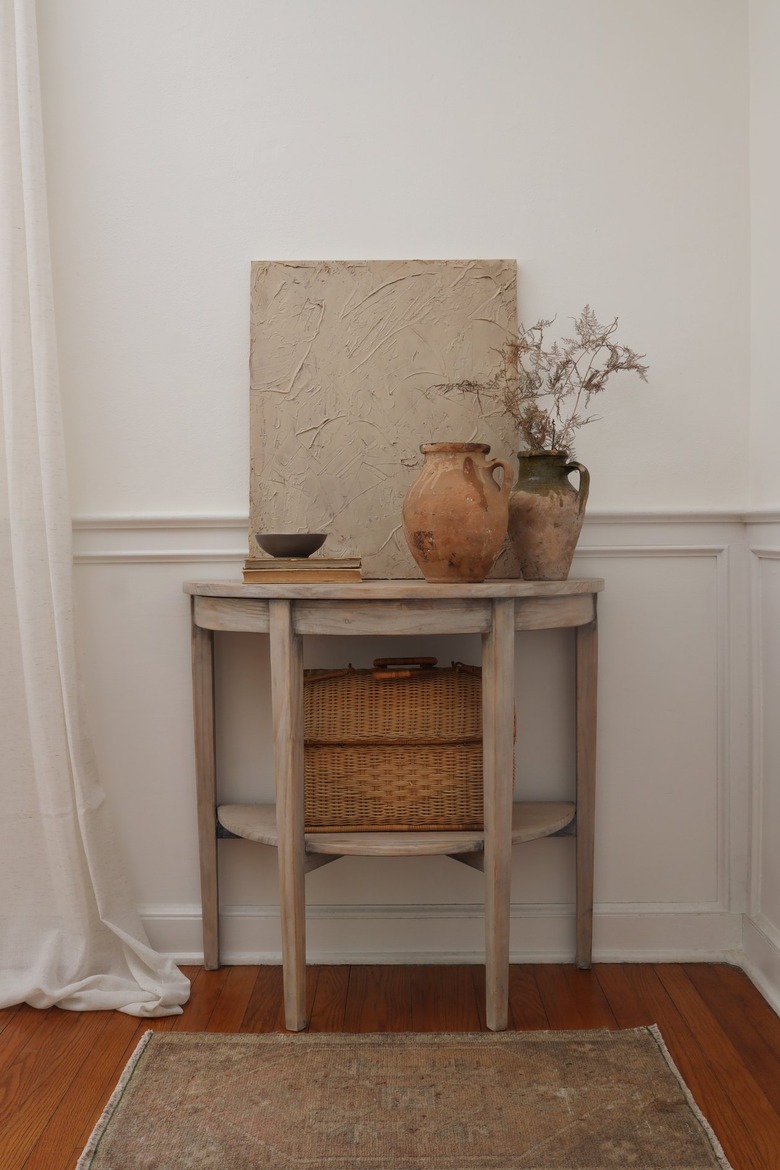
Your new textured art is ready to hang (or lean)!
 Trisha Sprouse