How To Replace An Attic Fan
We may receive a commission on purchases made from links.
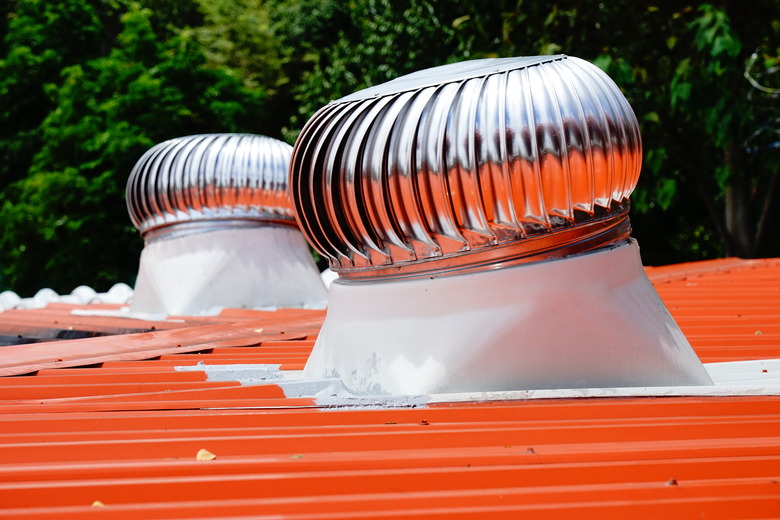
The attic ventilation in some homes can be greatly improved by the addition of an attic fan placed on the roof or installed in a gable near the roof ridge. Unlike a whole-house fan, which circulates air inside the house, an attic vent fan's purpose is to circulate air only in the attic. But because the airflow keeps it cool (in what would otherwise be a very hot attic) and prevents heat from radiating into the living space during the summer months, the whole house still benefits. Another important plus of an attic vent fan is that it helps control moisture and mold growth in the attic, and this is such an important function that homeowners with a malfunctioning attic exhaust fan are well-advised to replace it.
Attic fan replacement is a DIY home improvement project for any homeowner with a basic knowledge of electric wiring, although replacing one on the roof involves climbing on the roof, so proper precautions need to be taken. These include staying off the roof when it's wet or snowy, using roof jacks to support yourself and avoiding doing the job in midday when the roofing is hot. If you need to replace a gable fan, you won't have to climb on the roof, but you'll still want to avoid working in the attic when the weather is hot. An attic's temperature often rises well over 100 degrees Fahrenheit on a hot day, and working in the hot air could potentially cause a heat stroke.
Signs That the Attic Fan Needs Replacing
Signs That the Attic Fan Needs Replacing
An attic ventilation fan is usually controlled by a thermostat that signals it to come on when the temperature rises past a preset limit — usually 95 degrees. If the fan doesn't start on a hot day, try turning down the thermostat to a temperature you know is below the attic temperature. If the fan doesn't start, you might want to test the thermostat (or have an electrician or HVAC technician do it) before you go to the trouble of replacing the fan.
If the thermostat checks out, try turning the fan blades by hand. If they won't turn, the fan may just need to be lubricated with spray lubricant, but it's also possible the attic fan motor has seized, perhaps because of overheating or lack of lubrication. Even if the motor hasn't completely seized, it may be partially damaged, and the evidence for that would be strange noises or weak airflow when the fan is running. Be sure to clear buildup from the fan louvers (the horizontal slats surrounding the fan) before deciding the fan itself is responsible for poor airflow.
One more environmental element can cause the demise of an attic fan over time, and that's water. Even though attic fans are designed to be protected from the rain, leaks happen, and the result can be a rusted or short-circuited motor. Excessive attic moisture can also cause this, which is one good reason for keeping a humidistat in the attic to monitor humidity.
 Supersmario/iStock/GettyImages
Purchasing a New Attic Fan
Purchasing a New Attic Fan
Replacement is a much simpler process than attic fan installation because the hard work of cutting the hole for it is already done. All you have to do is purchase a fan that fits, and that's also easy because there isn't much variation in physical dimensions, so it should be easy to find one with the same dimensions. When installing a gable fan, the new fan should be the same size as the old one so you can simply swap it.
The capacity of the fan in cubic feet per minute (cfm) is as important as physical size, and that's based on the area of the attic floor. Just measure the length and width of the attic space, multiply them together and then multiply the result by 0.7 to get the minimum capacity of the fan you need. For example, a 20 x 50-foot attic is 1,000 square feet in area and needs a fan that moves 700 cfm at a minimum. Add 20 percent if you're mounting the fan on a steep roof and add 15 percent if the roofing material is dark because it will absorb more heat than a lighter material.
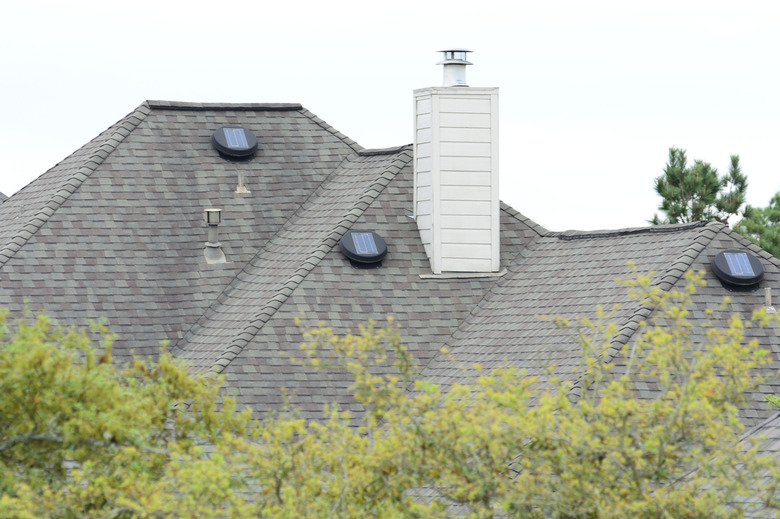
If you're replacing a roof-mount fan, you can increase your energy efficiency (and lower your energy bills) by choosing a solar attic fan. Solar fans tend to have limited power, though, so if you have a large attic being served by only one fan, it's best to stick with a standard hardwired fan. You should also pass on the solar option if the roof gets a lot of shade or faces north.
How to Replace an Attic Fan
1. Disconnect the Fan Wires
Turn off the breaker that controls the fan circuit in the home's main service panel (breaker box). Unscrew the cover from the electrical box that contains the fan wiring using a Phillips screwdriver and then remove the box cover. Test for power with a noncontact voltage tester, touching the tester to each wire in the box to confirm the power is off. Pull out and straighten the wires. Unscrew the wire connectors on the wire ends and separate the wires.
2. Take Out the Old Fan
To remove a ceiling fan from the roof, pull the roofing nails holding the fan flashing to the roof deck using a pry bar. Gently pry up the shingles along the sides of the flashing and lift the front of the flashing high enough for the fan to clear the roof surface. Then, pull it away from the roof.
To remove a gable vent fan, use a socket wrench to remove the bolts holding the fan brackets to whatever is supporting the fan, which may be the wall sheathing or framing or a separate piece of plywood. Pull the fan away from the wall. The fan may be held by caulk, which you'll have to cut with a utility knife before it will come out.
3. Mount the New Fan
When replacing a gable fan, you simply position the new fan in the cavity occupied by the old one and fasten it to its support using the screws or bolts supplied with the unit.
To replace a roof-mounted fan, first spread a bead of roof sealant on the underside of the new fan's flashing using a caulking gun. Slip the top end of the flashing underneath the shingles on either side, tip up the bottom end far enough for the fan to clear the roof decking, slide the fan into place over the opening in the roof and tilt the bottom end down to the roof surface. Nail the two lower corners of the flashing to the roof deck with 1-inch roofing nails and then seal the edges of the shingles and the nail heads with roof sealant.
4. Connect the Fan Wires
Feed the fan cable into the electrical box and secure it with the box clamp. Connect the fan wires to the circuit wires using wire connectors — join the two white wires together and then join the two black wires together using the connectors from the old fan or new ones if they came with the new fan. Join the ground wires together, including a ground wire connected to the ground screw on the electrical box. Reinstall the electrical box cover.
5. Test the Fan
Restore power to the fan circuit by switching on the circuit breaker. Then, test the fan for proper operation.
References
- Today's Homeowner: How to Size Attic Exhaust Vent Fans for Your Home
- YouTube: Your New House – Replacing an Attic Fan – Do It Yourself
- Home Inspector Secrets: How To Install Attic Fan in Roof (*2021 Guide*)
- Whole House Fan: What is the Difference Between Roof Mounted Attic Fans and Gable Mounted Attic Fans?