How To Add Cane To A Potting Bench To Create The Cutest Garden Setup

We may receive a commission on purchases made from links.
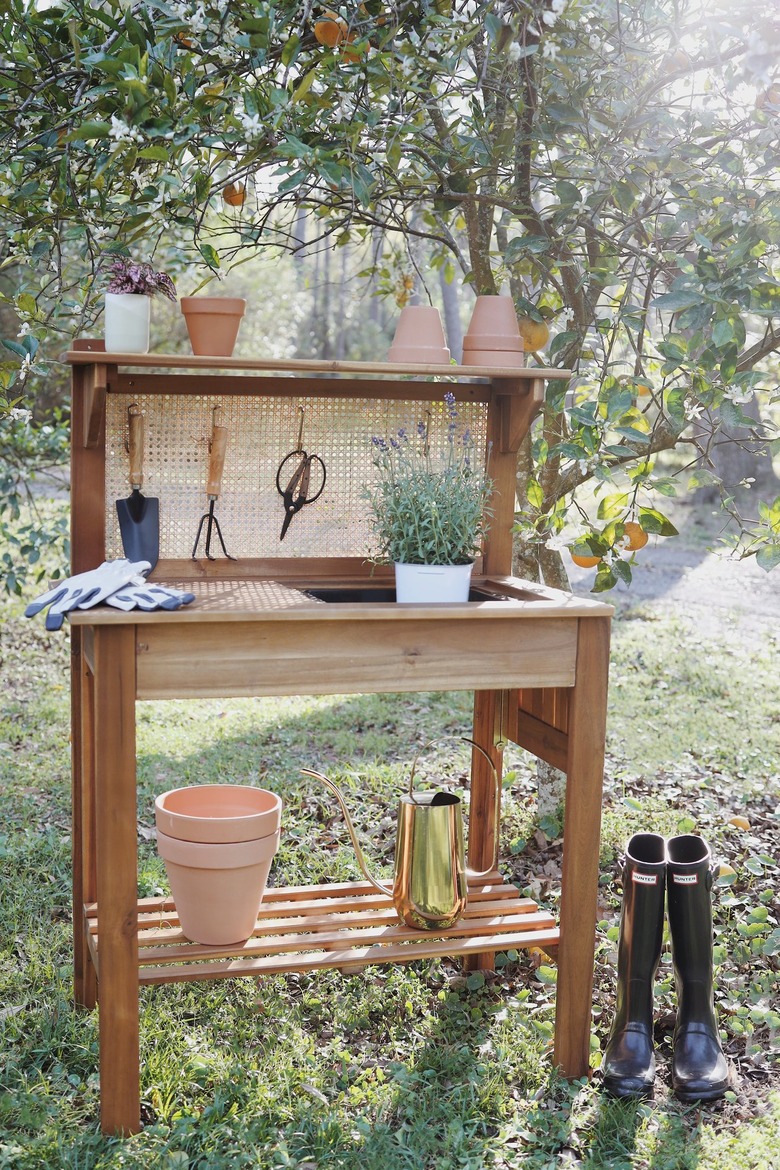
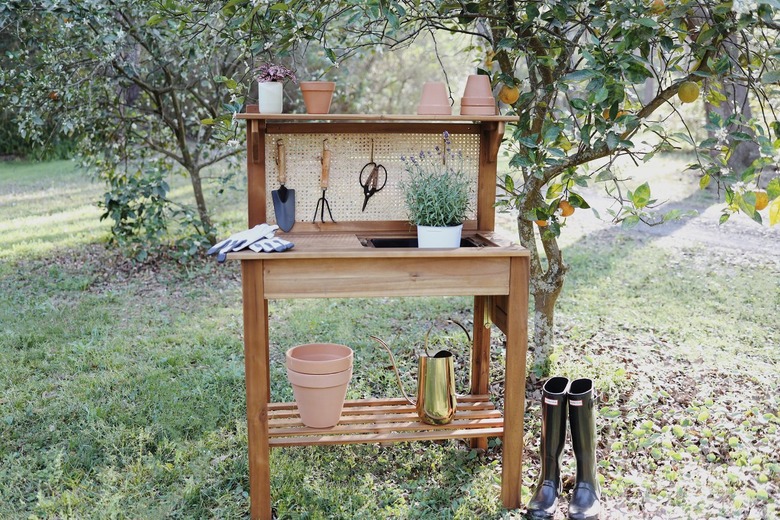
Whether you're starting seeds or potting plants, having to crouch down to the ground or hunch over while gardening gets old fast. Your back and knees will appreciate the elevated surface a potting bench offers, not to mention the added convenience of keeping all of your gardening tools organized in one handy place. But, of course, there's also style to consider — and what better way to enjoy the benefits of a potting bench than with one that adds a little eye candy to your garden or yard, too. We used cane webbing to pretty up a plain potting bench with both style and function. It's so easy to do, you'll be singing its game-changing praises as you move on to your gardening chores within the same day.
 Trisha Sprouse
Things Needed
-
Potting bench (with an open back)
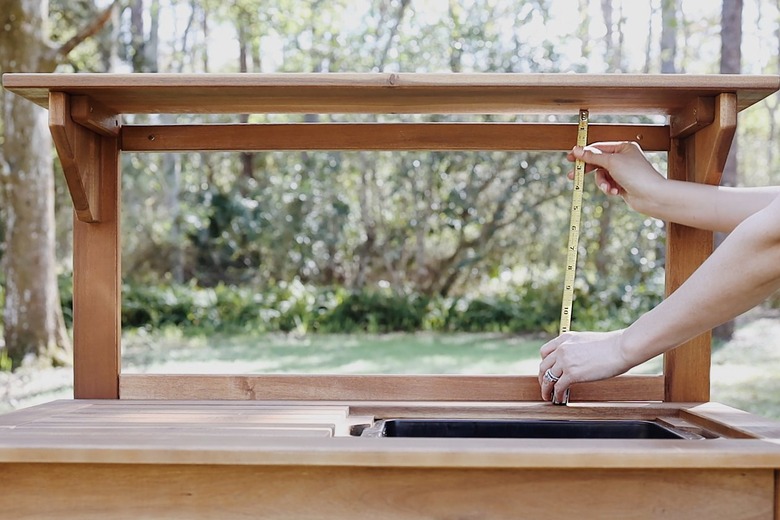
Step 1
Assemble the potting bench according to the manufacturer's directions, and then measure the height and width of the opening that you plan to cover with cane webbing.
 Trisha Sprouse
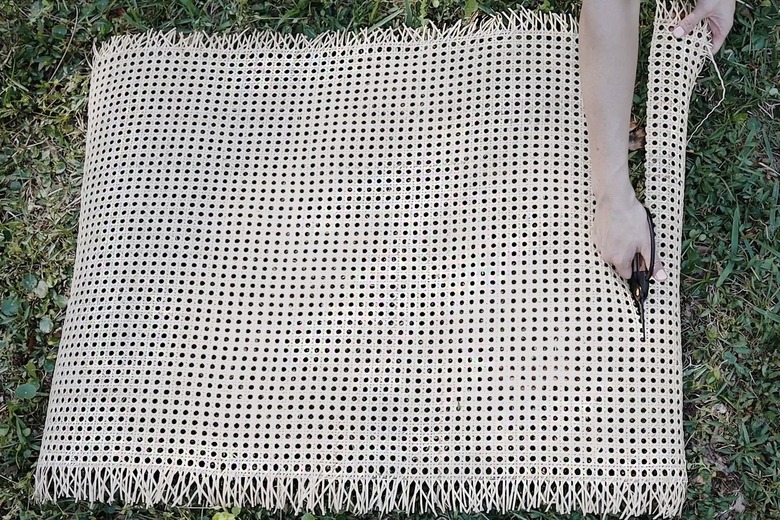
Step 2
Cut the cane webbing slightly larger than the size of the opening — about an inch longer on each side.
 Trisha Sprouse
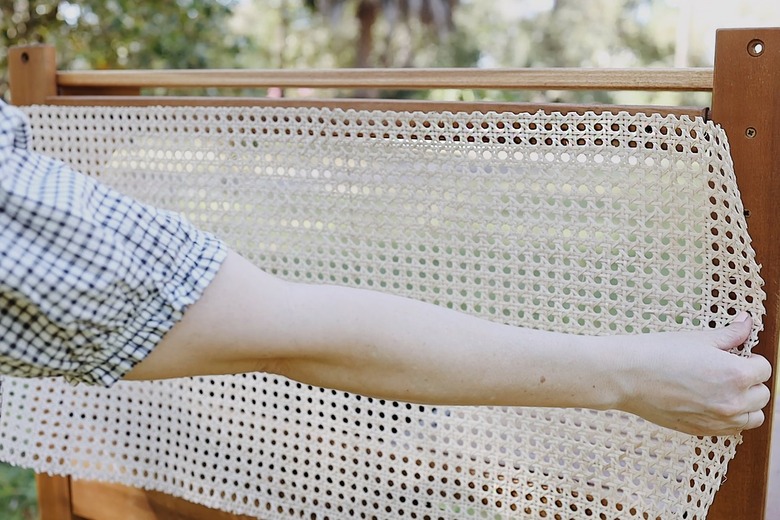
Step 3
Place the cane webbing on the back side of the potting bench so that it covers the opening.
 Trisha Sprouse
Step 4
Staple the cane webbing in place along the top, bottom and both side edges. Try to keep the staples in a straight line and evenly spaced for a neater look.
 Trisha Sprouse
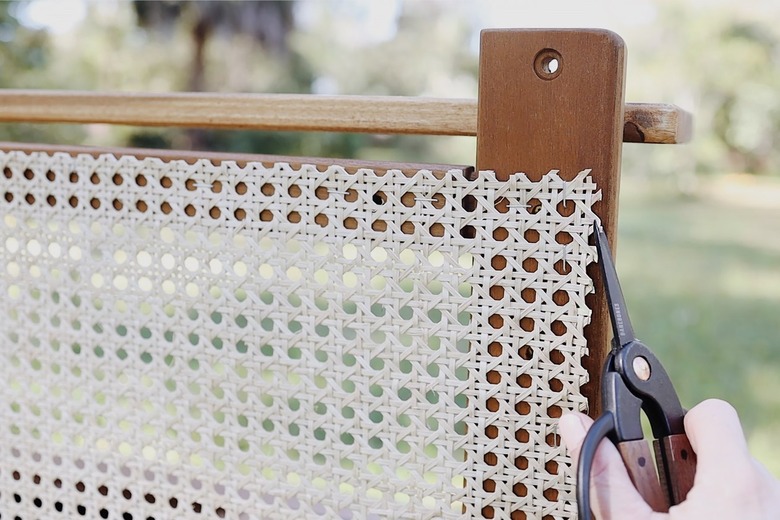
Step 5
Trim any rough or loose edges of the cane webbing to create a clean edge.
 Trisha Sprouse
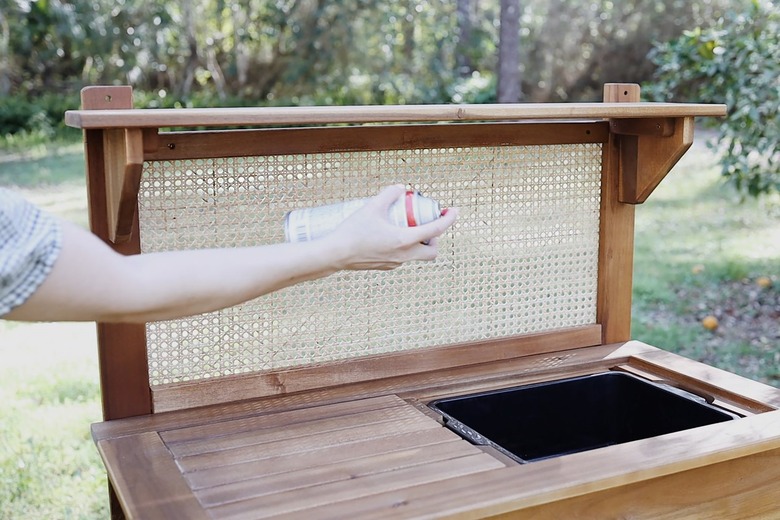
Step 6
Spray the front and back of the cane webbing with two coats of clear waterproof sealant, allowing it to dry between coats. This will help weatherproof the cane in order to protect it from the harsh outdoor elements.
 Trisha Sprouse
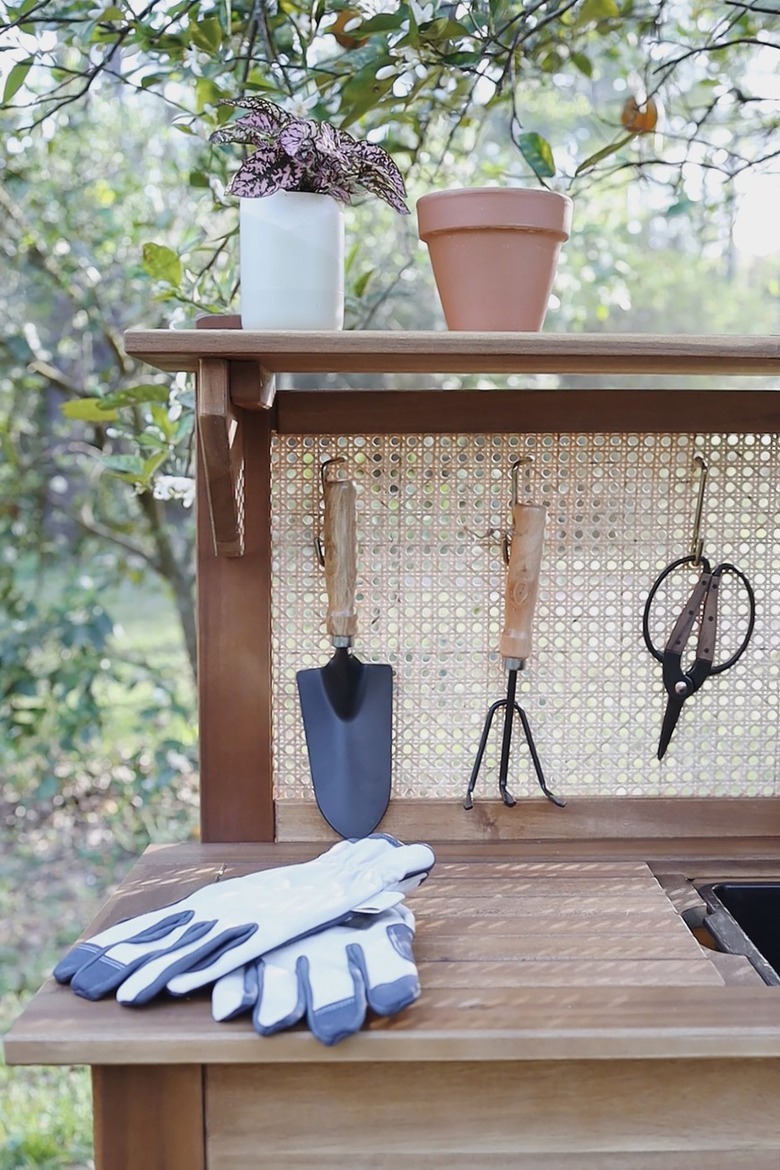
Once the sealant has dried for two hours, slide S-hooks into the holes of the cane webbing, hang your gardening tools, and enjoy potting your plants!
 Trisha Sprouse
 Trisha Sprouse