How To Build An Outdoor Shower: A DIY Guide
We may receive a commission on purchases made from links.
After a day of hiking, surfing or just lazily lounging in the sun, there's nothing quite as refreshing as rinsing off in an outdoor shower. A shower is a great way to add a fun and relaxing area in your outdoor living space to scrub up — and it's much simpler to build one than you may think. As long as your design doesn't call for all the bells and whistles of an indoor shower (i.e. tiling), you could easily get it up and running in a weekend.
A basic outdoor shower consists of a showerhead, a water supply — which can be a garden hose — and a solid base on which to stand, and that's about it. If you live in a community that doesn't regulate greywater runoff, you don't even have to worry about drainage. In fact, you can water your lawn or garden with the water you use while rinsing off outdoors.
Thinking about installing an outdoor shower to cool down and rinse off during the summer? Here's how to install one — and some things to think about before you build.
Choose a Prime Location for an Outdoor Shower
Choose a Prime Location for an Outdoor Shower
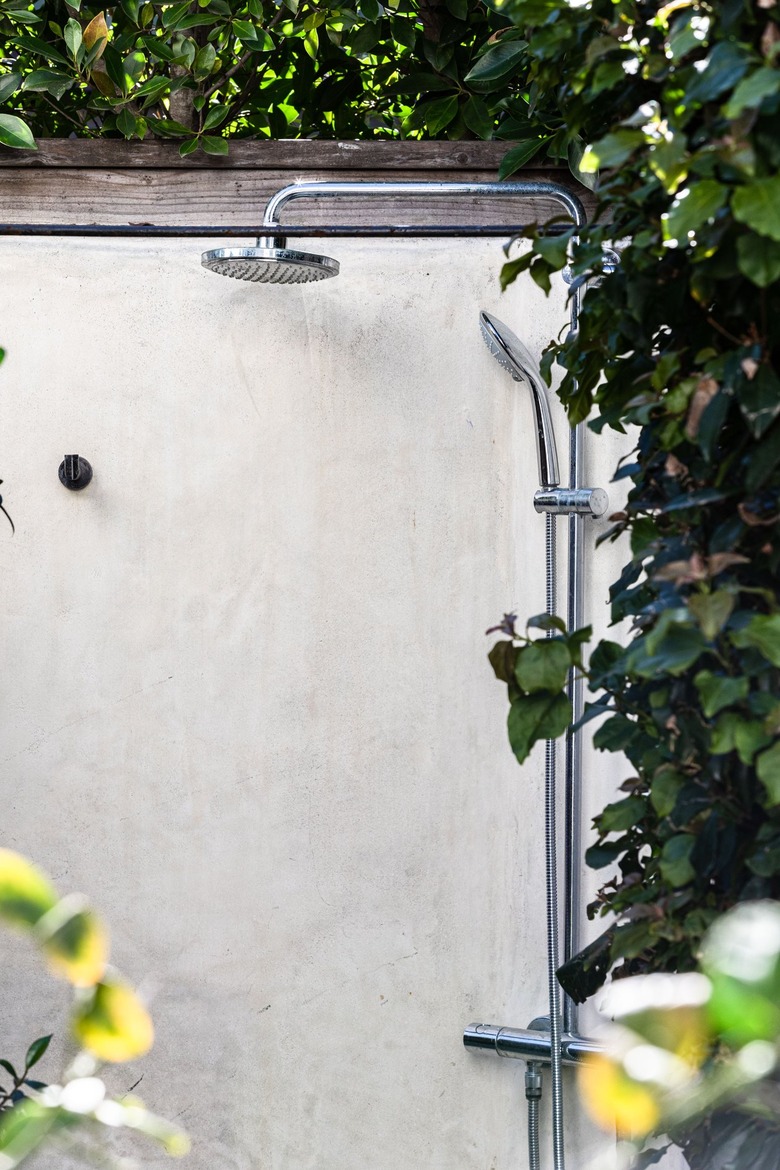
The best place to build an outdoor shower depends on several factors — and privacy and the location of the water supply are two of the most important. If you supply the shower with a garden hose, you can put it almost anywhere in the yard. However, if your chosen spot is visible to the neighbors (and you understandably don't want any wandering eyes), you can construct privacy screens as needed. You may want to keep things as simple as possible, however, in which case you'll want a spot that is partially hidden by plants, fencing or other existing barriers. You'll also want to be close enough to the water faucet to avoid having to run a long hose through the yard.
It's best to locate the shower in a sunny spot because the sun will help keep the shower dry, and it will make the shower more comfortable on chilly days. The ideal spot for a DIY outdoor shower is also one that offers some shelter from the wind, such as an existing alcove on the side of the house or adjacent to a large tree surrounded by bushes. The more natural shelter your chosen spot provides, the less energy you'll have to put into building an outdoor shower enclosure.
Tip
Keep in mind that if you locate your shower far from the water source, the water in the supply hose can get dangerously hot if the hose is left in the sun, and you could get scalded by even a cold-water shower. If you can't route the hose through a shady area, cover it with mulch or wood chips to keep it cool.
Adding Hot Water to an Outdoor Shower
Adding Hot Water to an Outdoor Shower
Although an ice cold shower may feel invigorating on the hottest summer days, most homeowners would prefer an outdoor shower with both cold and hot water to feel comfortable — but this doesn't necessarily mean you have to hire a plumber.
If your community is relaxed about allowing soap-laden greywater to seep into the ground — and it's important to check — it becomes simple to build an outdoor shower, even one with hot water, because there are ways to get hot water to the shower without tapping into your home's water system. Options include a solar shower, a stand-alone propane-powered shower unit (with its own mixing control) or a gas or electric tankless water heater. All of these can even be supplied from an existing cold-water hose bib (AKA the outdoor faucet that has a thread for a hose).
Things, however, can get a little more complicated if your community requires you to drain the shower into your waste system. (Unsure? Call your city's municipal office to double check.) That part of the job, along with installing a dedicated hot-water faucet on the side of your house or tying into your home's water lines, is best left for a professional plumber.
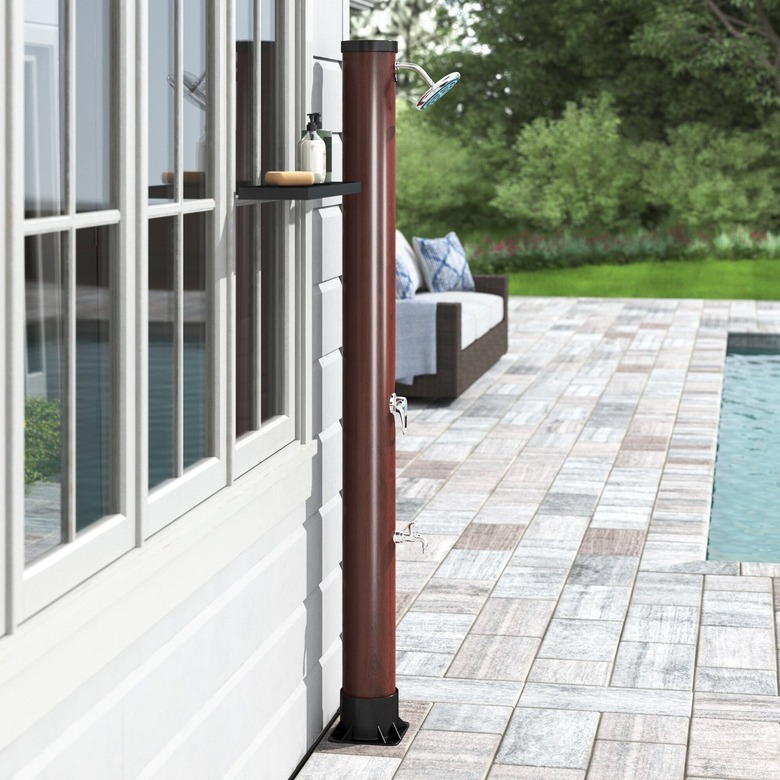 Wayfair
How to Build an Outdoor Shower
1. Plan the Shower Drainage
Check the local regulations concerning drainage from an outdoor shower after you've determined where you're going to build. If your community requires you to install a drain that connects to your home's waste system, you need to complete this work before you construct the shower base, and the base will need to have a drain strainer and be properly sloped to direct water into the drain. In this case, you'll probably want to construct the base from concrete, which is easy to mold and lasts a long time outdoors. If you're into a more creative DIY project, you may want to tile the shower base.
If your community doesn't regulate greywater runoff from an outdoor shower, you have the option of allowing the water to seep into the garden, but test the soil percolation first. An easy way to do this is to pour a 5-gallon bucket of water on the ground and time how long it takes for the water to soak in. If it's longer than five minutes, you have two options:
- Construct a French drain that directs runoff to a part of the garden that needs water.
- Dig a dry well, which is a pit containing a perforated liner and filled with gravel. Its purpose is to hold the water underground and allow it to seep slowly into the soil.
2. Construct a Shower Base
Unless you locate the shower on a flat piece of well-draining ground — preferably covered with grass — or on a deck, you'll need to construct a shower base because a stable, flat base is essential for safety and comfortable use of the shower. The base dimensions should be 30 x 30 inches at a minimum because this is the minimum floor space required by code inside a conventional shower, but it's a good idea to make it larger.
Make the base from concrete or some other nonporous material if the shower has a drain. If not, two options that allow water to soak into the ground are cement pavers and wood or composite decking. Some freestanding showers also come with their own platform, and if you purchase one of these, you can skip this step and save yourself a day's work.
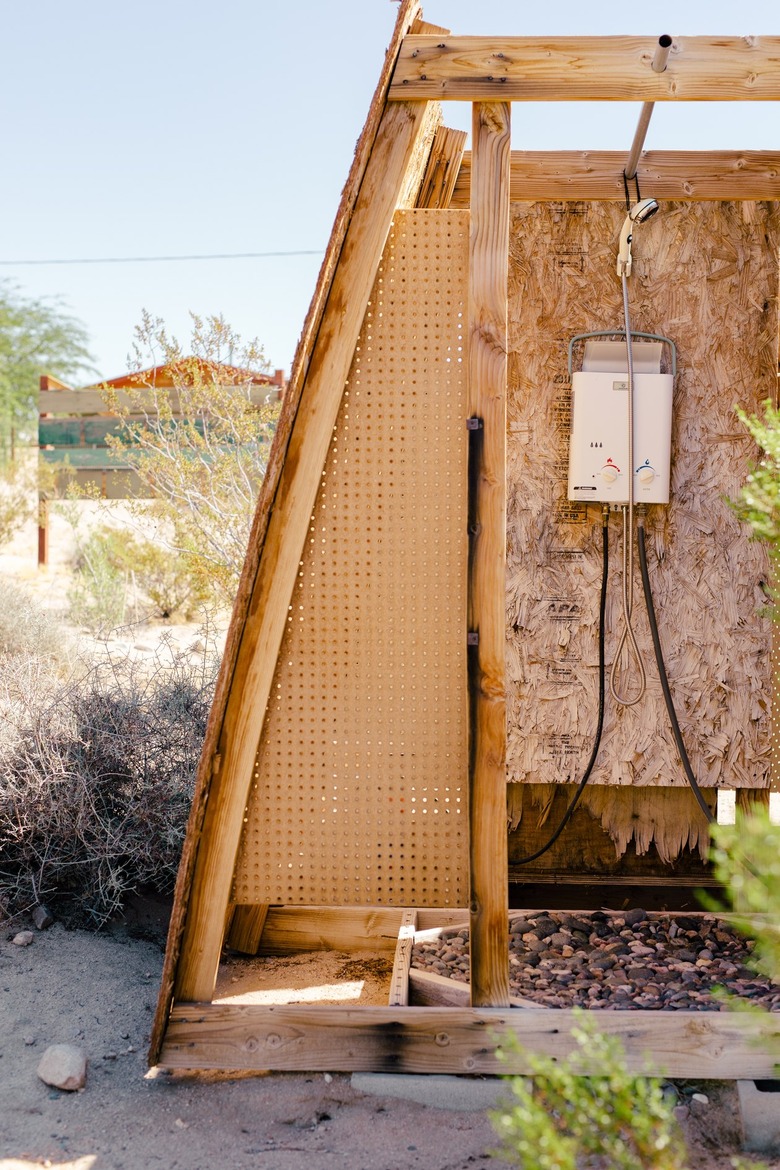 Paul Anderson for Hunker
3. Build the Shower Enclosure
If you're going to provide your outdoor shower with an enclosure or privacy screen, this is the time to build it, and particularly the back wall so you can mount the showerhead and valve. Construct the back wall with wood, rigid vinyl or another material strong enough to support the showerhead and the heating unit if you're installing a stand-alone propane shower. If you're locating the outdoor shower in front of a fence or next to the house, you can mount the valve and showerhead on the siding or an existing fence post or slat.
The enclosure design is another opportunity to flex your creative home improvement muscles. It can be a wooden stall (preferably finished with a mildew-proofing waterproof sealer on the inside), an elaborate stall with siding on the outside and tile on the inside or a simple barrier made from bamboo. A door or shower curtain is optional but a good idea if you want full privacy and protection from cold air.
4. Install the Showerhead and Valve
This part of the job is easy if you're using a freestanding shower because all you have to do is set it on the ground in the place you want it. Unless you plan to move it around, you should stabilize it. Pound a 6-foot metal stake or length of rebar at least 2 feet into the ground using a mini sledgehammer and strap the shower riser (or, the long pipe that connects to the showerhead) to it with cable ties.
If you're using a propane shower, which comes equipped with a handheld showerhead, mount it high enough to allow you to stand under the showerhead when you aren't using it as a handheld. Don't forget to prepare a place for the propane tank.
When installing an outdoor shower valve and showerhead, secure the valve, riser and showerhead to the back wall with copper pipe clamps. If you want the riser to be hidden, mount it on the reverse side of the wall and drill holes for the valve and the shower arm.
5. Hook Up the Water
When installing a freestanding shower, all you have to do to hook up the water is screw on a garden hose and screw the other end of the hose to a hose bib. Turn on the water at the faucet and leave it on so you can control water flow from the shower. If you're using a solar shower, the heating reservoir has to fill and remain in full sun for several hours before the water will be hot enough for showering.
Installing a tankless water heater nearby to supply the shower makes the water hook up a bit more complicated, but not impossible. First, connect the water heater outlets to the shower valve inlets with PEX tubing. Screw or solder appropriate PEX connectors to the outlets and inlets, such as 1/2-inch female pipe thread adapters or 1/2-inch female sweat adapters, cut the PEX tubing to length with a tubing cutter, push the ends onto the barbed connectors and crimp on clamps with a crimping tool. The inlet on a tankless water heater is typically a male or female pipe thread, and you can connect a garden hose to that by using a hose-thread-to-pipe-thread adapter.
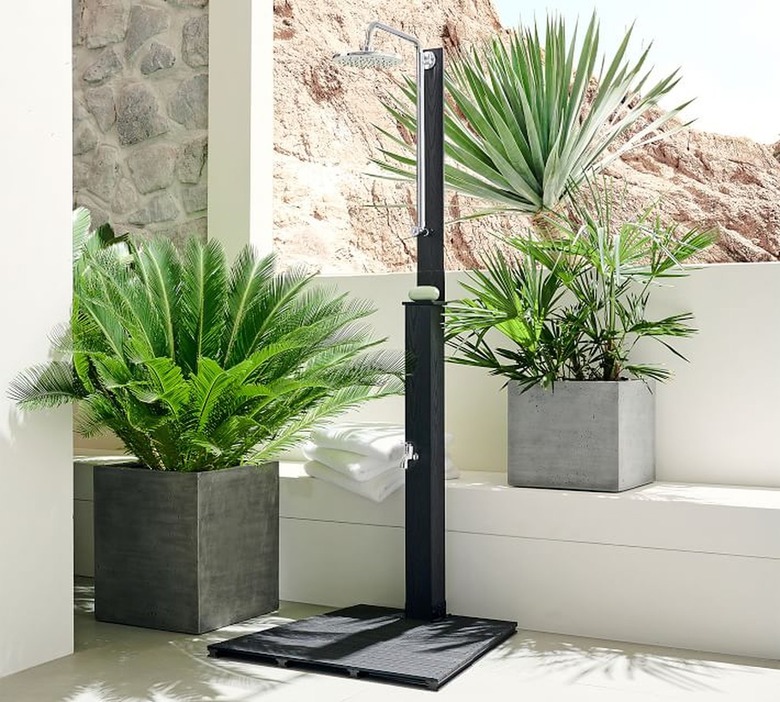 Pottery Barn
How to Winterize Your Outdoor Shower
How to Winterize Your Outdoor Shower
Eventually, when the summer temperatures start to drop, you want to make sure your outdoor shower has been completely drained and put away for winter to prevent damage to the supply hoses, the water heater and the shower fixtures.
1. Turn Off the Water Supply and Disconnect
If you have a freestanding shower supplied by a garden hose, the easiest way to do this is to unhook the hose and put the hose and shower away for the winter. If the shower valve is installed on the shower wall and connected to a water heater, however, you'll need drain the supply lines from the heater to the shower faucet lines, turn off the water supply hose bib, unscrew the hose and put it away and then open the shower valves and leave them open.
It's also important to unscrew and remove the showerhead and remove the valve cartridge from the faucet because they could contain residual moisture that can freeze and crack the casing.
2. Thoroughly Dry and Cover the Outdoor Shower
The shower area also needs to be protected from snow and ice. Make sure you thoroughly dry the inside of the shower enclosure and then seal off the shower area by closing and latching the door or covering the opening with a tarp, being sure to secure the tarp well so it doesn't blow away. If you didn't build a shower stall, it's still a good idea to cover the shower pipes.
3. Store Safely and Prep for Next Year
Store the showerhead and valve cartridge in a safe place for the winter. When you put the shower back in use in the spring, hook up the supply hose and run water through the water heater and the shower before you reinstall the cartridge and showerhead. This will flush out any debris that may have collected in the system during the winter.