How To Use The Puck Light Trick On An Outdoor Sconce
We may receive a commission on purchases made from links.
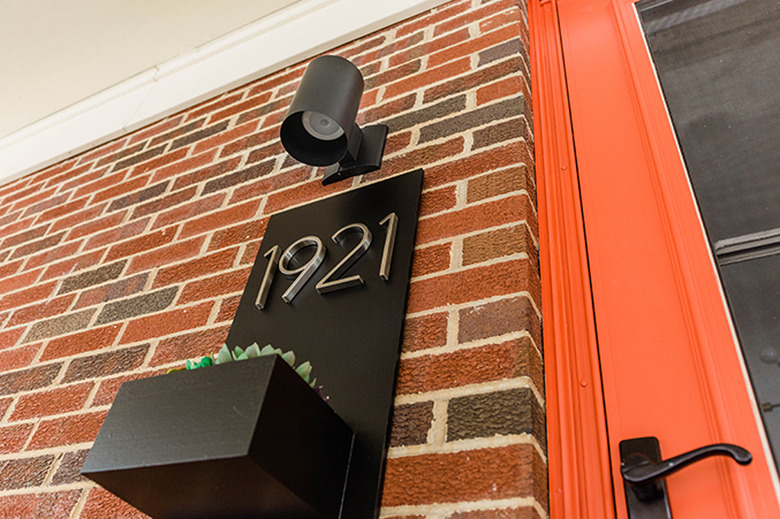
Want to add an outdoor light near your front door? Consider going wireless with a sconce that features a battery-operated puck light. No electricity required. (And no more fumbling around in the dark trying to unlock your door.) This 20-minute project will give you the light you need without having to hardwire a thing.
Note: This tutorial is specifically for a covered porch light that is not in the direct path of wet weather.
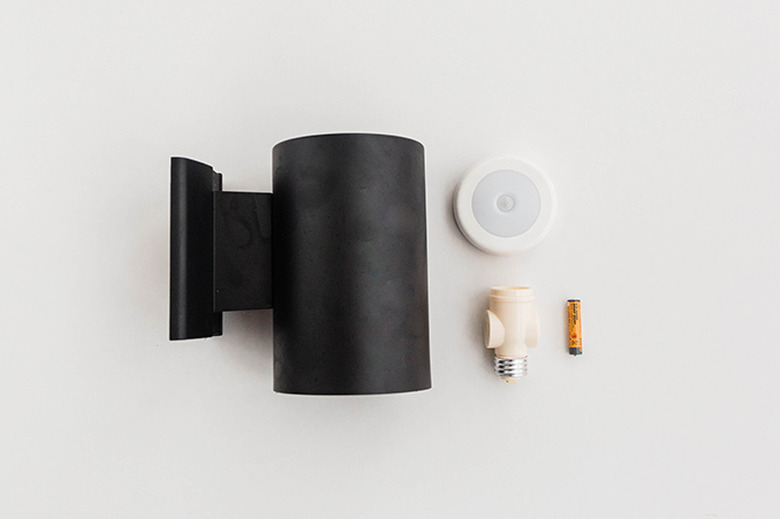
Things Needed
 Carrie Waller
Step 1
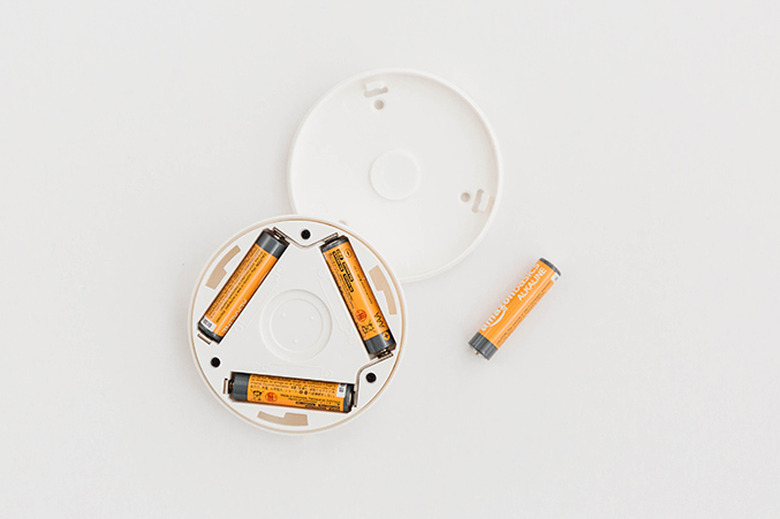
Put the batteries inside the puck light as directed by the puck light instructions.
 Carrie Waller
Step 2
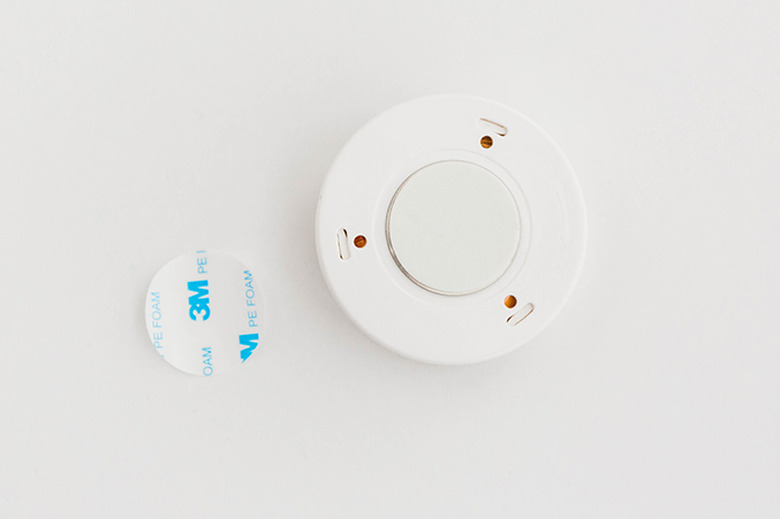
Peel the backing paper off the sticky magnet that can be found on the back of the puck light.
 Carrie Waller
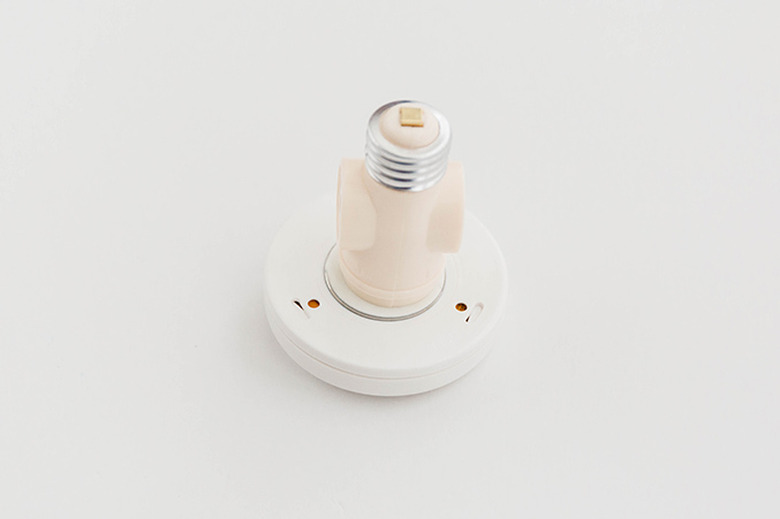
Step 3
Press the end of the light socket adapter that's intended to hold a light bulb (not the exposed silver threaded end) onto the sticky side of the puck light magnet. It should stick right to it, but if you feel like the hold isn't strong enough, you may use construction adhesive. Note that we've tested this method outside without the construction adhesive in 20-degree weather, and so far so good!
 Carrie Waller
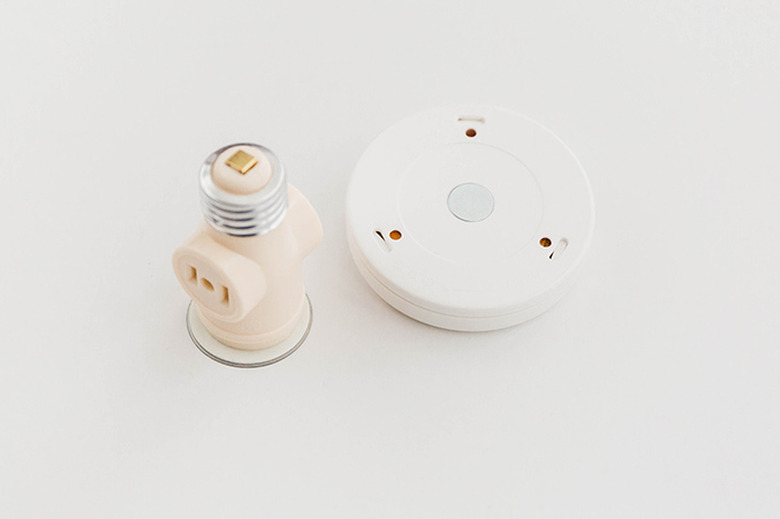
Step 4
Gently pop the magnet (with the light socket adaptor still stuck to it) off the back of the puck light. It should come free easily.
 Carrie Waller
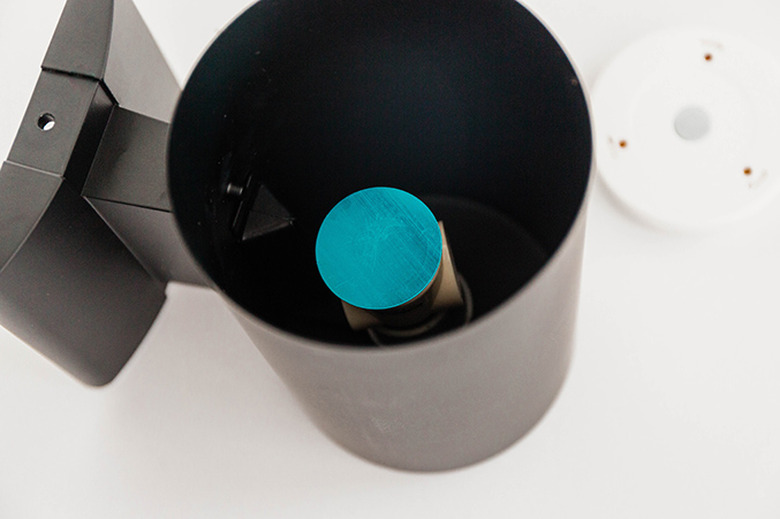
Step 5
Screw the threaded end of the light socket adaptor (with magnet attached) into the light bulb part of the sconce.
 Carrie Waller
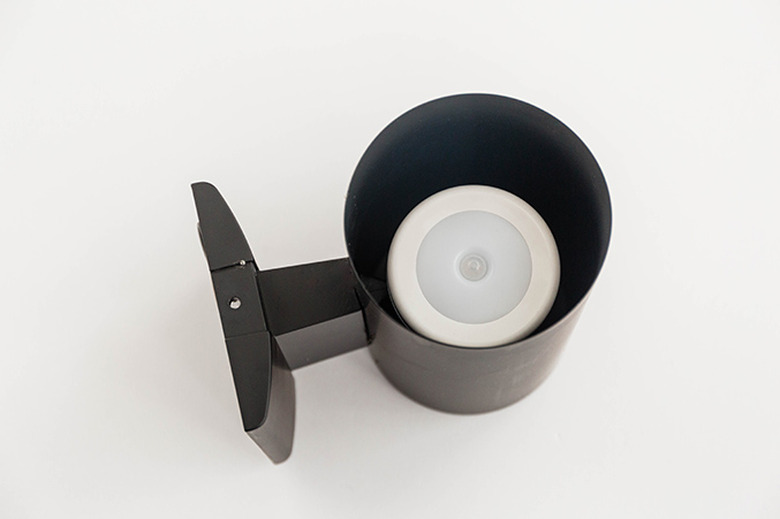
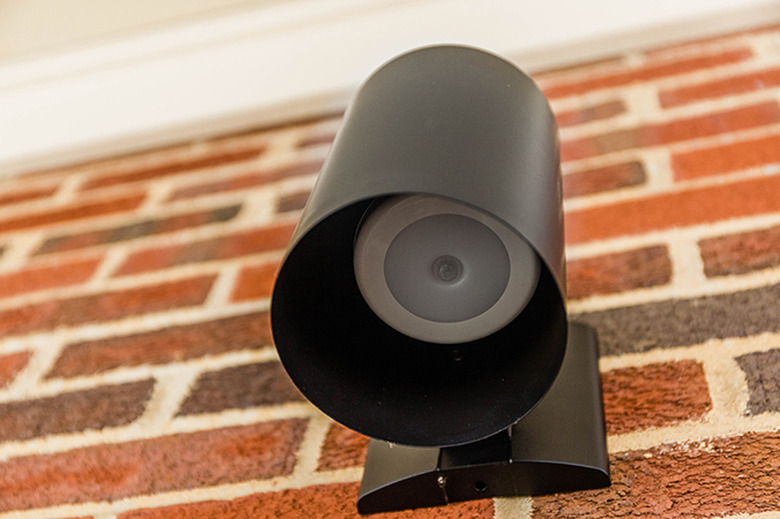
Step 6
Pop the back magnetic end of the puck light onto the magnet inside the sconce.
 Carrie Waller
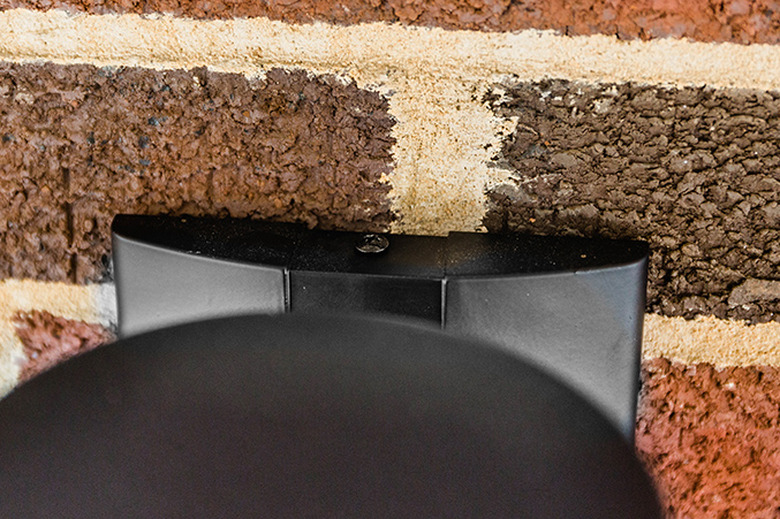
Step 7
Use a power drill and bits to install the hardware for the outdoor sconce, wherever you'd like to mount it. Finish installing the sconce on the wall using the instructions that came with it.
 Carrie Waller
 Carrie Waller
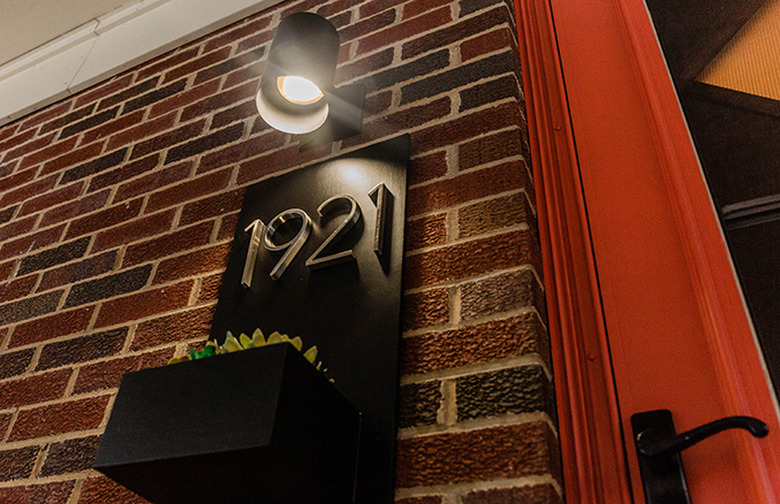
Step 8
You're finished! Now, whenever you need light on your porch, you can wave your hand under the sconce to activate the wireless stream of light — no hard-wiring required!
 Carrie Waller
 Carrie Waller