How To Install A DIY Screened Porch Or Patio Enclosure
We may receive a commission on purchases made from links.
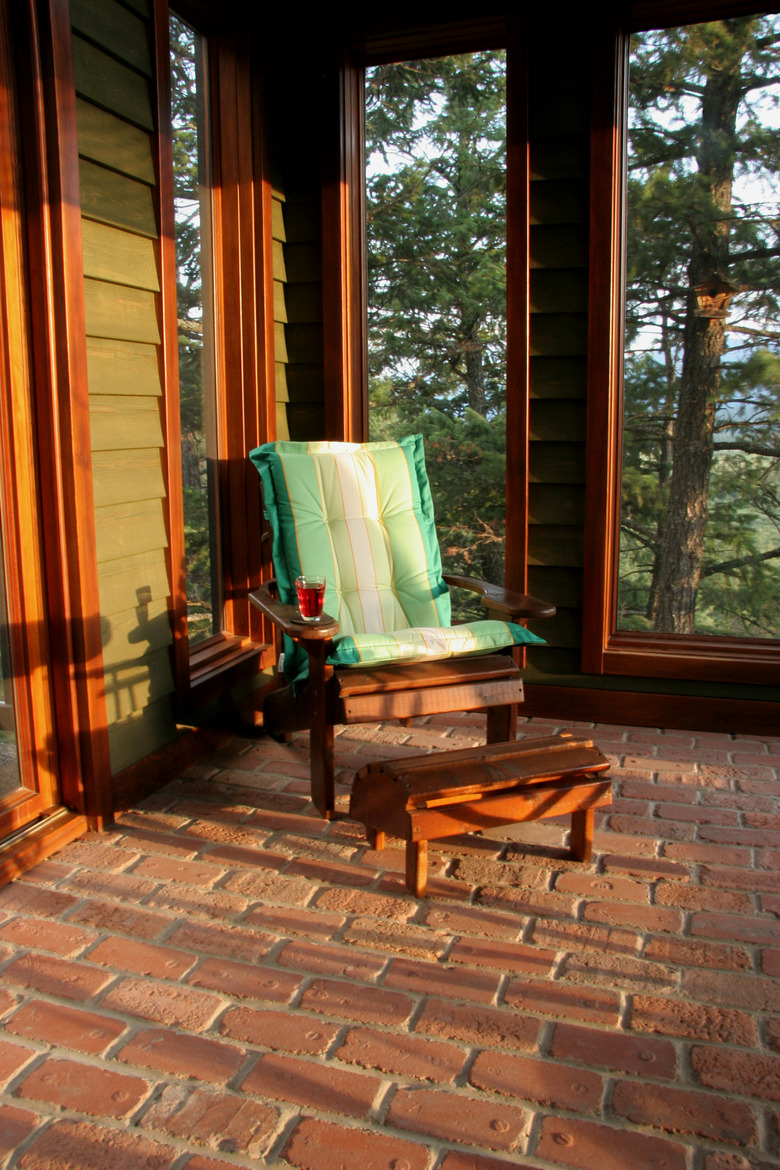
If you enjoy sitting on your porch or patio during the day but find yourself running for cover as the waning sun calls every mosquito in the county to dinner, you're a candidate for a screen or porch enclosure. Assuming you don't need to make any modifications other than installing the screening, porch and patio enclosures are DIY projects that won't break the bank. Even homeowners who don't do the work themselves will probably end up spending less than $1,000 for an average-sized porch enclosure, labor and all.
A screened-in porch or patio offers several benefits above and beyond creating a comfortable, bugproof outdoor living space. It's a good place for toddlers and pets provided you use the right kind of screen. The screening can also provide shade, making your outdoor porch or backyard patio usable at all times of the day and not just when the sun is in the right position in the sky.
Several screening-in options for an existing porch or patio are available, and some involve custom ordering panels based on the measurements of the area to be enclosed. If you want to do it yourself, your best bet is to purchase the screen and tracking separately, and to make matters as simple as possible, stick with a system such as Screen Tight. You won't have to hunt for extra parts because you'll find everything you need at any building center that carries this brand. It's about as easy as a DIY project can get, but you should know a few things before you get started.
Patio Enclosures Usually Need Framing
Patio Enclosures Usually Need Framing
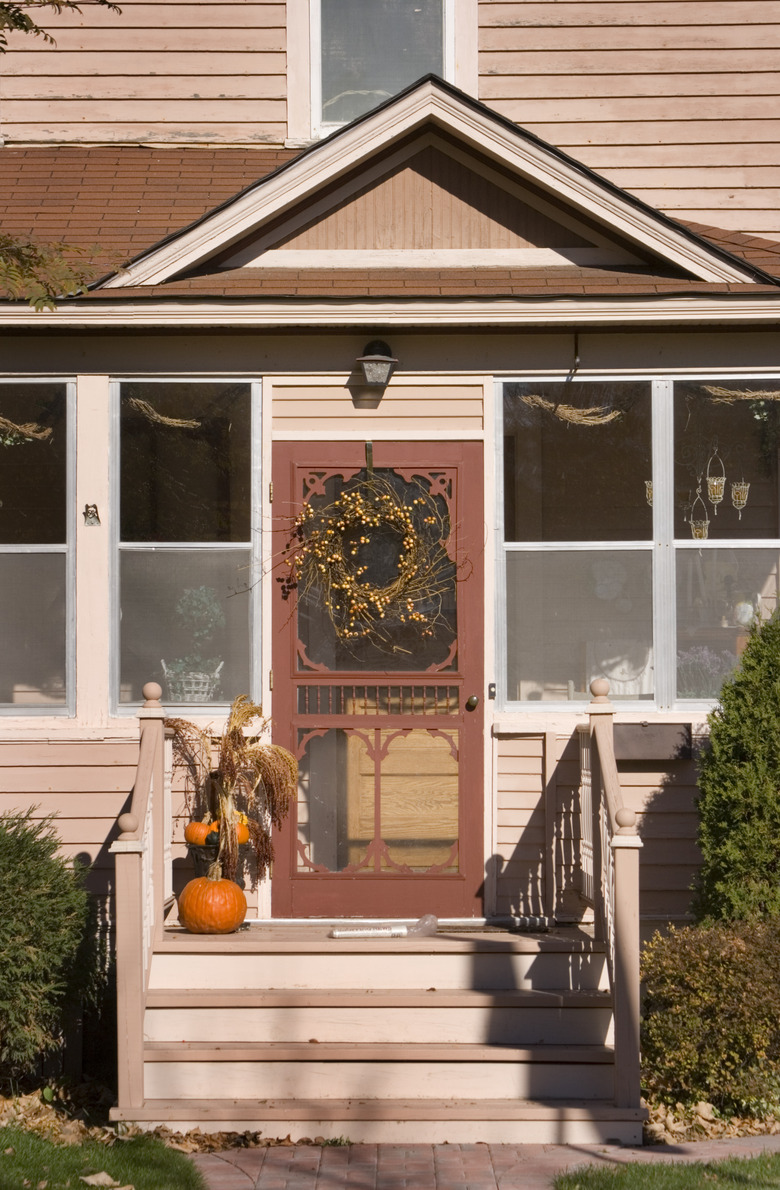
As with any home improvement project, you can spend a lot of money installing a DIY screened patio or porch enclosure, but you really don't need to do so. The project basically involves stretching screening around an existing porch or patio and fastening it to the posts holding up the roof. A screening system such as Screen Tight includes screening, tracks and splines to hold the screens and molding to hide the tracks. It doesn't include framing parts, and the four posts supporting a patio roof usually aren't enough to support screening, so you'll probably need lumber to add horizontal plates at the tops and bottoms of the walls. You may also need to add vertical framing to break the screen into smaller panels to better resist the wind, and you'll probably also have to frame in a doorway.
If the patio is concrete, you can fasten bottom wall plates using concrete fasteners, and if you have a paver patio, you can remove pavers and set pressure-treated bottom plates on the gravel base. You can then fasten top plates to the tops of the posts, install extra vertical framing as needed and frame in the doorway. Since a porch is usually made entirely of wood, you should be able to use most of the existing structure. You may need extra vertical studs to divide the walls into sections, though, and you will probably also have to frame in a doorway.
As long as none of these changes affect the basic structure of the existing porch or patio roof, you shouldn't need a building permit. That won't be true if you're interested in modifying a structure or making it into a new sunroom or three-season room with shutters; in that case, you'll definitely need to share your plans with the building department and get a permit. Even if the building department gives you a pass, neighborhood covenants or your homeowners' association may impose rules governing the modification you want to make. In all cases, it's a good idea to inquire about regulations to make sure your work is safe and legal because it will matter when it comes time to sell the house.
 YangYin/iStock/GettyImages
Choosing Screening for an Enclosure
Choosing Screening for an Enclosure
You have a choice when it comes to screening. You can go for fiberglass, aluminum, high visibility or sun blocking, and there's even an option for people with pets.
- Fiberglass is the most common screen option, and if you don't specify which type you want, this is what you'll probably get. It's lightweight and easy to handle, but it's fairly fragile and won't hold up well to strong winds or pets with sharp claws.
- Aluminum is more durable than fiberglass, but it's vulnerable to corrosion even if it comes with a protective finish. If your screen porch or your patio screen has to withstand wind, this is a better choice than fiberglass. Stainless steel is a more corrosion-resistant alternative to aluminum screen.
- High-visibility screen is made from fiberglass and is finely woven to make it almost invisible. It's even more fragile than standard fiberglass screen and is best reserved for a screen room that is well-protected from wind and in which there won't be any pets or small children.
- Solar and pet-resistant screening are the opposites of high-visibility screen. Both have a heavy weave and are a bit more difficult to install than other varieties. They are more expensive, and they won't work with a system such as Screen Tight. Use solar screening if you want to create shade and prevent your rugs and furniture from fading in the sun and choose pet-resistant screening to make your screen room pet-friendly. To maintain visibility in your screened-in porch or patio and keep costs down, consider using heavy screening only in places where it's absolutely needed, such as on south-facing sides or on lower parts of walls.
Things Needed
-
Concrete screws (if needed)
-
Tin snips (if needed)
-
Splining tool (spline roller)
How to Screen In a Porch or Patio
1. Add Wall Plates if Necessary
Each screened panel needs wood framing on all four sides, so if you're screening a patio, you'll probably have to add top and bottom wall plates. Whether you lay the bottom plates on a concrete pad or directly on the ground, they should be pressure-treated 2x4s. Secure them to the posts with deck screws. Optionally, you can secure them to the concrete pad with concrete screws. When laying the bottom plates on the ground, it's usually sufficient to just screw them to the posts.
Screw the top plates to the tops of the posts 8 feet above the bottom plates. Use a 4-foot level to make sure the top and bottom plates are level.
Tip
If the roof is lower than 8 feet, that places a limit on the height of the walls. If the roof is higher, you can make the walls taller, but on the sides of the structure where the roof slopes, the gap between the top plate and rafter is triangular. You can fill this with screen, but stretching it may be difficult, so as an alternative, you might want to consider covering these triangular gaps with solid wood or plywood.
2. Frame In a Door
Install two pressure-treated 2x4s between the wall plates, plumbed with a level and separated by the width of the door you plan to use plus 5 inches assuming you're going to install a 3/4-inch door jamb. If no jamb is planned, separate the studs by the door width plus 3 1/2 inches, which allows a 1/2-inch gap for the door to close smoothly.
Cut two more studs to the height of the door (these are jack studs) plus the thickness of the jamb and 1/2 inch of wiggle room. Screw those to the inside faces of the studs you just installed. Cut a length of 2x4 lumber for the header and screw it to the tops of the jack studs. The header isn't supporting anything, so it's fine to use 2x4 lumber for the header (instead of the heavier lumber used for a load-bearing header).
Finally, cut out the section of the bottom plate in the doorway using a reciprocating saw and install the door jamb as applicable.
3. Hang the Door
Most exterior screen doors suitable for a screened-in porch enclosure are lightweight and come with pre-installed hinges. Hang the door by screwing the hinges to the jamb and then open and close it to make sure it doesn't stick. Nail door stops to the top and opposite jamb and then install the door strike on the opposite jamb.
4. Measure for the Tracks and Screening
Measure the length and width of each panel to be screened using a tape measure. Add all the lengths and widths to get the number of linear feet of tracking and rubber spline you need. Multiply the length and width of each panel to get its area and add all the areas to get the number of square feet of screening you need. Add 10 percent to both numbers to account for waste.
5. Install the Tracks
Fasten tracks to all four sides of each panel on the outside of the structure to form a metal frame. Cut the tracks to length with a hacksaw. The tracks butt together at the corners, so there is no need to make miter cuts. If screws are supplied with the tracks you purchase, use 1 1/4-inch exterior wood screws and drive one through each pre-drilled screw hole.
6. Stretch the Screen
Screen each panel in turn by preparing a piece of screening that is about 4 inches wider and longer than the panel. If the panel is wider than the screen, you'll have to add framing to subdivide the panel. You can cut fiberglass screening with scissors or a utility knife, but you need tin snips to cut aluminum or stainless steel.
Starting at the top, lay the screen over the groove in the track with about 2 inches overlapping on the end. Unroll a length of rubber spline, set it on top of the groove and force the spline into the groove with a splining tool. You need 0.175-inch-diameter spline for fiberglass screening and 0.165-inch spline for metal screening. Work your way down one side and then work along the bottom and opposite side, pulling the screen to stretch it and keep it tight as you go. You can do all four sides with one length of spline; just cut it off along with all the excess screening when you reach the end.
7. Tap on Decorative Caps
Screen Tight and similar systems usually include decorative caps to hide the tracks and give the room a finished look. Cut the caps to length with a hacksaw and tap them onto the tracks with a rubber mallet. When you need to restretch or replace the screen, you can just pull these caps off.