How To Install Your Own Lawn Sprinkler System
We may receive a commission on purchases made from links.
Installation of an efficient sprinkler system that waters everything in your yard automatically is a home improvement project you can do yourself, and it begins with a plan, which is something you can also DIY with a little help from online resources. You can also have a company like Rain Bird draw up a plan as a complimentary service. All you have to do is send the company a chart that shows the layout of your property and the dimensions (it also doesn't hurt to commit to using the company's products). Whether you do it yourself or have it done by a third party, the plan tells you where the zone valves and all the sprinkler heads go, which is all you need to know to do the irrigation system installation.
But before you start digging, you need one more piece of essential information and that's the locations of all the underground utility pipes and wires running through your property. You can get a detailed map of underground utilities by calling 811, a free nationwide hotline operated by the utility companies. It's a good idea to do this while you're in the design phase so you don't plan to put a sprinkler head directly above a water main or telephone line and have to literally go back to the drawing board.
The Best Pipe for a Sprinkler System
The Best Pipe for a Sprinkler System
Once you have a plan in hand that illustrates the positions of all the sprinkler heads, you have a decision to make: Should you use polyvinylchloride (PVC) or polyethylene pipe (PE or poly), and if the latter, should you dig trenches or use a pipe puller, also known as a vibratory plow, which is easier for you and much less intrusive for the landscape? Rigid PVC pipe has been the traditional standard, but landscape professionals, especially those working in cold climates, are increasingly in favor of poly, which is flexible and more resistant to extreme temperature changes.
If you opt for poly pipe, you also have the option of installing it using a pipe puller, which is a gas-powered machine with a blade that vibrates its way through the soil and pulls the pipe along with it. It creates minimal disturbance to the lawn and can complete the job of laying pipe in hours instead of days, but it has drawbacks. It's sensitive to contours and doesn't always bury the pipe at the same depth, and it cuts through everything in its path, which is another reason you absolutely need a map of utility pipes and wires.
The alternative is to dig trenches by hand with a shovel or rent a trenching machine, and if you do this, you can use either PVC or poly pipes, but poly still has the advantage. It's easier to assemble using compression fittings or barbed fittings and clamps instead of glue, and sprinkler heads can be installed using saddle fittings that automatically create a watertight seal when you tighten them onto the pipe. Despite the convenience, old-school DIY installers in places without freezing temperatures prefer glue-together PVC pipe and fittings, and once the trenches are filled and everything is working, you can't tell the difference between PVC and poly.
Installation Begins at the Beginning
Installation Begins at the Beginning
The beginning of any irrigation system is the point at which it ties into the main water supply, and before you do this, you need to check the water pressure and flow rate at the closest valve — preferably an outdoor one — to make sure the water system can support a sprinkler system. Check pressure by attaching a pressure gauge to a spigot and turning it on (making sure all other valves and faucets are off), and if it reads at least 35 PSI, you're good to go. The best DIY method to measure flow rate is to time how long it takes to fill a 5-gallon bucket. You need 10 to 13 gallons per minute to support a sprinkler system.
Once you've finished the measurements and feel confident to proceed, you need to tie into the water system, which you do by turning off the water supply, cutting into the main line and installing a tee. From there, a length of copper or PVC pipe leads to the first essential component of the system, which is a shutoff valve. Once this is in place, you can turn on the main water supply, and you should never have to turn it off again to service the sprinkler system. From the valve, another length of pipe leads to a backflow preventer, which is required by most communities to prevent contamination of the water supply.
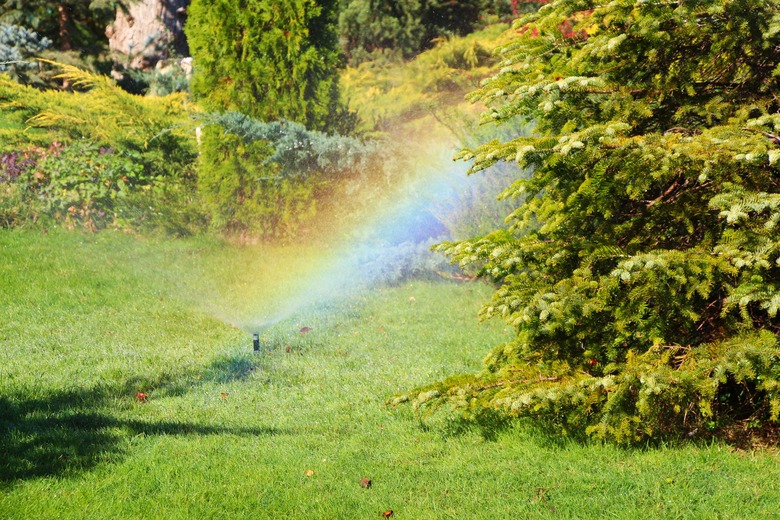 Andrey Rykov/iStock/GettyImages
Setting Up a Zone Station
Setting Up a Zone Station
If you're going to transition to poly pipe, a good place to install the appropriate fitting is in the span between the backflow preventer and the first zone station, which is where you install the valves that control the sprinkler heads. Most people install them underground in the yard inside a valve box with a removable lid.
The main supply pipe comes into the zone station and feeds into a manifold, which distributes the water to the individual valves. You can purchase a manifold or assemble a DIY version with PVC pipe and tees, and depending on the style, you attach the valves by gluing them or using unions. The valves get their instructions from a 24-volt control panel that can be near the valves or in an easy-to-access location indoors. You also have the option of installing a Wi-Fi enabled control panel, which can be in any convenient place. If the zone station is outside, you'll want to run 24-volt wire in the trench you dig for the main supply pipe coming from the shutoff valve.
If you're setting up an irrigation system on a large property, you may need more than one zone station to avoid long-distance pipe runs. If the total number of valves in both stations doesn't exceed the capacity of your control panel, you only need that panel, but if you have more than 12 zones, you probably need another one.
Wiring the Valves
Wiring the Valves
The recommended wire gauge for an underground sprinkler system is 18 gauge, and the wires typically come bundled together in black sheathing and coated with insulation of different colors to make the zones easy to identify. Choose a cable bundled with at least enough wires to service all the valves you install. It doesn't matter if there are one or two extra; just don't use them.
One of the wires in the cable — usually the black one — is a common wire that connects to the common terminal on the control panel and to which all the valves are connected, usually by twisting all the black wires together and screwing on a weatherproof wire cap. The red wire on each valve gets spliced onto one of the colored wires, which in turn is inserted into the wire clamp for one of the zones on the control panel. The clamp is spring-loaded; just depress the lever, insert the wire and release the lever.
You should make all the connections before plugging in the controller, but if you happen to forget, there's little to no danger of shock with a low-voltage system. Don't forget to make a chart indicating which color corresponds to which zone, which you'll need for future repairs, and to test each valve by turning it on with the controller.
Laying Pipes for the Sprinkler System
Laying Pipes for the Sprinkler System
The last task is to run the pipes for each zone throughout the yard and connect the sprinkler heads. Each pop-up lawn sprinkler needs to be set to a depth equal to the height it rises when it's on, and since spray head housings are different lengths, some require deeper holes than others.
When trenching with a trencher or shovel or using a pipe puller, you'll want to set the overall depth somewhere between 6 and 12 inches, which is deep enough to accommodate most pop-up head housings, and use underground risers to connect heads with shorter housings. If you're using poly pipe, you usually connect the sprinkler heads to swing pipes tied to the supply pipe. They give you the ability to offset the sprinkler heads from the supply pipes, and these also work better if you dig a little deeper.
The job of trenching or pulling pipe for a sprinkler zone is easier and more accurate if you indicate the location of each sprinkler head with a stake using your design drawing as a guide and mark lines between them with a chalk striper. Be sure the lines avoid underground utilities as well as large tree roots. You can generally expect roots if you're anywhere under the canopy of a tree. When cutting pipe, use a pipe cutter instead of a saw to avoid producing small pieces of plastic that can clog the sprinkler heads.
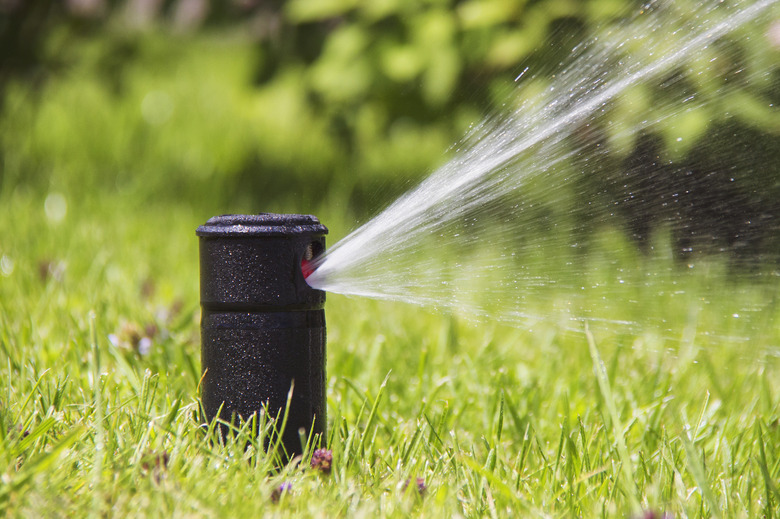 ka2shka/iStock/GettyImages
Installing the Sprinkler Heads
Installing the Sprinkler Heads
Because you drew up your plan in advance, you know exactly which type of sprinkler head to install at each location. Most pop-up sprinkler heads have a 1/2-inch female connector at the bottom of the housing, which is designed to accept a 1/2-inch riser. The other end of the riser screws into a tee fitting glued into the supply pipe (PVC) or into the female fitting on the end of a poly swing pipe. Once you have the sprinkler head set so its head is at ground level, backfill the hole, tamping as you do, until the soil is firmly planted around the rim of the housing.
Once you've installed all the sprinkler heads for a zone in this way, turn on the main shutoff valve and test the zone. Turn on the zone valve, check for leaks and then make adjustments to each sprinkler head as needed to get full coverage, which is something you have to do while the water is running. You can adjust the direction by turning the nozzle, and on most rotary models, you can adjust the arc and flow rate using a flat-head screwdriver. Models differ, so check the instructions that came with your sprinkler head.
Adding Drip Irrigation
Adding Drip Irrigation
You can devote one of the zone valves to a drip irrigation system that can snake throughout the garden and deeply water roots and spray fine mists on ground cover. Instead of connecting the valve to an underground pipe, screw on a drip system filter and a pressure regulator to reduce the water pressure to 25 PSI, which is the optimum pressure for drip emitters. The pressure regulator usually has a compression fitting into which you seat the poly main supply line.
You typically run drip lines above ground so you can connect the emitters, but if the watering zone is far from the valve station, it's fine to bury a section. Most drip fittings are compression fittings that you connect without glue, and to install an emitter, you punch a hole in the supply pipe with a hole-punching tool and insert the barbed end of the emitter until it snaps in place. Microsprayers and bubblers connect via a length of 1/4-inch tubing, and you need to purchase the barbed connectors for this tubing separately.
References
- This Old House: How to Install an In-Ground Sprinkler System
- Spruce Irrigation: Wiring 101: Zones, Commons, Master, Pump, Rain Sensor, 24VAC Ports
- Family Handyman: How to Install an Irrigation System in 11 Easy Steps
- Bob Vila: How To: Replace a Sprinkler Head on an In-Ground System
- Popular Mechanics: How to Install Your Own Sprinkler System
- Irrigation Tutorials: How to Select the Proper Backflow Preventer