A DIY Guide To Sprinkler System Parts
We may receive a commission on purchases made from links.
If you have an automatic sprinkler system, you no doubt appreciate the seamless way in which it delivers water to your thirsty lawn and garden despite perhaps having been caught on occasion in the middle of the lawn when it switches on. An array of sprinkler system parts makes this possible, beginning at the main shutoff valve and ending at each sprinkler head, and if you want to keep your system running optimally, it helps to know what these parts are and how they operate. This knowledge is even more important if you're planning to install a new sprinkler system.
Every irrigation system has to draw water from somewhere, and sprinkler systems usually get it from the home's water system. The irrigation mainline, which is usually 3/4-inch PVC pipe, ties into the 3/4- or 1-inch water main preferably just after the water meter or pressure pump, where water pressure is at its maximum. From there, the irrigation pipe heads to a distribution point where it splits into a number of branches, each of which services a separate watering zone in the yard. Along this path, a number of essential components control the flow of water and prevent it from flowing backward and contaminating the water supply.
Sprinkler System Parts at a Glance
Sprinkler System Parts at a Glance
Every irrigation system, whether underground or above ground, is unique because it has to meet the unique watering needs of the landscape. Even though no two sprinkler systems are exactly alike, they are constructed with standard parts readily available at home improvement outlets or online. A list of inexpensive, easy-to-install parts that you'll find in virtually every sprinkler system includes:
- A shutoff valve
- Piping
- A backflow preventer
- One or more manifolds
- One or more sprinkler valves
- One or more valve boxes to house the manifold and valves
- A 24-volt controller to automate the sprinklers
- An array of sprinkler heads
In addition, most systems include hundreds of feet of 3/4-inch PVC pipe or, for very large systems typically found on farms, 1-inch pipe. Sprinkler heads typically tie into the main pipe with 3/4- x 1/2-inch tees with threaded inlets that each accommodate a 1/2-inch PVC riser to which you screw the sprinkler head. The length of the riser is variable; it depends on the burial depth of the pipe and the length of the sprinkler body.
The Sprinkler System Shutoff Valve
The Sprinkler System Shutoff Valve
Even though each branch line, or zone, in a sprinkler system has its own shutoff valve, there needs to be one that shuts off the entire system at once for two reasons. The first is that it allows you to make repairs, and the second is that it provides a way to drain the system and shut it down for the winter. If you live in a climate zone without freezing temperatures, the second reason isn't compelling, but the first one is. Without a shutoff valve, you'll have to shut off the water to the entire house should a leak develop in one of the zone valves or in any of the pipes upstream from the valves.
You can choose a brass gate valve or a ball valve, which comes in metal or plastic, but the best choice is a ball valve. It's easier to operate than a gate valve, and it won't get stuck or wear out as easily. The shutoff valve typically goes right after the tee that ties the sprinklers line to the main water system, but it can be some distance away to make access more convenient.
 AdrianHancu/iStock/GettyImages
Use PVC or PE Piping
Use PVC or PE Piping
It's possible to supply a sprinkler system with galvanized steel pipes, but that's hardly ever done anymore because polyvinylchloride (PVC) and polyethylene (PE) piping are so easy to use and last just as long. PE pipe is flexible and can be joined with barbed connectors, unlike rigid PVC, which must be glued. Given the superior performance of PE in extreme temperatures, it's probably the better choice for a sprinkler system. However, in some parts of the country where PVC has been the standard for many years, it remains the preferred choice.
You May Need a Backflow Preventer
You May Need a Backflow Preventer
A backflow preventer is a device that allows water to flow in one direction but stops it if the water pressure on the supply side suddenly drops and reverses the flow. The Uniform Plumbing Code and some local plumbing codes require one on every irrigation system. It prevents water contaminated by soil pathogens, fertilizers and other chemicals from being siphoned back into the water supply in a negative pressure event, which occurs more frequently than many people think.
Some zone valves come equipped with anti-siphon valves, but even so, your community may also require installation of an additional backflow preventer just after the shutoff valve. If you aren't sure, it's important to check.
The three most common types of backflow preventers are:
- Pressure vacuum breakers (PVB) must be installed at least 12 inches above the highest sprinkler head.
- Double check valve assemblies (DCV) can be installed underground, but they aren't legal everywhere because they aren't designed for health hazards.
- Reduced pressure assemblies (RPZ) can also be installed underground and do meet the requirements for health hazards, but they reduce the output water pressure by 10 to 14 PSI, which can be significant when you use sprinklers that rely on a large flow of water.
The Manifold and Valve Box
The Manifold and Valve Box
At some point, the main water line coming from the shutoff valve and backflow preventer has to split into the branches for each watering zone, and this occurs at the manifold, which is essentially a multiport fitting with 3/4-inch outlets to which you attach the inlets for each of the valves. You can buy one-piece manifolds, or you can construct your own with PVC pipe and tees, but the one-piece option is easier to install and has fewer joints that can leak.
Most homeowners choose to install the manifold, sprinkler valves and control panel inside an existing building, such as a garage, shed or the basement of the main house, but you can also install the valves and valve manifold outside in the yard and put the control panel indoors. If you choose to do this, you'll need a valve box, which is an open-ended plastic enclosure with a removable lid that you bury in the yard. This rectangular or round box is typically 12 inches deep with a width and length of about 20 inches, and it makes the valves accessible while protecting them from the elements, although the odd creepy-crawly may take up residence there.
 ka2shka/iStock/GettyImages
The Sprinkler Valves
The Sprinkler Valves
The manifold divides the main water line into branches, or watering zones, and each zone has its own valve. Each valve includes a solenoid that is wired to the system's control panel with 24-volt wiring. When the control panel sends a signal to the solenoid, which covers a pinhole between the two chambers in the valve, it becomes a tiny electromagnet and lifts, allowing water to flow between the two chambers in the valve and forcing a diaphragm to open, which allows water to flow. When the control panel stops sending the signal, the spring-loaded solenoid drops, blocking the pinhole and stopping the flow of water through it. That increases the pressure on the diaphragm, forcing it to close.
Several companies manufacture control valves, including Orbit, Rain Bird and Lawn Genie, and while they all work the same way, you may confuse yourself if you mix valves of different brands. These valves typically screw onto the manifold outlets, and the pipes for the zones they control are glued or — better — are attached by unions, which makes it possible to remove or replace one of them without cutting pipes.
When you need to service or replace a valve, you disconnect the wires, which is safe because they carry low-voltage electricity. You then unscrew the union and then unscrew the valve from the manifold. It's usually a good idea to install a second shutoff valve just before the manifold so you can service the valves without having to run back and forth between the valves and the main shutoff.
The Sprinkler System Control Panel
The Sprinkler System Control Panel
The valve solenoids get their instructions from the control panel, or timer. The control panel comes with a 24-volt step-down transformer that you plug into a standard 120-volt outlet, so you may have to install an exterior GFCI outlet nearby if there isn't one there already. It's never a good idea to power an electric appliance, such as a sprinkler control panel, by using a permanent extension cord. Electrical codes specifically prohibit using extension cords this way.
You'll want to size the control panel according to the number of watering zones. Panels that control four, six, eight and 12 zones at once are all available, and some are Wi-Fi enabled so you can monitor and program the irrigation system using a smartphone. If you have a large yard, it might make sense to create two or more valve stations, and if you do, each station needs its own manifold.
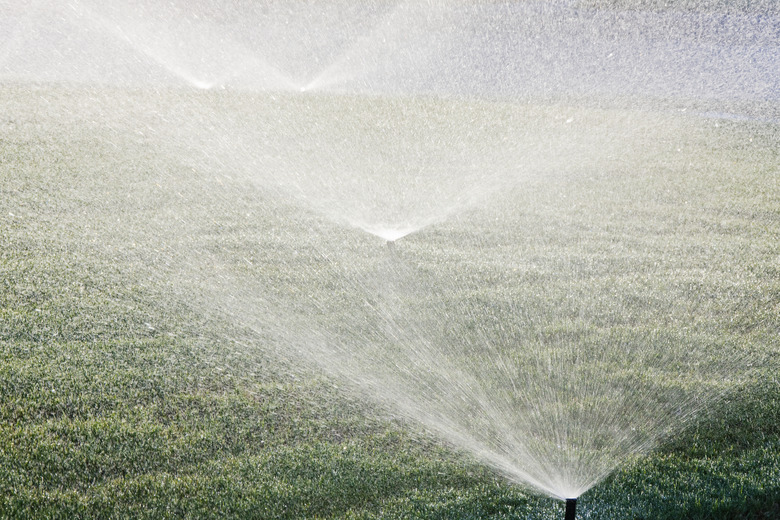
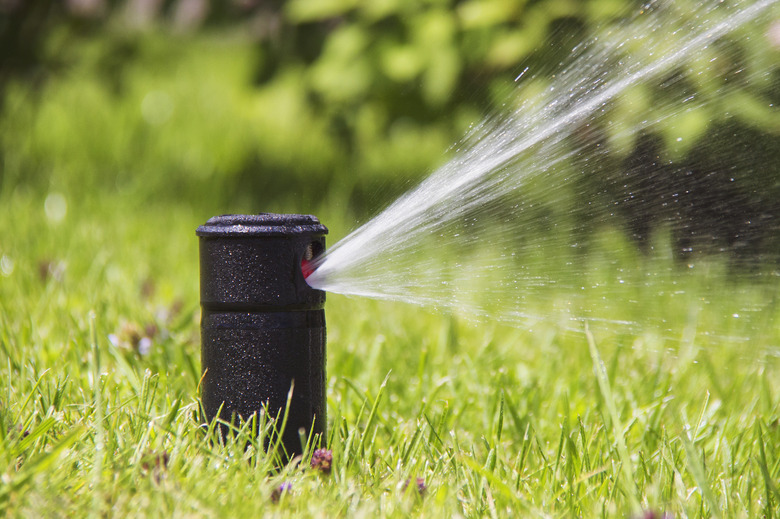
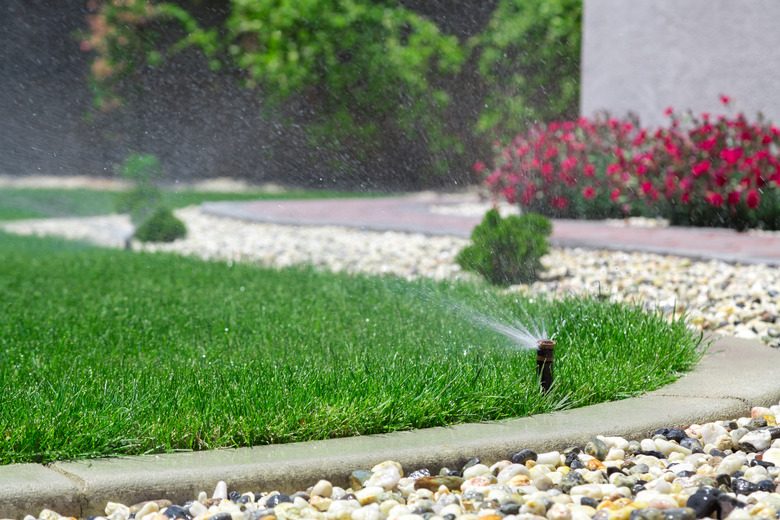
Sprinkler Heads Are the End of the Line
Sprinkler Heads Are the End of the Line
A pipe extends underground from each of the valves and splits into a network to feed all the sprinkler heads in that watering zone. Sprinkler heads can be pop-up, which means they retract to ground level when the water is off, or they can be above ground, and they can have fixed spray heads or rotors. Most pop-up rotors are gear-driven and contain small turbines powered by water pressure to spin the rotors. Spray heads deliver a spray pattern between 15 and 360 degrees and have a range of around 18 feet, while gear-driven rotors, which typically have arcs adjustable between 50 and 360 degrees, have a much longer range — between 8 and 65 feet.
The type of sprinkler heads you use and their range determines how far you should space them, and you usually determine this before you install the sprinkler system. However, it's fairly easy to retrofit sprinkler heads with different ones if they aren't performing as expected. One thing to remember before you install the sprinkler pipes is that the range of pop-up sprinklers is partly determined by the height they pop up. If you want to get the maximum range, you need to install long ones, and that means you have to dig supply pipes deeper.
Rotary impact sprinklers are a third type of sprinkler head, and they have the longest range of all, potentially reaching 50 feet and more. As a steady stream of water sprays from the head, a loosely fitting arm repeatedly strikes the water and provides momentum for the head to turn. Impact sprinklers require a minimum water pressure of 40 PSI, so they should be on a dedicated zone that isn't losing water pressure to other types of sprinklers.
 MariuszBlach/iStock/GettyImages
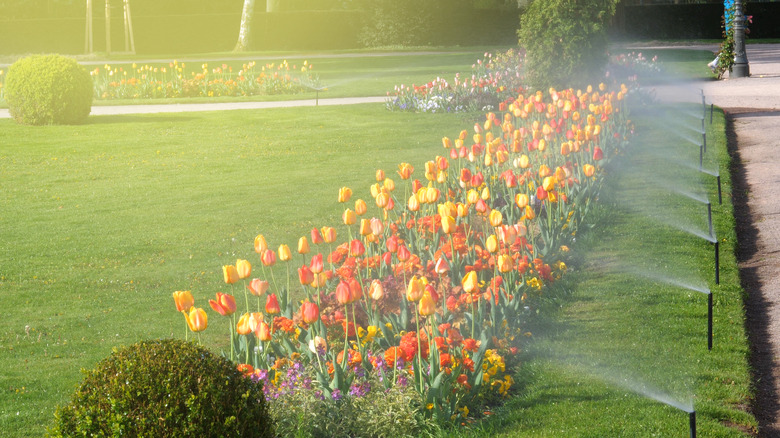
Add Some Drip Irrigation
Add Some Drip Irrigation
You can install a drip line on an unused sprinkler valve, which allows you to use drip emitters, including bubblers, microsprayers and soaker tubing, to water shrubs and hard-to-reach sections of the lawn. If you do, you need to first install a filter, which is necessary to keep debris out of the tiny openings in the emitters, and a pressure regulator because drip systems operate at a lower pressure, usually 20 PSI. The 3/4- or 1/2-inch main drip line connects to the pressure regulator and runs above ground to the area to be watered. You can connect a wide variety of emitters either directly to this line or on lengths of 1/4-inch tubing.
References
- Ewing Irrigation & Landscape Supply: The Basics of Backflow Prevention
- YouTube: RainBirdCorp – How Do Irrigation Valves Work?
- Irrigation Tutorials: How to Pick the Best Sprinkler Head or Bubbler for Your Irrigation System
- Turf Mechanic: Impact Sprinklers VS Gear Drive Rotating Sprinkler Heads: Which is Best? How Are They Different?
- PlumbersStock: Sprinkler System Parts List
- Orbit: PVC vs Poly: Which is Right for You?