How To Build A DIY Garden Pond For Your Backyard
We may receive a commission on purchases made from links.
Taking on a DIY garden pond project can be a great way to add interest, ambiance and a dash of nature to a suburban or urban backyard. When it comes to creating a pond, there are a number of different options and sizes from which to choose—and adding plants, fish or a water feature may increase the overall appeal. Homeowners can scale the project to their ability and budget to create a unique focal point on the property.
Basic Pond Construction Options
Basic Pond Construction Options
Choosing a construction method is the first step in any DIY pond project. Advanced DIY homeowners may want to take on a larger pond area using a flexible liner to fully customize the shape and size. These liners are made of an extremely tough, rubber-like material that is very resistant to sunlight, unlike regular plastic. Although this type of setup requires a bit more time and effort to install, it allows for full control over the look and configuration of the pond.
If something a little more DIY-friendly is desired, a rigid construction pond liner will also work very well. These come in various sizes and are made of a harder, preformed material. Most are plastic, but there are some fiberglass options. Widely available shapes include oval, kidney, round and rectangular. These are easy to install and can work wonderfully for a backyard project. Find these at home improvement stores or garden stores.
Some garden stores also offer all-in-one pond kits for homeowners who want to have a pond but don't want to do a lot of digging or try and figure out all the details. These come complete with everything needed for setup. A simple "no dig" pond kit is a good option for a porch, patio or deck area. They are usually very basic and consist of a container that has a pump and fountainhead.
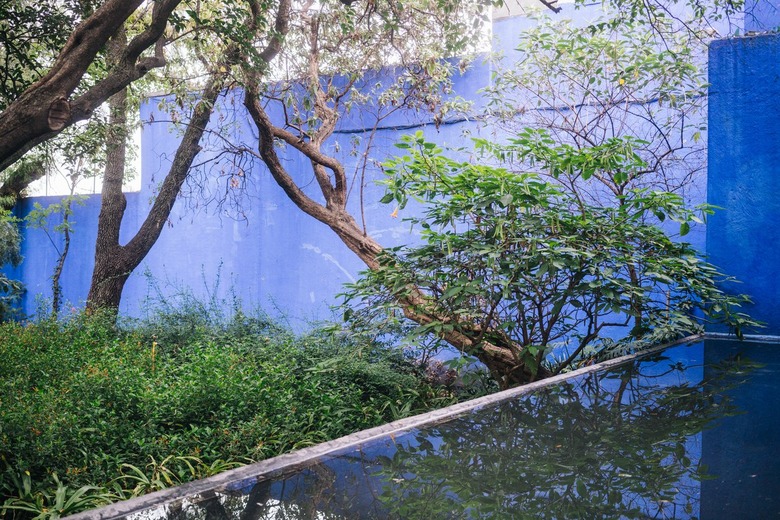
Placement is one very practical consideration when planning a DIY garden pond. If electricity is needed to run a pump or bubbler, be sure you can get power out to the location of the pond. Also pay attention to the sun and shade mix and make sure it's a match for your plantings. Just watch the overhanging branches, as leaves and twigs may drop into the pond, causing poor water quality or pump clogs. Be sure to call and have utilities marked before you begin digging and check your local codes to make sure you are in compliance.
 YuraWhite/iStock/GettyImages
Common Garden Pond Elements
Common Garden Pond Elements
Not all garden ponds are the same, but there are some elements that tend to pop up over and over again in terms of decoration or design features. For example, plants are an extremely popular addition to many outdoor pond areas. Whether tucked behind rocks or used as a border, they add a lot to the overall ambiance. Many times, water plants are added as a way to improve the look and quality of the water itself. Fish are another item often seen in backyard ponds, with the most popular being koi and goldfish. These living creatures add a unique type of interest, and some people find them very relaxing.
Boulders, stones and bricks have all been used in pond landscapes, and they offer some contrast to the softness of water and plants. They are also useful for edging and for holding down flexible plant liner. Lighting is another feature that amps up the look of a pond area. From sealed underwater options to LED path lamps, these can add a touch of class or whimsy depending on the desired effect. Statues are another common decoration added to the pond landscape as well as stepping stones and benches. The options are plentiful.
Installing a Small Wildlife Pond
Installing a Small Wildlife Pond
Wildlife ponds are built to attract and encourage insects, small animals and birds to visit. A small backyard pond made with a rigid liner makes a perfect DIY garden pond project for this purpose. To get started, turn over the liner and mark the ground with spray paint to trace the outline of the shape. Take a spade or shovel and dig out the ground area where the pond liner will be placed. Make sure it fits and has some space around it for backfill.
Next, level the liner and add 2 or 3 inches of sand to the base to stabilize it and prevent damage from stones or tree roots. This may take several adjustments, but adding sand and tamping it down well should help. Use a level (or a level on a board that spans the pond) to check the results. Once everything looks good, add some sand around the liner and then a little water in the bottom of the container. Check the level again, and if it looks good, backfill the sides with sand and fill the container with water. If needed, relevel and continue the process.
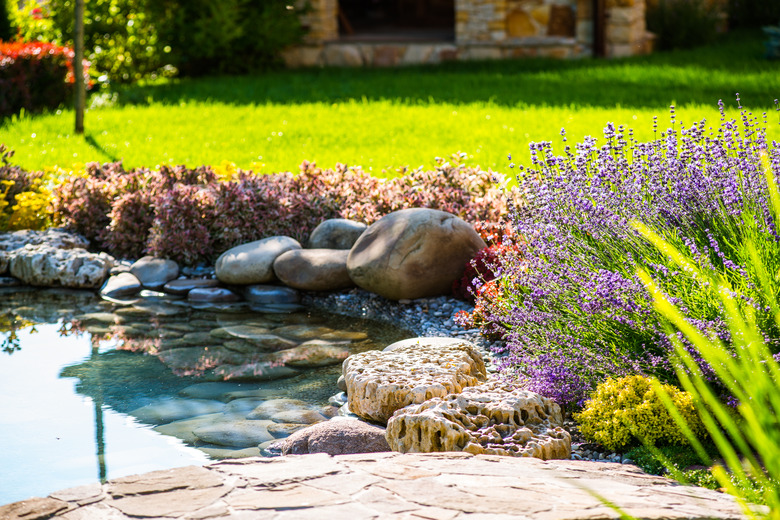
Once this is done, cover the rim of the pond liner with a variety of rocks and stones in different sizes. You can add native plants to the area, as these will fill in naturally and attract local wildlife. For example, if monarch butterflies live in the area, planting milkweed will attract them. Do a little research or ask at a local garden center to learn about the best plants for your region.
Add a bubbler to keep water from going stagnant and to cut down on mosquitoes. Not only does this help oxygenate the water but it sounds appealing as well and can help keep the surface from freezing completely in colder climates. Bubblers are simple to put in and operate, and there are inexpensive options available. You can even hide the cord in plantings to camouflage it.
If digging a large hole for your rigid pond form isn't something you want to do, or if you want to site a pond underneath a tree where the tree roots make it impossible to dig, you can always set the form directly on the ground, making sure it's level. Add stackable pavers around the shape of the pond to create an aboveground pond with rustic aesthetic appeal from the stones. You can also add an optional step of drilling holes spaced every 8 inches or so around the top of your pond, a few inches from the top so that your pond doesn't overflow in heavy rains (similar to an overflow hole in a bathroom sink), potentially taking fish and plants with it.
 eurobanks/iStock/GettyImages
Installing a Large Custom Pond
Installing a Large Custom Pond
Larger ponds usually require a flexible pond liner and underlayment, which can be quite a bit more work than the smaller ponds. Even so, the customization that it allows is pretty impressive. Using these materials, there are almost endless options available in terms of shape and size. Just remember that the area will still need to be dug down. Use a garden hose or string to lay out a natural shape and then spray paint the outline and dig down to wherever is the bottom for the design. It can be as deep or as shallow as you prefer.
Underlayment is next on the agenda. It's probably best to invest in the commercial grade material that is made specifically for pond use. This is a soft material that is often made out of polypropylene, which stands up well to ultraviolet light. Some people use sand or old carpet as a liner, but there are potential problems with both. Sand won't stick to the sides, and carpet may shift or even break down over time depending on the materials.
Cover the entire area with the underlayment to protect the flexible liner from damage that can be caused by stones and tree roots. For large ponds, it can be helpful to have someone help with this task. Be sure not to stretch the material too tightly. Run it all the way up the sides, leaving plenty of overlap on land. Cut off the remaining material. Secure the underlayment with heavy rocks or bricks to hold it in place before beginning to lay the flexible pond liner.
Flexible pond liner is made of a material called ethylene propylene diene monomer (EPDM), which is far more durable than a tarp or plastic. The Pond Guy recommends a 45-mil weight and has a formula for calculating how much liner will be needed, which is twice the pond's depth in feet plus 1 foot added to the length of the pond. Next, figure the width by adding twice the pond's depth in feet plus 1 foot to the width of the pond. Size up if needed to make sure there's enough material.
Install the liner the same way as the underlayment, making sure there is plenty of slack so that when the pond is filled with water, it won't pull itself down. In areas where there is an excess of material, fold and pleat the liner to neaten the appearance and make it sit nicely. Secure it with rock or bricks. Add some water to the bottom of the pond area and readjust the pond liner if needed to give more slack. Continue adding water and adjusting until the pond is filled and then trim the liner. Save the extra material for patching later if needed.
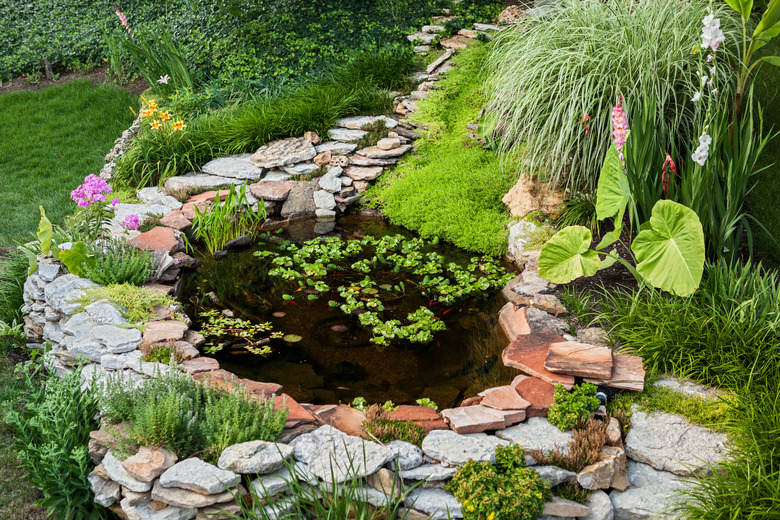
This type of pond looks amazing with a combination of flat rocks and plantings around the sides, but water plants can also be added for additional interest. Use nearby landscape mulch sparingly, as it can wind up in the pond water if used too close to the edge. Include a bubbler (or several), a fountain or a waterfall to keep the surface moving.
Creating a DIY Fish Pond
Creating a DIY Fish Pond
Any fish pond begins with regular pond construction, such as installing one of these two pond types. From there, a number of different considerations need to be addressed depending on what type of fish will live in the water. Fish ponds require more attention and maintenance than regular ponds, as water quality becomes an important issue. Weather is another factor to consider, as severe winters can cause stress for fish.
When choosing the pond location, try to pick an area that has both sun and shade. This can be especially important in warmer climates. Goldfish ponds can also benefit from having some types of aquatic plants, which can help keep the water quality and oxygen levels sufficient. Check with a local aquatics store about recommended plants. Some water plants can be potted and placed in a pond, removing the need for filling the bottom with a substrate.
Koi are lovely, but these fish really need a large pond area to do well. The smallest pond in which a koi should be kept is 1,000 gallons. Homeowners who want to keep a koi pond should work with an aquatics store or have a professional company add the plantings and fish. Koi can make for expensive experimentation, and there's a lot to know about their care.
Goldfish are a common pond fish, and they work well in smaller areas, making them a great pick for a DIY garden pond. Those living in cold climates should shoot for about 24 inches of depth to be safe. Make sure there is always an area on the top that is free of ice in winter or add a heater.
You should have one goldfish for about every 3 or 4 feet of surface area in the pond. Goldfish are very hardy, but only add a few fish at a time at first to give them the best chance of surviving. Putting in too many at once can cause a buildup of ammonia, which can kill fish.
 luisrsphoto/iStock/GettyImages
Adding a Fountain to Garden Ponds
Adding a Fountain to Garden Ponds
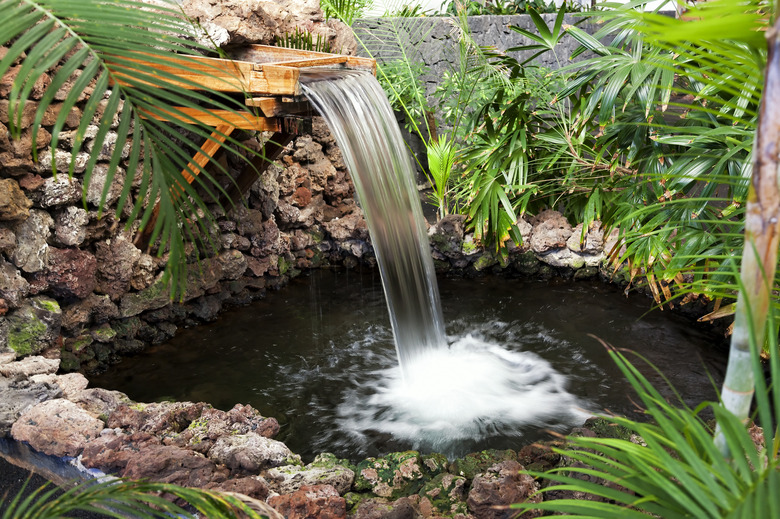
A pond that has a fountain in it is attractive as well as practical. Fountains add a focal point to the pond area, provide good water circulation and oxygenate the water. They also add a pleasing sound that many people find relaxing. Installing a fountain in a pond isn't too complex, but the pump will need to be sized for the volume of water so that it can circulate properly. In general, you should get one that pumps roughly half the volume of the pond every hour.
Be sure to elevate the pump a bit so it doesn't pull in debris from the bottom of the pond. Use brick or stone to bring it up a bit. Run clear tubing from the pump to the fountain and secure the open end. Hide the power cord among the plantings or weave it between rocks. Also, if the pond will be drained and cleaned periodically, build in a sump area that is lower to make this task easier.