How To Install A French Drain In Your Yard
We may receive a commission on purchases made from links.
Pools of water in the yard, seepage into the basement and excessive runoff from patios, walkways and driveways are all problems that can be solved by installing a French drain. This type of drain isn't really French, so you don't have to worry about ordering one from overseas, and it isn't exotic either. Named after its Massachusetts-based inventor, Henry French, who came up with the simple and useful idea in the mid-1800s, the French drain system was first popularized in his book Farm Drainage, available online at Project Gutenberg, and it has been a landscaping staple in North America and elsewhere since the book was published in 1859.
The concept of a French drain is simple, and any homeowner with a shovel can install one in the yard. It's basically a gravel-filled trench dug with a slight slope toward a catchment or runoff point. Inside the trench is a length of perforated drain pipe that is covered with landscape fabric to prevent clogging, and because the trench is ultimately covered with topsoil and possibly sod, it disappears. Some French drain systems, particularly those around foundations or in basements, do require professional installation, but a simple yard drainage system can easily be a DIY project.
What Problems a French Drain System Solves
What Problems a French Drain System Solves
In an ideal world, a property is graded away from the house with a slope gentle enough to allow rainwater to seep into well-draining ground, and where slopes do create streams, the streams flow harmlessly toward a natural catchment or runoff point. The world and its properties are seldom ideal, however, and any one of the following conditions can create drainage problems:
- Poorly draining soil
- Low spots and depressions
- Streams caused by abrupt changes in slope or man-made obstructions
- High water table and springs
A French drain system can improve drainage in any of these situations by collecting water at ground level and directing it to a suitable place. In an effort to conserve water and protect water quality, many communities place restrictions on directing water off the property. Where no natural runoff point exists or directing the water to a municipal drainage network is impractical or illegal, the drain pipe can terminate in a dry well on the property.
French drains can also resolve drainage problems around the foundation and in the basement. Footing drains catch water that would otherwise seep through the foundation walls, and channel drains covered by drain tile in the basement floor direct excess water to a central point where a sump pump can transfer it outside. Installation of footing and channel drains is usually a job for professional contractors because of the amount of digging involved and can cost from $50 to $100 per linear foot, according to data from Fixr.
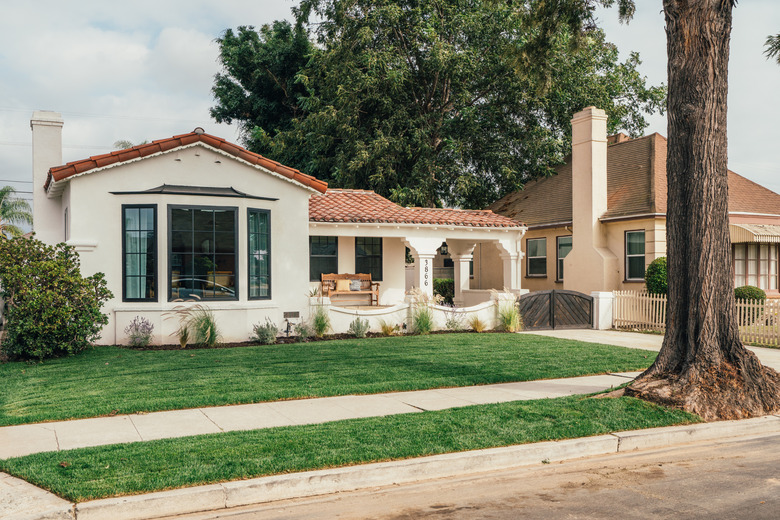
 JeanCuomo/iStock/GettyImages
How a French Drain Works
How a French Drain Works
It isn't difficult to tell where a French drain would be of most use in your yard. Just look for low-lying areas with standing water or soggy soil that stay that way for days after a heavy rain. These areas might have clay-like soil or be receiving water from areas of higher elevation that surround them, and they are perfect candidates for a French drain installation. Other likely places include the edges of impermeable surfaces, such as a concrete patio or asphalt driveway, where runoff is heavy and water pools.
Because a French drain is permeable, it absorbs water from the surfaces as well as from deep in the ground, and the water flows in the direction of the trench slope, which should be 1 inch for every 8 feet (a 1 percent grade) at a minimum, according to Mr. Rooter. A gentle slope allows some of the water to drip through the holes in the perforated drain pipe and sink into the soil, eventually returning to the water table.
Designing a French Drain System
Designing a French Drain System
Because the end of a French drain system has to be at a lower elevation than the beginning, it makes sense to install it on ground that follows a downward slope if at all possible. That way, you can keep the trench a uniform depth. When you can't avoid installing one on flat ground or ground that slopes in the opposite direction of the drain, you have to plan for extra depth at the end, and this can be considerable. For example, if you install a 100-foot drain on flat ground, the trench has to be more than 12 inches deeper at the end than it is at the beginning, so it's best to keep the drain as short as possible to limit the amount of digging you have to do.
Locating the exit of the drain also takes careful planning. According to Houselogic, the best exit is on a grassy slope with good sun exposure or on the street if allowed by your community. The drain should never direct water onto a neighboring property or anywhere it could cause erosion or cover sidewalks and public thoroughfares with water that could turn into ice. Once the drain has been installed, you can cover it with turf, soil or, if it suits the landscape design, tiles or gravel.
If your best option is to drain the water onto the street, be sure to check with the local planning office to determine whether you need a permit and what regulations apply. In cases where no suitable natural runoff point is available, the only other option is to terminate the drain in a dry well, which is a gravel-filled pit that holds water and allows it to percolate slowly into the ground. If the drain has to handle large amounts of water, it may be a good idea to dig several smaller dry wells along the course of the drain.
Things Needed
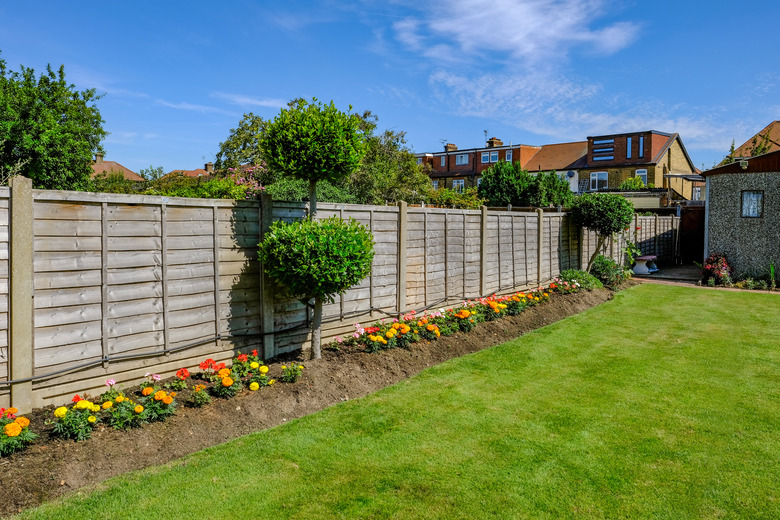
 HannamariaH/iStock/GettyImages
How to Install a French Drain
1. Locate Underground Utilities
Call 811 to start the process of having all underground utility lines marked on your property. Wait until all lines are marked (which may take a few days). It goes without saying that you should avoid these when laying out the drain, but there may also be pipes feeding sprinklers or an outdoor spigot. These will not be marked by the utility companies, so watch for those as well.
2. Lay Out the Path and Measure the Slope of the Ground
Drive stakes to mark out the path of the drain and measure the change in elevation between each pair of stakes. To do this, tie a string to the base of the stake nearest the beginning of the drain, stretch it to the next stake, put a line level on the string and center the bubble. Use a tape measure to measure the distance from the string to the bottom of the stake in inches, divide that by the distance between stakes in inches and multiply by 100. Any result less than 1 percent means you have to dig the trench deeper at the lower end to maintain a downward slope.
If the ground slopes upward, you won't be able to center the bubble. In that case, tie the string to the base of the second stake, go back to the first stake and move the string up until a quarter of the bubble is inside the line. Measure the height of the string, and that measurement tells you how much deeper the trench needs to be at the opposite end.
Be sure to avoid tree roots when laying out the path of the drain, or they can grow inside the pipes and clog the drain. Roots of large trees usually extend to the drip line, which is the farthest extent of the branches, but to be on the safe side, it's best to go even farther out than that. Woody shrubs also have extensive root systems that can grow inside the drain, so stay away from those as well.
3. Dig the Trench
Using a spade, cut the turf along both sides of the trench, which should be a minimum of 12 inches wide, remove the turf and set it aside for replanting. Dig the trench with a round shovel, or depending on the length of the trench, you may want to rent a trencher to make digging the trench that much easier. Lay a tarp along the side of the trench to deposit the dirt so it will be easier to take away.
The beginning of the trench has to be deep enough to hold 2 to 3 inches of gravel at the bottom, a 3- or 4-inch perforated pipe, 2 to 3 more inches of gravel above the pipe and 1 or 2 inches of topsoil for a total depth of 8 to 12 inches. The other end has to be just as deep plus whatever extra depth is needed for the trench slope.
4. Line the Trench With Filter Fabric
Although some landscapers recommend laying filter fabric after you cover the bottom of the trench with gravel, others, like Houselogic, say to do it before. The filter fabric is there to prevent debris from the pipe from clogging the surrounding soil, so either way is fine. The fabric should be long enough to extend 12 inches from the top of the trench on both sides.
5. Cover the Bottom of the Trench With Gravel
Shovel in enough angled drain rock to cover the bottom of the trench to a depth of 2 to 3 inches. To determine how much gravel you need for the project, use the online gravel calculator from Summit.
6. Lay Perforated Drain Pipe
You can use 3- or 4-inch corrugated drain pipe with slits or PVC pipe with holes. Corrugated drain pipe is easier to handle, but it clogs more easily than smooth PVC pipe, which is preferable for a long trench because it gives you the option of installing tees and risers that make it easier to clean the pipes. Install the pipe with the holes facing down.
7. Backfill With Gravel
Cover the pipe with enough gravel to bring the level to within 2 to 3 inches of the top of the trench. Fold the landscape fabric over to completely enclose the pipe and the gravel. Some landscapers recommend folding the landscape fabric over the pipe before backfilling with gravel, which is often a good idea since the gravel holds down the fabric and prevents it from being visible if the topsoil washes away.
8. Top Off the Trench With Soil
Use some of the soil you removed from the trench to cover the gravel. If you are replacing the old turf or starting over with new sod, don't forget to leave enough space for it. Otherwise, backfill to ground level and reseed the trench with grass seed.
References
- Project Gutenberg: The Project Gutenberg EBook of Farm drainage, by Henry Flagg French
- Fixr: French Drain Installation Cost
- Mr. Rooter: Everything You Need to Know About French Drains
- Houselogic: French Drains: How to Build an Exterior French Drain System
- Summit: Calculator
- Bob Vila: French Drains 101