How To Build A Bamboo Privacy Fence
We may receive a commission on purchases made from links.
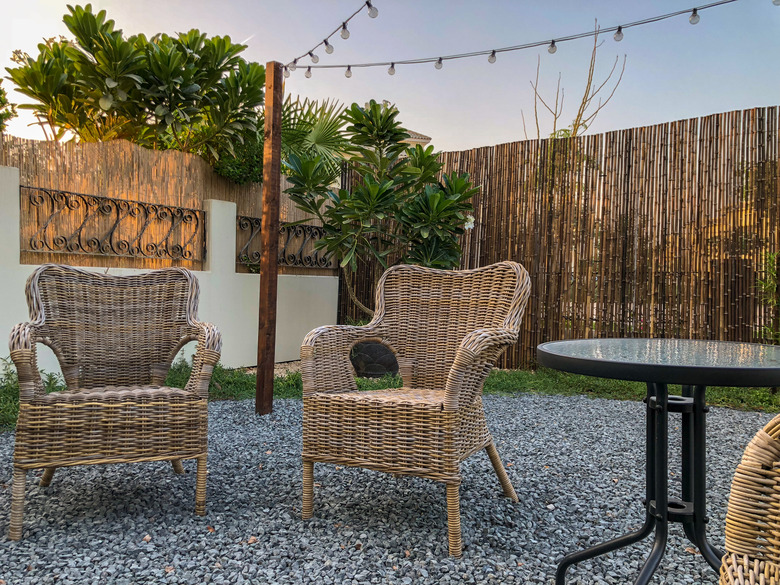
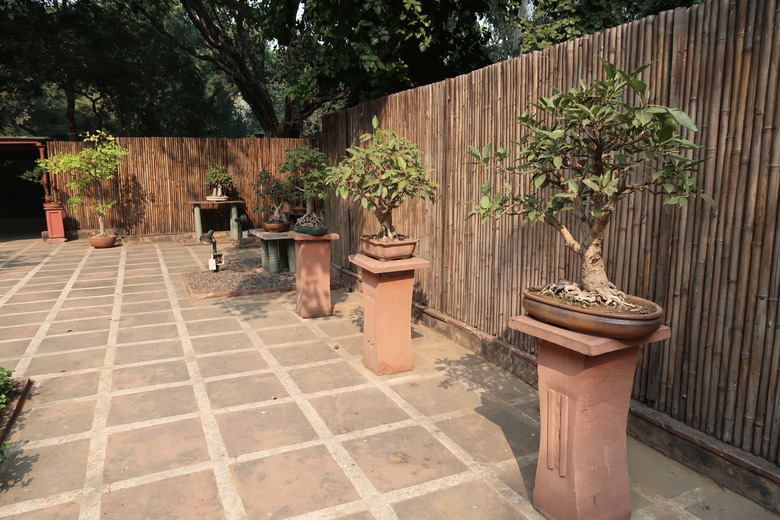
A bamboo fence adds a distinctive look to your yard—making it look like reminiscent of a tranquil Japanese garden. Bamboo fencing that is tall and well-constructed acts like privacy screens in a laid-back, casual style. A bamboo privacy fence can be built in many different ways, but one of the best designs for DIYers consists of a simple lumber frame covered with rolled fencing made of bamboo poles wired together. This goes up much quicker than individual bamboo poles attached to the fence frame.
Rolled bamboo fence material consists of individual bamboo poles that are the same diameter and height and are strung together along heavy galvanized steel wire. The wire is hidden, but you can access it to remove individual poles to make adjustments. Pole diameters range from 3/4 inch to 3 inches. The material comes rolled up in a neat bundle that you unroll during installation.
The fence structure that supports the bamboo is similar to that of a standard wood privacy fence, with 4x4 fence posts and horizontal 2x4 rails. Once the posts and rails are in place, you secure the bamboo rolls to the structure and then add decorative 1x4 face boards (opposite the 2x4 rails) and a 1x4 top cap for a finished look.
Bamboo Fence Etiquette
Bamboo Fence Etiquette
Contact the local building department to determine whether you need a building permit for your bamboo fence. Most short fences don't, but privacy fences that are 6 to 8 feet tall often require a permit. Even if a permit is not necessary, the town may have limits on fence height. Most municipalities have setback requirements that determine how close to the property line you can add a structure.
In addition to the building department, it's a good idea to talk to your neighbor about the bamboo fence before you begin the project. Discuss where it will go, its height and how it will be constructed. You should also make sure that everyone understands where the property line is located. It's the considerate thing to do, and it could help prevent problems down the line.
Speaking of considerate, fence etiquette calls for the finished side of the bamboo fence to face outward. Luckily, however, this type of rolled bamboo fencing looks the same on both sides.
Lastly in your fence due diligence, call 811 before breaking ground. This is the national "call before you dig" hotline that will notify your local utilities to mark the location of underground utility lines. Be sure to call a few days before you plan on starting. Don't dig until all utilities have been marked with paint or flagged.
Estimating Bamboo Fencing Materials
Estimating Bamboo Fencing Materials
Rolled bamboo fencing panels come in 6 and 8 foot lengths and are 6 feet high. You will attach each panel to a frame made of pressure-treated posts and 2x4 rails, or stringers. To determine how many posts you will need, divide the length of the fence run by the space between posts — in this case, 8 feet and add 1 post. For example, if the fence will be 100 feet long:
- 100 divided by 8 = 12.5
- 12.5 + 1 (for the end post) = 13.5 posts
- Round up to 14 posts
Posts come in 8 to 12 foot lengths. For stability, plan on burying about one-third of the post in concrete. In some cases, you may need to set the bottom of the posts below the local frost line. Ask the building department how deep your post holes should be to determine the length of the posts you will need. In this project, the posts extend 79 inches above the ground on the finished fence.
The lumber you use for the rails, the face frames and the top cap also comes in different lengths. A 100-foot-long fence has 13 sections. Each section has two rails, or stringers, two face boards and one top cap.
You will need one or more bags of fast-setting concrete for each post hole. Quikrete, a concrete products manufacturer, has a calculator to determine the number of bags you will need for each hole.
 mtreasure/iStock/GettyImages
Sealing Bamboo Fencing
Sealing Bamboo Fencing
As with any natural wood-like product, bamboo fencing should be treated for protection against mold and mildew, moisture and damage from ultraviolet rays. The manufacturer of the fence will recommend an appropriate product, usually an oil-based wood stain/sealer for exterior use. You can get clear or color stains. Most of these products can be brushed or sprayed on.
Follow the manufacturer's directions for when and how to apply the stain. Some require cleaning the bamboo and a light sanding. For preinstallation application, you will need to unroll the fencing and prop it up to apply stain to both sides. One method is to build the fence frame and use it to support the poles while brushing on the stain. Oil-based sealers can take a few days to dry completely.
The other option is to apply the stain when construction is complete. Remember to apply the stain to all surfaces of the fence.
Things Needed
-
Rolled bamboo fencing that measures 6 feet high x 8 feet wide x 1 inch diameter
-
Power auger (usually available for rental)
-
Screwdriver driving bits
How to Install a Bamboo Privacy Fence
How to Install a Bamboo Privacy Fence
Warning
Put on gloves and safety glasses before working with concrete to protect your hands and eyes. Fresh concrete is caustic.
1. Install the End Posts
Determine where the fence run will begin and end. Measure in from the property line 6 inches at each end and mark these locations with spray paint. These end posts will help you line up the other posts in a straight line.
- Use the auger to dig the hole for the first post. The hole should extend below the local frost line (check with your building department) plus 6 inches. The hole should be 12 inches wide.
- Pour 6 inches of gravel into the hole and tamp it down using a 2x4.
- Set the post in the hole. While a helper holds the post steady, check for plumb with a post level or use a 4-foot level and check on two sides of the post.
- Have a helper hold the post steady and plum while you pour the dry fast-setting concrete into the hole. Add water as specified on the package directions. Check for plumb again. If necessary, temporarily brace the post in place with two long boards set diagonally and staked to the ground and clamped or screwed to the post.
- Repeat the same process for the other end post.
- Allow the concrete to set up as specified on the package instructions.
2. Lay Out the Other Posts
Stand behind one of the end posts looking down the fence line. Drive a screw about 4 feet from the ground into the face of the post facing you. Do not drive the screw all the way in. Do the same on the other end post.
Loop mason's string between the two screws, keeping the string to the outside of the fence. The location of the screw means the string has to turn the corner on the post, keeping it flush with the post. Use a loop knot that is easy to remove and reattach to the screw because you may want to remove the string while digging the post holes.
3. Lay Out 90-Degree Turns
Estimate where the end post for the new fence side will be located. Use the 3-4-5 method to make sure the turn is square. Stand behind the post that will anchor the turn, looking down the proposed fence line of the new side. Partially drive in a screw and loop mason's string around it. Have a helper pull the string down to where the end post for the new side will be located.
- From the post that will anchor the turn, measure up the existing string 3 feet and mark the spot on the string.
- Measure up 4 feet from the anchor post on the string the helper is holding.
- Measure the diagonal between the two marks. Adjust the helper's string until the diagonal equals 5 feet. When it does, the corner is square. For large distances, you can use any multiple of 3-4-5, such as 6-8-10.
 baona/iStock/GettyImages
4. Mark the Other Post Locations
Measure and mark the location of the other posts with spray paint. The posts should be set 8 feet apart. If the available space does not conform to the dimensions of the components of the fence, which are 8-foot panel sections plus 3 1/2 inches for each post, adjust the location of the posts. You can make the span between posts shorter but not larger. If you do adjust the spacing, do the same for the length of the rails, face boards and cap boards that are installed later.
5. Install the Other Posts
Dig the remaining holes and install the posts. The outside of the new posts should just touch the guide string. It is best to work on one post and fence section at a time so that you can make minor adjustments as you go.
6. Cut and Install the Bottom Rail
Cut a 2x4 rail to fit between the posts in the first section. Install it so that the wide side of the board faces inward and the board is about 2 inches above the ground and 1 3/4 inches from the inside face of the post. Predrill holes and use a countersink bit so that the screw heads sit flush with the wood.
Use 2-inch coated deck screws to attach the rail to the post. Drive the screws at an angle, placing one on the top edge and two on each side of the rail. Attach the other end of the rail in the same manner using the 4-foot level to make sure the rail is level.
7. Cut and Install the Top Rail
Measure 73 inches up from the bottom of the bottom rail. This will be the top edge of the top rail. Attach it to the posts as with the bottom rail. The height of the top rail leaves 1 inch of extra space above the bamboo that allows for irregularities in the length of the individual bamboo poles.
8. Position the Bamboo Fence Panel
Clamp a 2x4 to the bottom of the bottom rail. This will provide a base for the bamboo fencing, keeping it off of the ground as you install it. Unroll the bamboo fencing, making sure the capped ends are facing up. To adjust the spacing of the bamboo, use pliers to straighten the heavy wires that run through it. This will allow you to remove individual bamboo poles.
When you are satisfied, bend the wires back into position. If you removed a number of poles, cut the excess wire length before folding it back.
9. Install the Bamboo Panel
Predrill through the bamboo into the top and bottom rails about every 12 inches. Use 1 1/4-inch screws to attach the bamboo to the stringers. The bamboo should be snug, but be careful not to drive the screws too deep because it will crack the bamboo.
10. Install the Face Boards
Cut two 1x4 face boards to fit between the posts — one for the bottom and one for the top. Line up the face boards with the fence rails. Use a drill bit and countersink bit to predrill holes about 1 inch from the top and 1 inch from the bottom, spacing the holes every 12 inches across the face of the boards. Try to drill between the bamboo poles if possible. Use 3-inch coated deck screws to attach the face boards to the rails and repeat for the top face panel.
11. Install the Top Cap
Use the 1x4 lumber as a top cap. Cut the panels to fit between the posts. Use 1 1/4-inch screws to attach the top cap to the edges of both the top rail and top face board.
12. Cut the Posts to Size
Measure up 4 inches from the top of the fence and mark the posts. Use a circular saw to cut the post so that all of the posts are the same height.
13. Install the Post Caps
Predrill holes and install the post caps using 1 1/2-inch screws.
14. Apply the Sealer/Stain
Brush on the stain if you haven't done so already. Apply it to both sides of the fence.