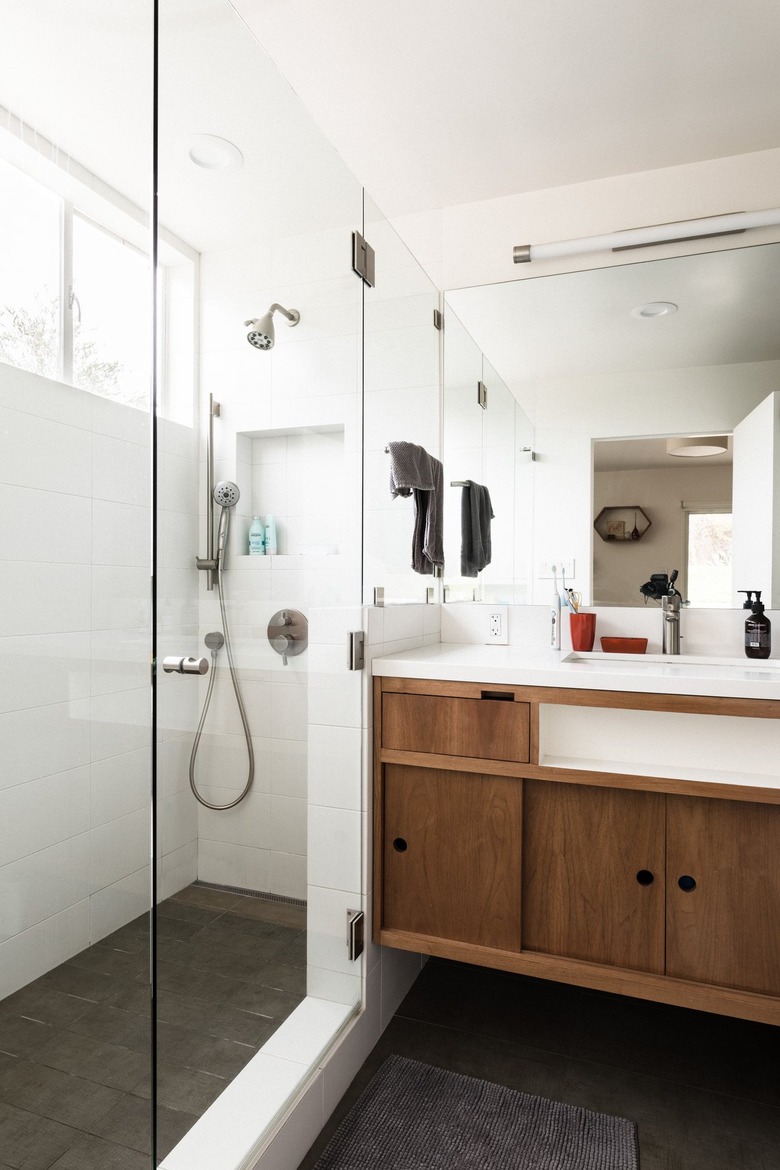
Shower Repairs: A DIY Homeowner's Guide
We may receive a commission on purchases made from links.
Not every shower repair is a DIY project, but many are, especially if you have basic plumbing skills and a reasonably well-stocked tool chest. When all is working as it should, water comes into the shower enclosure through the showerhead or tub faucet and leaves through the drain only when the faucet is on, and the outgoing flow rate is sufficient to prevent standing water in the shower pan. If the showerhead drips, water doesn't flow through the drain as quickly as it should or leaks occur due to a poorly sealed drain, a poorly fitting door or there's a crack in the enclosure, it's likely within your home improvement powers to make things right.
However, you can't make every shower repair yourself, especially if you have a tiled or stone shower stall that allows water to drip through the ceiling in the room underneath. Leaks in tiled showers, even from the drain, usually call for professional repair and may require tile refinishing, and the same is true for leaks from the part of the faucet hidden behind the shower wall. These are major problems that could end up being expensive, but they are far less common than the minor problems that you can fix yourself. Here are some DIY shower repair projects you can take on easily.
The Most Common Shower Repair Is Clogged Drains
The Most Common Shower Repair Is Clogged Drains
There's more than one way to clear a clogged shower drain. In fact, there are eight, according to Dengarden, but since the use of caustic chemicals for drain cleaning is hardly ever a good idea, and calling for professional plumbing services is a last resort you probably want to avoid, let's call it six:
- Use a plunger, which should be a dome-shaped sink plunger and not a toilet plunger, which is shaped to fit in a toilet bowl. Plunging is most effective when there's standing water in the shower pan, and when there is, it works 95 percent of the time.
- Pour boiling water down the drain.
- Remove the drain strainer, pour in a generous amount of baking soda followed by a cup of white vinegar and let the foam do the work.
- Pull out the clog by hand.
- Extract the clog with a Zip-It tool, which effectively catches hair and all the gunk that clings to it.
- Use a drain auger, or snake, to remove a clog that is out of reach of the Zip-It tool.
If you can't clear the clog with any of these methods, you may need a rooter service to clear clogs from the main sewer. If drains other than the shower drain are also clogged, the sewer could be blocked by tree roots, which is a problem for which you definitely need professional help.
 Jacek Kadaj/Moment/GettyImages
The Shower Faucet Leaks
The Shower Faucet Leaks
The drip, drip, drip from a leaking showerhead can reverberate throughout the house, and each drip represents the waste of a precious resource. As HomeTips advises, the leak can almost always be traced to worn cartridges or rubber seals in the faucet valve, and these are fairly easy to replace. Before you make this faucet repair, you need to shut off the water, and if you don't have a dedicated shutoff valve for the bathroom, you'll have to turn off the water main for the building. It's always a good idea to find out where that is before you actually need it.
Once the water is off, remove the shower faucet handle with a Phillips screwdriver or Allen wrench, unscrew the valve retaining nut with tongue-and-groove pliers and extract the valve. Replace cartridges, O-rings or gaskets with identical parts, which you can usually find at a hardware store, and the leak should stop, although you may have to replace the entire valve if it's cracked. Sometimes, valve cartridges leak because mineral deposits prevent them from closing all the way, and you can dissolve these by soaking the cartridges for a few hours in white vinegar.
The Shower Diverter Doesn't Work
The Shower Diverter Doesn't Work
When a tub spout and showerhead are connected to the same faucet, the spout usually has a knob-like diverter that you pull up to stop the flow of water from the spout and direct all the water to the showerhead. When the diverter wears out, water continues to flow from the spout when it's not supposed to do so, and you don't get adequate flow from the shower.
You can replace the diverter by unscrewing the cap and letting it fall from the spout, but because the inside of the spout may also be damaged, PlumbingSupply.com recommends replacing the entire spout. To remove the spout, look for a set screw underneath that you can loosen with an Allen wrench so you can slide it off. If you don't see one, you remove the spout by rotating it counterclockwise to unscrew it.
You replace the spout by screwing or sliding it onto the pipe stubout and tightening the set screw if there is one. It's also a good idea to apply a bead of silicone caulk around the base of the spout to seal out water.
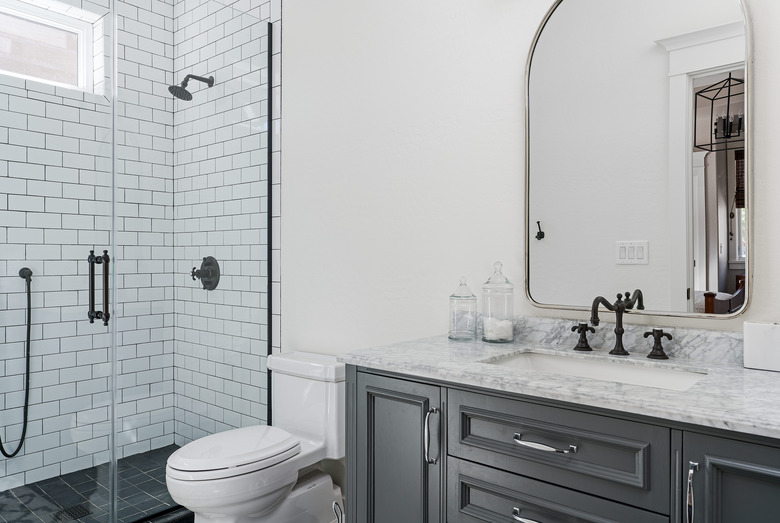
The Shower Doors Aren't Straight
The Shower Doors Aren't Straight
Because pivoting shower doors are made of glass, they are usually held to the hinges or the door pivot by compression gaskets. When the clamps holding these gaskets are loose, the door can tilt, which can make it hard to close, or it can allow water to spray out of the shower and onto the bathroom floor.
To correct this, you can try loosening the screws on the door hinges or door pivot that clamp the glass, straighten the door and tighten the screws to hold it. Just be aware that many glass shower doors are heavy (especially frameless doors), so be sure to have a helper or two supporting the door's weight while you work with the hinges.
A sliding shower door is supported by adjustable rollers, and when the door tilts, it's because the adjustment screw on one or both of the rollers has come loose. Remove the doors by tilting them into the enclosure and lifting to free the rollers from the header. Then, adjust the positions of the rollers, tighten the screws and replace the doors.
 contrastaddict/iStock/GettyImages
The Shower Pan or Wall Is Damaged
The Shower Pan or Wall Is Damaged
If your shower stall is made of fiberglass or acrylic, it can crack when it doesn't have enough support or when you hit it with something heavy. Cracks and holes in acrylic or fiberglass can be repaired with a repair kit that you can purchase at a home improvement store, but if the damage occurred because of a lack of support, you have to address this.
Terry's Plumbing suggests using expandable polyurethane spray foam, which you can purchase separately, to support the shower base underneath the crack. You have to drill 3/8-inch holes in the shower pan around the damaged area through which to insert the nozzle and spray the foam. If you're repairing a hairline crack, two of these holes are needed at either end of the crack to prevent it from spreading. Spray foam until it backs out of each hole, let it set, cut it flush with the tub and make a little indentation so there's room for the repair resin.
Using the alcohol swabs in the kit, clean the area to be repaired thoroughly and then apply fiberglass mesh cloth to large holes and cracks along with a generous amount of the two-part epoxy that you've mixed with hardener according to the directions. Level the epoxy, sand it flat when it dries, paint the repair with the supplied enamel and polish it with the polishing supplies provided or apply auto wax and buff it with a soft cloth.