How To Install A Framed Shower Door
We may receive a commission on purchases made from links.
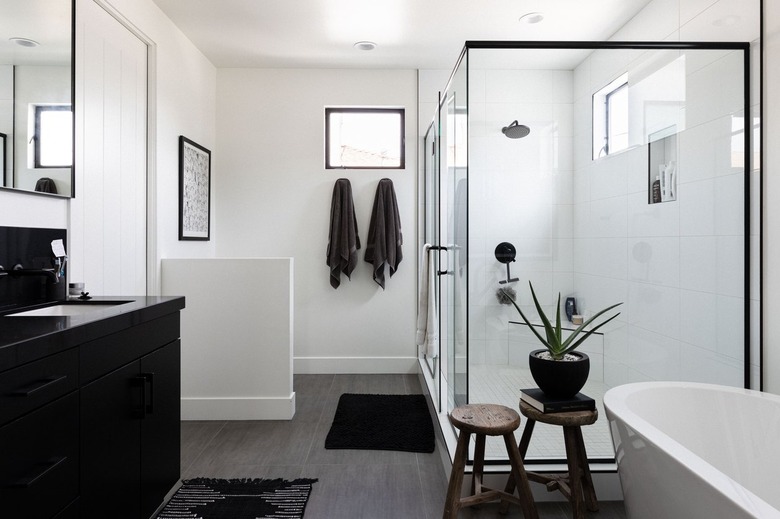
If you're tired of that moldy shower curtain and are ready for a glass shower door, you have your choice of a framed shower door and a frameless one. The frameless option is more upscale, but if budget and ease of installation are your priorities, you'll probably prefer a framed door. One advantage over frameless shower doors, according to Garrety Glass, is that the frame includes a track to catch water and direct it back into the enclosure, so leaks are less likely.
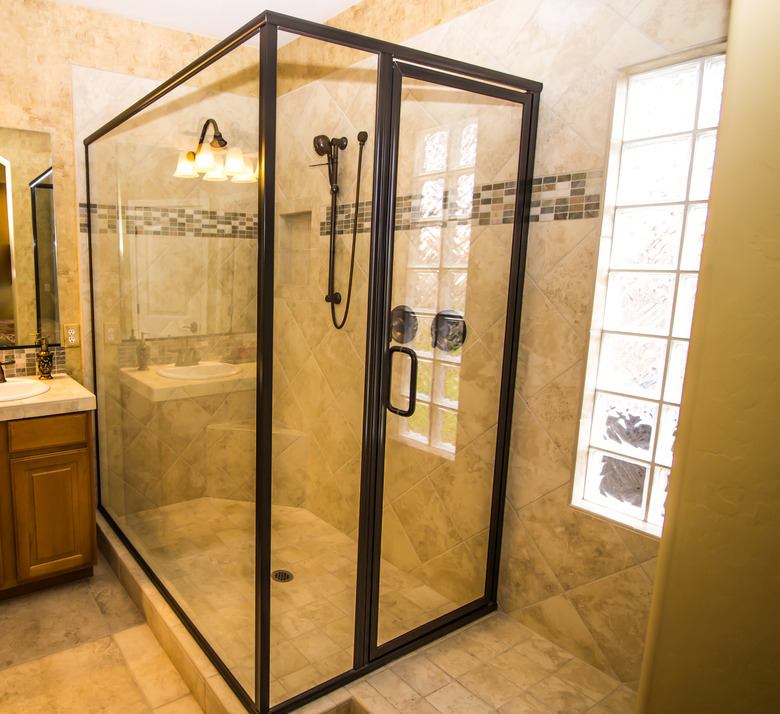
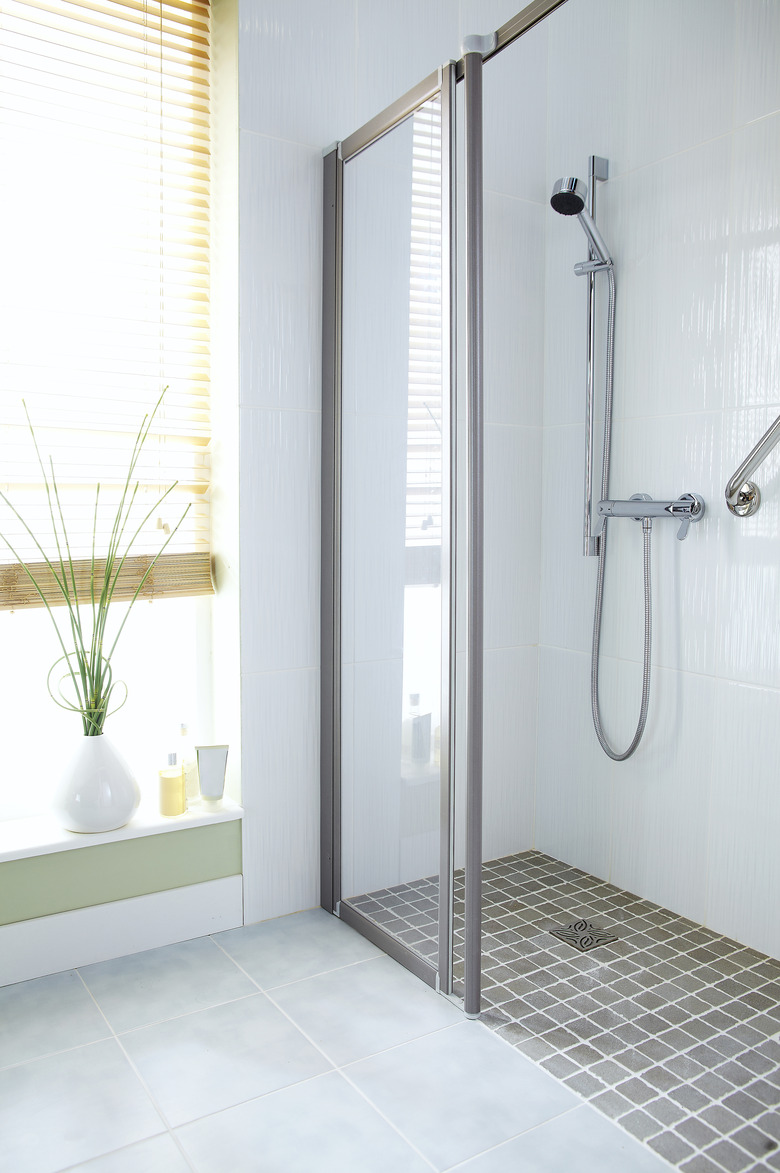
The frame consists of an aluminum structure you erect around the shower enclosure. The door itself usually also has a frame around it but not always. You can get your framed shower door with clear or frosted glass, and when installing frosted glass, the texture faces the bathroom, which makes it easier to keep the inside of the shower clean.
An Overview of Framed Shower Door Installation
An Overview of Framed Shower Door Installation
The bulk of the installation procedure involves installing the aluminum frame. Once you've done that, the door, which swings on a pivot pin, is installed in the jamb on the hinge side. Pivot doors always swing outward, so if you have a small bathroom, it's important to make sure it won't interfere with anything. You can install the door to pivot in either direction to compensate for a lack of space, but the preferred orientation is with the pivot on the same side of the enclosure as the showerhead.
A typical frame consists of a threshold, two jambs and sometimes a header. These don't have to support as much weight as the hinges for frameless doors and can be installed on acrylic and fiberglass tub and shower enclosures. If there's no wood blocking to hold the screws, you simply insert screw anchors into the holes you drill for the screws.
Measuring for a Framed Shower Door
Measuring for a Framed Shower Door
To determine the width of the door you need, take three or more measurements, starting from the top of the enclosure and ending at the bottom. The smallest measurement determines the maximum width of the door or, if you're installing a set with a side panel, the door and the panel.
Ideally, a framed shower door rises a few inches below the top of the enclosure, but you can make it longer or shorter as long as the jambs have solid material behind them for their entire length. It's always good to leave ample space at the top of the door for steam to escape. Installation details are specific to the product you purchase, but Sterling Plumbing gives a good overview of the general procedure.
Manufacturers supply a number of different seals and pivot mechanisms, so be sure to read the manufacturer's installation instructions carefully so you don't wind up with unused parts at the end of the installation.
 Thomas Bullock/iStock/GettyImages
How to Install a Pivoting Framed Shower Door With Side Panel
1. Set the Base Track
Measure the width of the door frame, subtract the manufacturer's recommended amount — usually 1/16 inch — and cut the base track to that length using a hacksaw. If you're installing the door on a fiberglass or acrylic stall with curved corners, file the ends of the base track to fit using a metal file. Even if you don't have to file curved corners, you should smooth the rough edges of the metal with a file.
Place the base track on the threshold with each end the same distance from the front of the threshold (ensuring the track is parallel to the front of the threshold) and tape it in place with masking tape.
2. Install the Hinge Jamb
Insert the bottom end of the hinge jamb into the base track, push the jamb against the wall, plumb it with a 4-foot level and draw a reference line along its front edge. Mark the positions of the jamb's mounting screw holes onto the wall and then remove the jamb and drill a hole at each mark using a drill bit of the size recommended by the manufacturer, which is usually 3/16 inches. Use a masonry bit to drill through tile or stone. If there's no framing or blocking behind the shower wall, tap a wall anchor into each hole. Position the jamb on the wall, align it with the reference line and secure it with the supplied mounting screws.
3. Hang the Door
Insert the bottom corner of the pivot rod (a rectangular rod that extends the length of the door) into the base track and slide the rod into the groove on the hinge jamb. Some manufacturers provide mildew-resistant seals that you have to attach first according to the instructions. Close the door, hold a level on the door's outer edge and adjust the pivot rod as needed until the door is plumb. When everything checks out, attach the pivot rod to the jamb with the provided machine screws and a screwdriver.
4. Install the Other Side Jamb
Use the same procedure you used to install the hinge jamb to install the jamb on the opposite wall. Make sure it's plumb before you mark the screw holes and be sure not to change the position of the base track.
 Onzeg/iStock/GettyImages
5. Put the Side Panel in Position
Lay a bead of silicone caulk inside the groove in the strike jamb (opposite the hinge jamb). Fit the strike jamb, which includes the latching mechanism and door seal, onto the outer edge of the glass side panel. Insert the side panel into the groove in the base track and slide it into the groove in the side track. Close the door and adjust the side panel if necessary to create a uniform gap between the panel and the door and to make sure the door is sealed when it's closed. Then, screw the panel to both jambs and screw the corners of the base track to the side jambs.
6. Install the Header (if Included)
Fit the header over the top end of the hinge-side jamb and lower it onto the strike jamb and the jamb on the opposite side wall. Secure the header to all three jambs with the provided screws.
7. Attach the Drip Rail
Remove the vinyl door sweep from the drip rail, cut the rail to match the width of the door using a hacksaw and then replace the vinyl sweep and cut it to length with a utility knife. Close the door and position the rail on the inside of the door so the vinyl sweep just touches the floor and the rail is level. Then, drill pilot holes through the sweep and the door frame and screw the rail to the door.
8. Caulk the Shower Opening
Apply a bead of silicone caulk along the edges of the jambs and the walls on both sides of the frame and caulk both edges of the base track. It's a good idea to put a dab of caulk on each screw head inside the shower enclosure to seal out water and protect the screws from corrosion. Install the door handle and any rubber bumpers that came with the set to complete the installation. Let the caulk cure fully (typically 24 hours) before using the shower.