How To Remove Shower Wall Panels
We may receive a commission on purchases made from links.
Acrylic and fiberglass shower wall panels are a common choice for DIY home improvement projects because they are easy to put up, but unfortunately, some of them aren't nearly as easy to take down — at least not without doing some damage to the walls. The damage might amount to little more than torn drywall paper when you're removing glue-up panels. But when removing direct-to-stud panels, however, you have to expose the nailing flange, and you can't do that without removing part of the wall. If the wall is tiled, at least one row of tiles — along the top and side edges of the surround — has to go.
Overview of Removing Shower Wall Panels
Overview of Removing Shower Wall Panels
The panels usually have to come out in the same order in which they were installed because there may be overlap at the corners, which means the panel that was installed first will be partially covered. The sequence of installation of multipiece shower wall panels is usually the back wall followed by the two side walls and, if it's a five-piece panel set, the corners. For removal, you start with the corners (if applicable) and then you remove the side walls and finish with the back wall. Many multipiece panel sets have interlocking joints at the corners, so be sure to check because you have to disconnect these joints before the panels will come out.
Removing a single-piece shower surround presents a different problem: It's so big that removing it from the shower enclosure and the bathroom in one piece may be impractical. Considering that the surround is probably not reusable, you can make your life easier by cutting it into pieces, and the best tool for this is an angle grinder, or you could use an oscillating tool, which is also great for cutting drywall, as demonstrated by Home Repair Tutor. You'll need goggles and protective gloves for this part of the job as well as for any tile removal you have to do.
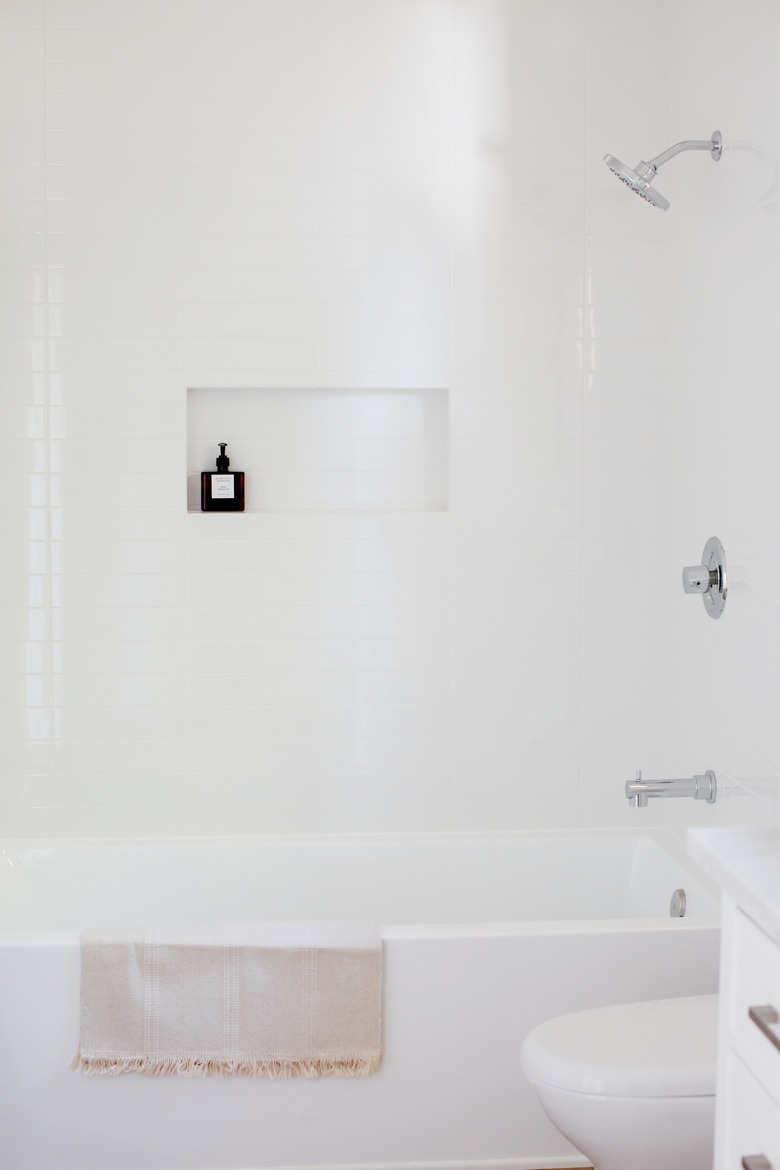
You don't have to turn the water off to remove a shower surround, although it's always a good idea to do it anyway. You do have to remove the faucet trim, tub spout, showerhead and — although this isn't absolutely necessary — the shower arm. Most shower handles come off easily once you remove the set screw, and if you find yourself searching for this screw, it's probably hidden behind a cap that you can pry off.
 krblokhin/iStock/GettyImages
Things Needed
How to Remove Glue-Up Shower Wall Panels
How to Remove Glue-Up Shower Wall Panels
The procedure for removing glue-up shower wall panels is less complicated than the one for removing direct-to-stud panels, and it requires fewer tools and less time. The panels often come off more easily if you heat the front of each one with a hair dryer to soften the adhesive, but this also turns the adhesive into a gooey mess, so try doing the job without heat first and deploy the hair dryer only if necessary.
1. Remove the Plumbing Trim
Unscrew and remove the faucet handle, tub spout, showerhead and (optionally) the shower arm. Cut the caulk around the escutcheons with a utility knife to make them easier to remove. If you have to use tongue-and-groove pliers to remove the spout, showerhead or shower arm, cover the fixture with a rag first to prevent damage to the finish.
2. Cut the Sealant Around the Surround
Use a utility knife to cut through the caulk around all sides of the panels, including where they meet the rim of the tub or shower base. If the surround consists of multiple panels, there may also be a caulk seal where the corner panels overlap the side and back panels. Don't forget to cut that as well.
3. Pry Off Any Molding
Tap a stiff putty knife behind any molding installed on the outer perimeter of the surround and pry with the putty knife to remove it.
4. Remove the Corner Panels (if Applicable)
Starting at the top outside corner, tap the putty knife behind one of the corner panels and pry out the corner. Keep tapping the putty knife deeper until you can grasp the edge of the panel with your fingers or with pliers. Keep tapping and pulling until the panel comes off and then move on to the other corner panel.
5. Remove the End Panels
Starting at the top outside corner, tap the putty knife under one of the end panels and pry it out far enough to grip it. Tap and pull until the panel comes off. Remove the panel on the other end of the shower enclosure in the same way.
6. Remove the Back Panel
Use the pry-and-pull method to remove the back panel. Once that's off, you'll have some wall repair to do, which will consist mostly of cleaning up glue residue and fixing paper tears in preparation for a new shower wall.
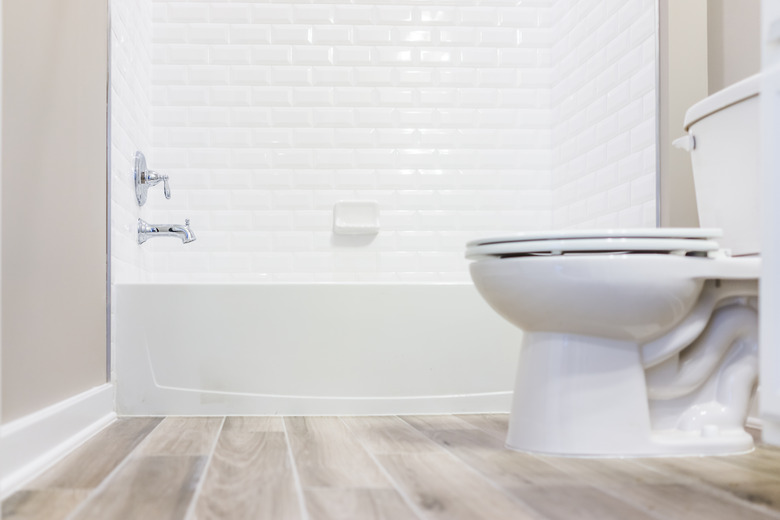
 Sanford Creative
Things Needed
-
Pencil
-
Utility knife
How to Remove Direct-to-Stud Shower Wall Panels
How to Remove Direct-to-Stud Shower Wall Panels
After you've removed the shower faucet trim, removal of direct-to-stud shower wall panels begins with uncovering the nailing flange around the perimeter of the panel to give you access to the fasteners holding the panels to the studs. It's best to do this in a systematic way to minimize the amount of repair work you have to do to the walls.
1. Draw a Cut Line
Scribe a level line on the drywall above the shower enclosure using a 4-foot level and a pencil. It's best to make this line at least 6 inches from the enclosure to give yourself room to work. You also need to draw vertical lines along the side walls of the enclosure if the walls extend more than 6 inches past the panels. Otherwise, it's probably easier to remove the entire wall covering along the vertical edges of the panels.
If the wall is tiled, remove one or two rows of tiles around the perimeter of the panel set (depending on the tile size) using a hammer and mason chisel. Chip into the grout line above the row you are removing and then angle the chisel into the tile and tap it free. Once one tile is gone, the rest are easier to remove.
2. Cut Along the Line and Expose the Nailing Flanges
Use an oscillating tool to make a clean cut along the line and then chip out and remove the drywall between the line and the panels using a hammer and flat bar.
For tiled walls, cut through the cement board or other tile backer along the edge of the remaining tile, then pry out the cut pieces to expose the studs.
3. Unfasten the Panels From the Studs
The panels may be held by screws or roofing nails. It's easy to back out screws using a drill and screw bit. Use a cat's paw pry bar to remove nails. Tap the claws behind the head of a nail and then lever the pry bar against the stud to pull out the head.
4. Cut the Sealant
Cut the caulking sealing the panels to the tub rim or shower pan using a utility knife. If you're removing a multipanel set, also cut the caulk sealing the panels together.
5. Remove the Panels
Remove the panels in the reverse order in which they were installed — beginning with the corners, moving on to the sides and finishing with the back panel. The corner and side panels may be connected by a latch system, and you unlatch them by lifting the panel you're removing straight up until it comes free.