How To Tile A Shower Wall
We may receive a commission on purchases made from links.
A tiled shower is a durable bathroom addition that will add value and attractiveness to any home, and tiling a shower wall is a job that many homeowners can do themselves. While tiling a shower wall isn't all that difficult, it does take a little thought and preparation beforehand. Doing the proper preparation before getting started will ensure that your tiled shower will be attractive and leak-free and will save you money on repairs that could have been avoided.
Shower Wall Tiling Preparation
Shower Wall Tiling Preparation
When installing a tiled shower, the most important thing to keep in mind is that you don't want it to leak. A leak can lead to mold, wood rot and other serious problems. The repairs to fix water damage along with the damage from mold and mildew can be very costly. Modern tiling materials, if installed correctly, can eliminate this risk.
In the old days, tile was often installed right onto drywall. If you've ever seen drywall when it gets wet, you have an idea of how well that usually worked. While moisture-resistant drywall can be used in the area above the shower, a cement board backer should be installed in the area that will get wet — essentially where tiles will be. Something to keep in mind when purchasing your backerboard is that it should be the same thickness as any surrounding drywall.
The backerboard is cut and installed in the same way as drywall, and there should be a 1/4-inch gap at the bottom between the cement board and the shower pan. Once the backerboard is installed, the seams and corners should be taped with backerboard fiber tape and then covered with thinset mortar, which is a cement-based tile adhesive. If desired, the entire area can then be painted with two coats of waterproofing membrane. This may seem like a bit of overkill, but the importance of making sure everything is water-resistant cannot be overstated.
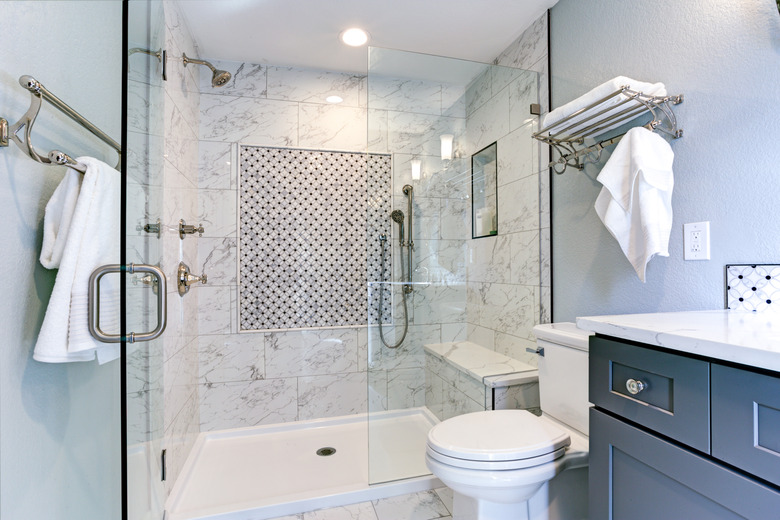 alabn/iStock/GettyImages
Planning the Tile Layout
Planning the Tile Layout
Before beginning the actual tile installation, you will need to plan the tile layout as well as decide how much tile to purchase. To decide how much tile will be needed for your shower, calculate the area of each tiled wall by multiplying its height by its width and then add up the area of all the walls. Depending on the size of the tile you choose, you can determine how much is needed to cover the entire area. It's often a good idea to purchase a little extra just to be on the safe side.
When purchasing multiple boxes of tile, you'll want to check the box code to make sure that the tiles are all the same size and shade. Even if the numbers match, there can sometimes be slight irregularities. Because of this, the Tile Council of North America suggests opening all of the tile boxes to remove and stack the tiles randomly. This trick is also known as shuffling the tiles, and mixing the tiles from differing boxes will make any slight color differences less noticeable.
Once you have picked out the tiles, it is time to plan the layout of your tiling job. This can be the most time consuming and tedious part of the project, but it is also the most important. There are a couple of ways to do this. You could draw it all out on a piece of paper using scaled dimensions, but this method works better for someone with tiling experience. A simpler method is to lay a piece of rosin paper on the floor, draw an exact template of the shower wall and lay out the tile on the paper, including the tile spacers (although it's not always necessary to use spacers, depending on what kind of design you're trying to achieve).
Start your pattern by drawing a line marking the vertical center of the wall, center a tile over the line and then lay out tiles at both sides to complete an entire row from corner to corner. You don't want thin strips or slivers of tile at the corners. To ensure an attractive job, you should plan for the widest corner tiles. If your layout leaves thin corner strips, shifting the center line by half a tile length will widen your corner tiles. For exposed edge pieces, bullnose tile can be used. Bullnose tile is a trim tile with a smooth, finished edge that will eliminate sharp edges and give your tiling job a professional appearance.
Use the same layout technique with a vertical row of tiles. As with the side edges and corners, you don't want thin tiles at the top or bottom edge of your shower. For most installations, it looks better to have full tiles at the top, meaning the bottom row of tiles will need to be cut to fit. For this reason, start your layout pattern at the top of the wall.
When you are ready to start the installation, you'll actually install a level board and start with the second row from the bottom, allowing you to cut and install the bottom row after the other tiles are in place. However, if the layout leaves very thin strips at the bottom, you may need to cut both the top and bottom rows to give a more even appearance. You'll also want to leave a 1/4-inch gap between the bottom of the tile and the shower pan to fill with flexible caulk.
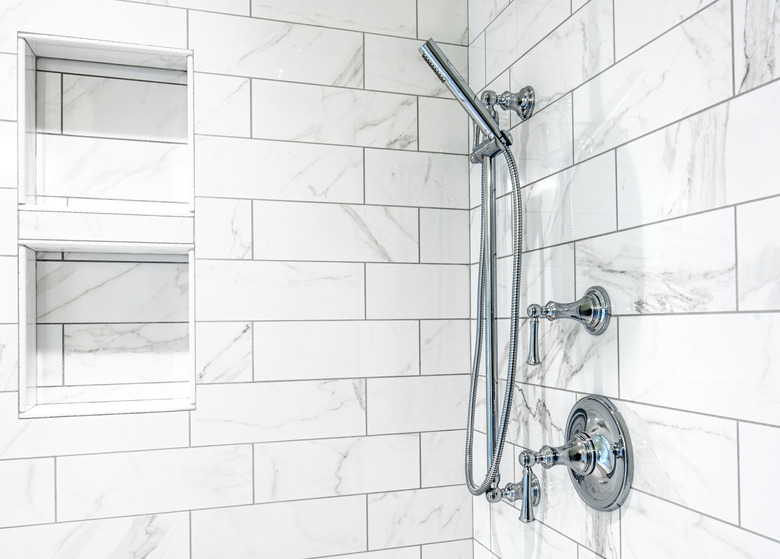 Dan Reynolds Photography/Moment/GettyImages
How To Tile a Shower Wall
1. Attach a Straight Board
Start your tiling on the second row by measuring and marking a level line where the second row will begin at the bottom of the tiles. Then, screw a straight board on the line to start the second row first. After the board is attached, check to make sure it is level.
2. Mix the Thinset Mortar
Mix about a quart of thinset mortar in a bucket according to the directions on the packaging. Having the correct consistency is important because if it is too thin or wet, it will be difficult to apply, and if it is too thick, it will dry too quickly. The correct consistency will be thick and smooth, similar to peanut butter. Using a drill with a specialized mixing bit will make it much easier to mix your thinset mortar and will result in a better consistency with which to work.
3. Apply the Thinset Mortar
Using a notched trowel, spread enough of the mortar on the wall for the first row of tiles. Use the manufacturer's instructions on the mortar container to determine the correct notch size for your trowel. You want enough mortar to cover the backs of the tiles but not too much because more is not better with mortar. Then, attach the first tile in the bottom row where you've marked the vertical center of the wall by pressing it firmly into place.
4. Lay the First Row
Working from the center out to the corners or edges, continue to attach the first row of tiles using spacers between the tiles and shower pan and also between each tile. Using spacers will provide a straight, even pattern between tiles and will leave symmetrical lines to apply grout. Use a tile cutter to cut any tiles as needed according to your layout pattern.
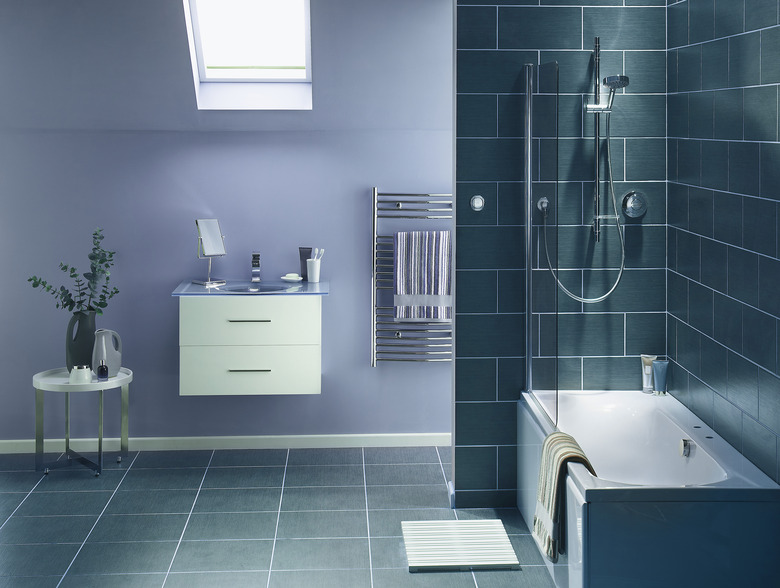 Onzeg/iStock/GettyImages
5. Repeat the Procedure
Check to make sure your first row of tiles is level and then repeat the procedure by applying thinset mortar to the area and then setting the next row of tile above the previous row. A handy trick is to measure up from the previous row and then use a level to mark a line for the next row. Make sure to continue using spacers between each tile to keep the gaps even and symmetrical. Check after installing each row to make sure everything is still level.
6. Tile the Bottom Row
Once the shower wall tiling is complete, remove the straight board at the bottom of the second row if necessary and install the bottom row of tile. Use spacers on this row between both the other tiles and the shower pan, making sure to leave a 1/4-inch space between the bottom of the tiles and the shower pan for expansion.
7. Allow 24 Hours to Set
The tile should be allowed to set for a minimum of 24 hours to enable the thinset mortar to fully dry and ensure that the tile has set properly. Some adhesives will recommend letting it set for up to 48 hours before grouting, so be sure to check the manufacturer's instructions on the mortar container before moving forward.
8. Remove the Spacers and Mix the Grout
Remove the spacers from between the tiles and mix some grout. Mix only a small amount at a time, keeping it on the dry side to make it easier to apply. Certain types of grout can scratch the surface of some tile materials, so it's very important to check the manufacturer's instructions to see if there is a type of grout recommended for use with your tiles.
9. Apply Grout to the Tile
Apply the grout with a rubber float, packing it into the spaces between the tiles and working it in with a diagonal motion. Check the manufacturer's instructions on the container to see how long to let it set before wiping away excess grout. Being sure to wait the correct amount of time, use a damp grout sponge to clean away the grout. Instead of wiping with the grout lines, wipe at a diagonal angle to prevent pulling the grout from the gaps.
10. Remove the Grout Haze
A haze may appear on the grout even after removing the excess grout. Wait until the grout has dried and then wipe the tiles with a clean, damp sponge. Be sure to wait until it is dry and do not use too much water on the sponge or you can remove grout from the gaps.
11. Apply the Grout Sealer
Because grout joints are not actually waterproof, you need to apply a sealer to the grout joints. The grout will first need to cure for three or four days. Then, apply sealer to each grout line and wipe them off.
12. Apply the Silicone Caulk
After applying the grout sealer, use a mold-resistant and mildew-resistant silicone caulk to fill in the gap between the bottom row of tile and the shower pan. Use a quality caulking gun to apply the caulk and smooth the caulk with your finger for a finished appearance.